本文实例为大家分享了Android自定义相机,预览区域裁剪的具体代码,供大家参考,具体内容如下 写法一: 预览区域裁剪,方法调用: //按照比例进行裁剪头像区域Bitmap resultBitmap =
本文实例为大家分享了Android自定义相机,预览区域裁剪的具体代码,供大家参考,具体内容如下
写法一:
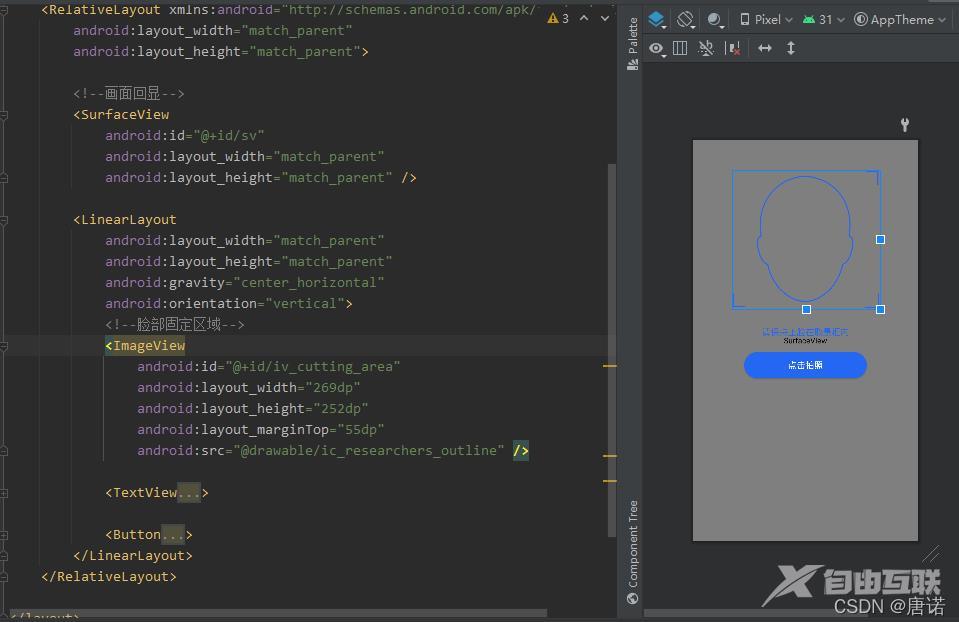
预览区域裁剪,方法调用:
//按照比例进行裁剪头像区域
Bitmap   resultBitmap = getScaleImage(resultBitmap,
 (int) cuttingAreaView.getX(),
  (int) cuttingAreaView.getY(),
  cuttingAreaView.getWidth(),
  cuttingAreaView.getHeight(),
  mSurfaceView.getWidth(),
  mSurfaceView.getHeight());
/**
     * 按照比例裁剪图片
     *
     * @param source
     * @param cuttingAreaX  预览view的X坐标
     * @param cuttingAreaY
     * @param cuttingAreaWidth
     * @param cuttingAreaHeight
     * @param displayWidth
     * @param displayHeight
     * @return
     */
    private Bitmap getScaleImage(Bitmap source, int cuttingAreaX, int cuttingAreaY, int cuttingAreaWidth, int cuttingAreaHeight, int displayWidth, int displayHeight) {
        int sourceWidth = source.getWidth();
        int sourceHeight = source.getHeight();
        LegoLog.d("sourceWidth:" + sourceWidth + ",sourceHeight:" + sourceHeight + ",cuttingAreaX:" + cuttingAreaX + ",cuttingAreaY:" + cuttingAreaY + ",cuttingAreaWidth:" + cuttingAreaWidth + ",cuttingAreaHeight:" + cuttingAreaHeight + ",displayWidth:" + displayWidth + ",displayHeight:" + displayHeight);
        int sourceCuttingAreaX = cuttingAreaX * sourceWidth / displayWidth;
        int sourceCuttingAreaY = cuttingAreaY * sourceHeight / displayHeight;
        int sourceCuttingAreaWidth = cuttingAreaWidth * sourceWidth / displayWidth;
        int sourceCuttingAreaHeight = cuttingAreaHeight * sourceHeight / displayHeight;
        LegoLog.d("sourceWidth:" + sourceWidth + ",sourceHeight:" + sourceHeight + ",sourceCuttingAreaX:" + sourceCuttingAreaX + ",sourceCuttingAreaY:" + sourceCuttingAreaY + ",sourceCuttingAreaWidth:" + sourceCuttingAreaWidth + ",sourceCuttingAreaHeight:" + sourceCuttingAreaHeight);
        return Bitmap.createBitmap(source, sourceCuttingAreaX, sourceCuttingAreaY, sourceCuttingAreaWidth, sourceCuttingAreaHeight, null, false);
    }
其他方法:
private void initParameters(Camera camera) {
        try {
            mParameters = camera.getParameters();
            mParameters.setPreviewFormat(ImageFormat.NV21);
            //获取与指定宽高相等或最接近的尺寸
            //设置预览尺寸
            Camera.Size bestPreviewSize = getBestSize(mSurfaceView.getWidth(), mSurfaceView.getHeight(), mParameters.getSupportedPreviewSizes());
            if (bestPreviewSize != null) {
                mParameters.setPreviewSize(bestPreviewSize.width, bestPreviewSize.height);
            }
            //设置保存图片尺寸
            Camera.Size bestPicSize = getBestSize(PIC_WIDTH, PIC_HEIGHT, mParameters.getSupportedPictureSizes());
            if (bestPicSize != null) {
                mParameters.setPictureSize(bestPicSize.width, bestPicSize.height);
            }
            //对焦模式
            if (isSupportFocus(Camera.Parameters.FOCUS_MODE_CONTINUOUS_PICTURE)) {
                mParameters.setFocusMode(Camera.Parameters.FOCUS_MODE_CONTINUOUS_PICTURE);
            }
            camera.setParameters(mParameters);
        } catch (Exception e) {
            e.printStackTrace();
        }
    }

    private Camera.Size getBestSize(int targetWidth, int targetHeight, List<Camera.Size> sizeList) {
        Camera.Size bestSize = null;
        float targetRatio = ((float) targetHeight / targetWidth);  //目标大小的宽高比
        float minDiff = targetRatio;
        for (Camera.Size size : sizeList) {
            if (size.width == targetHeight && size.height == targetWidth) {
                bestSize = size;
                break;
            }
            float supportedRatio = (float) size.width / size.height;
            if (Math.abs(supportedRatio - targetRatio) < minDiff) {
                minDiff = Math.abs(supportedRatio - targetRatio);
                bestSize = size;
            }
        }
        return bestSize;
    }
参考【人车核验】CaptureManager.java
写法二:
Bitmap bitmap = BitmapFactory.decodeFile(originalFile.getPath());//原图

//计算裁剪位置
float left, top, right, bottom;
left = (float) scanView.getLeft() / (float) cameraPreview.getWidth();
top = ((float) containerView.getTop() - (float) cameraPreview.getTop()) / (float) cameraPreview.getHeight();
right = (float) scanView.getRight() / (float) cameraPreview.getWidth();
bottom = (float) containerView.getBottom() / (float) cameraPreview.getHeight();

//裁剪及保存到文件
Bitmap cropBitmap = Bitmap.createBitmap(bitmap,
      (int) (left * (float) bitmap.getWidth()),
      (int) (top * (float) bitmap.getHeight()),
      (int) ((right - left) * (float) bitmap.getWidth()),
      (int) ((bottom - top) * (float) bitmap.getHeight()));
参考:MobileCheck
以上就是本文的全部内容,希望对大家的学习有所帮助,也希望大家多多支持自由互联。