当今的新电脑安装系统基本上都使用win10系统,因此win10系统有很多技巧,例如今天提到的网络速度限制问题。对于软件下载可能会在日常使用的计算机中遇到。下面介绍win10系统使用网
当今的新电脑安装系统基本上都使用win10系统,因此win10系统有很多技巧,例如今天提到的网络速度限制问题。对于软件下载可能会在日常使用的计算机中遇到。下面介绍win10系统使用网络限速修改方法。
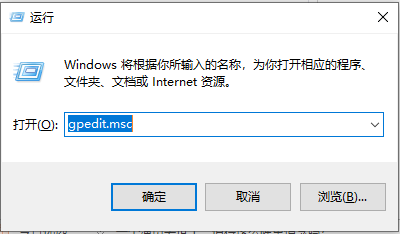
1、在进入桌面之后,点击键盘上面的【win键+R】键。输入【gpedit.msc】就可以调出【本地组策略编译器】
2、进入后点击计算机配置中的管理模板,再点击展开网络,点击Qos数据包计划程序。
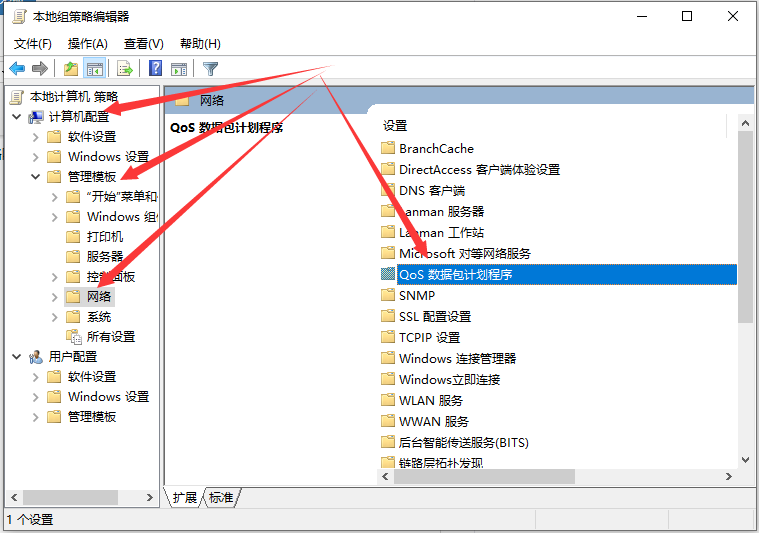
3、接下来我们可以看到右侧有一个【限制可保留宽带】的选项,这个选项就是控制网络限速。

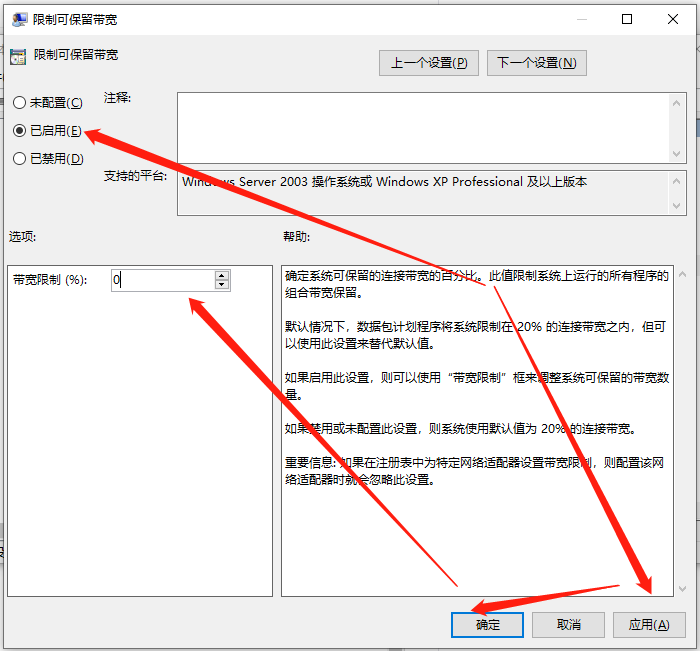
4、解除限制网速,就点击下面的【已启用】,然后在下面的宽带限制中输入【0】,初始是80%,最后点击确定。
以上就是win10限速修改的方法步骤啦,希望能帮助到大家。