一、准备工作 1.1 Tomcat集群架构图 未搭建Tomcat集群架构图如下: 搭建Tomcat集群架构图如下: 1.2 准备工具 nginx-1.17.0.zip(windows):https://pan.baidu.com/s/1OqC0_7d7uXkbpwDphrlLNg apache-to
一、准备工作
1.1 Tomcat集群架构图

1.2 准备工具
- nginx-1.17.0.zip(windows):https://pan.baidu.com/s/1OqC0_7d7uXkbpwDphrlLNg
- apache-tomcat-8.0.43:https://pan.baidu.com/s/1DzM2TFz2GDsEAyWagVtVuQ

二、搭建步骤
2.1 Tomcat配置
2.1.1 解压两个Tomcat
解压两个Tomcat,命名为Tomcat-8080、Tomcat9090:

2.1.2 修改页面
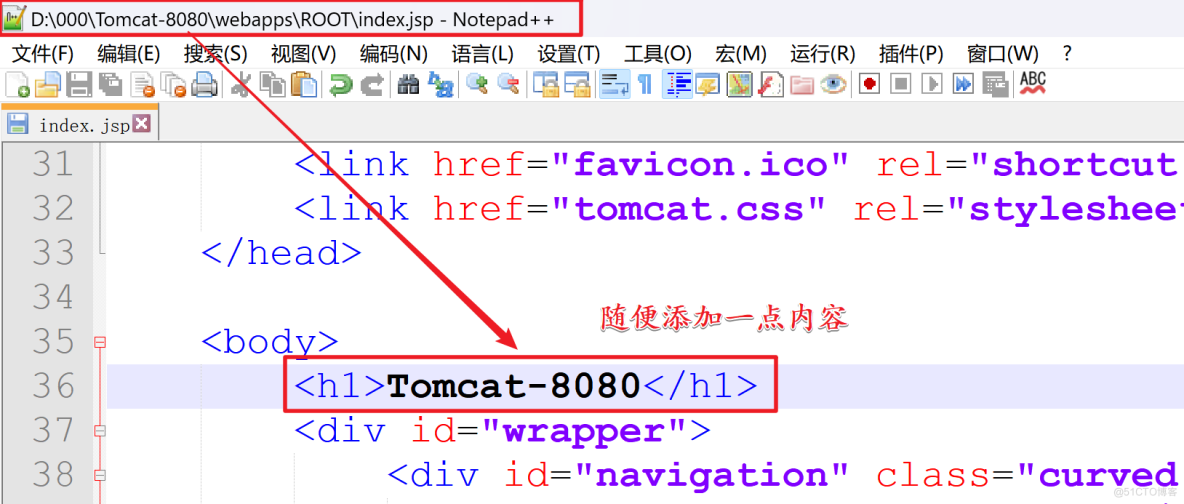
为了区分访问的是不同的两个Tomcat,这里修改一下两个Tomcat的首页;
- 修改Tomcat-8080/webapps/ROOT/index.jsp的内容:
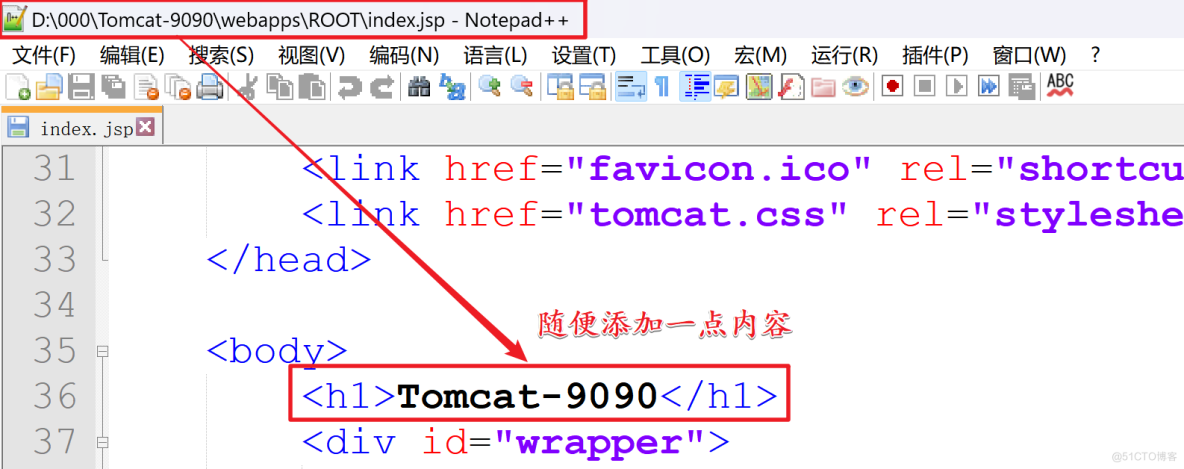
- 修改Tomcat-9090/webapps/ROOT/index.jsp的内容:
2.1.3 修改端口
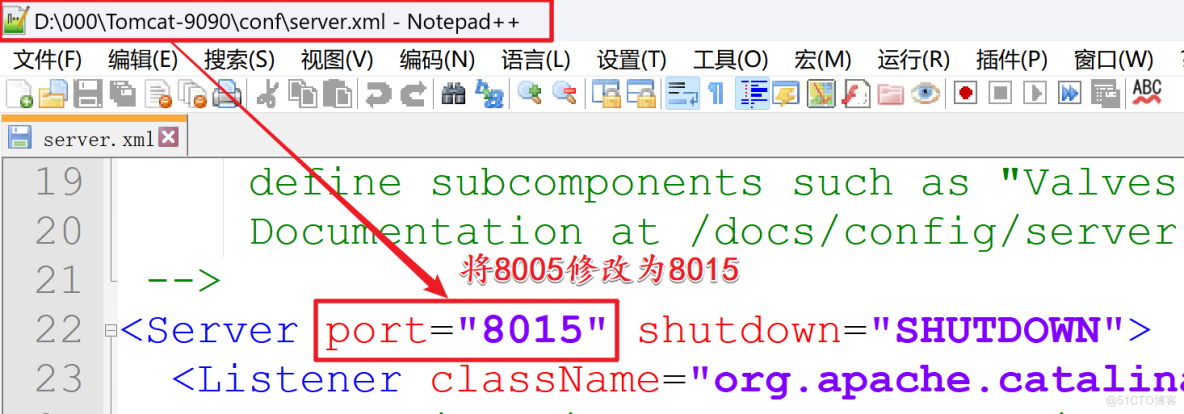
Tomcat-8080不用修改,修改Tomcat-9090的配置文件(conf/server.xml):
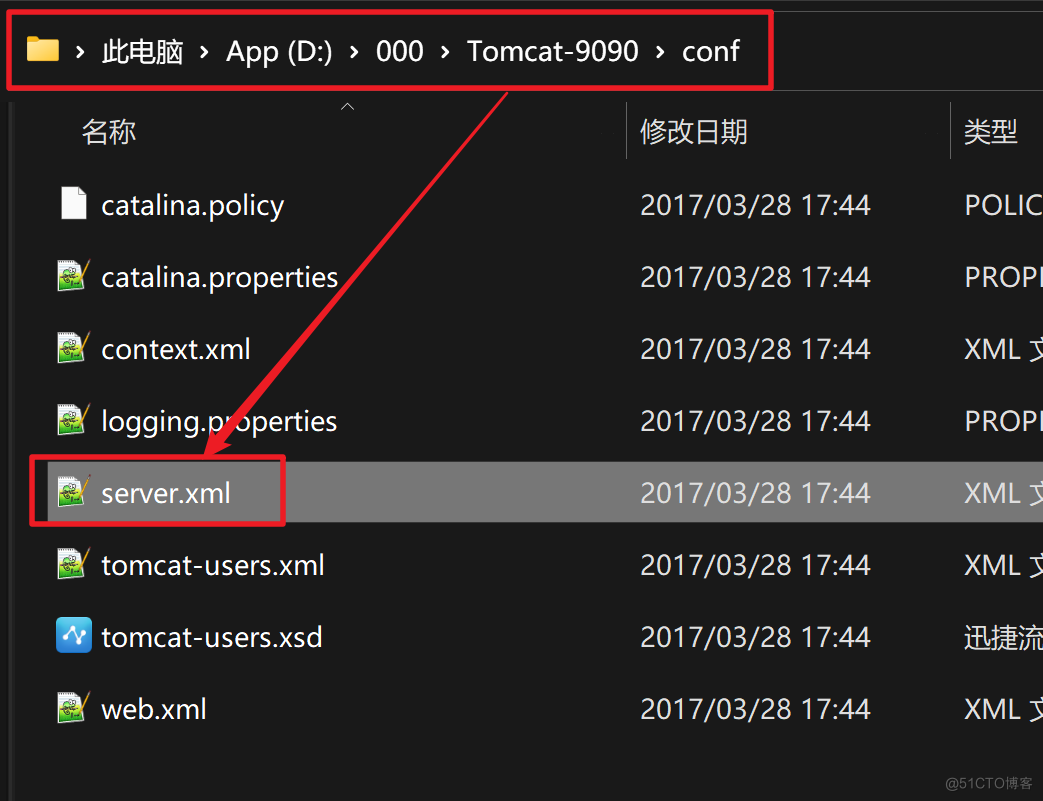
Tomcat启动时会占用8005端口,Tomcat-8080服务器启动已经占用了8005,因此Tomcat-9090这台服务器我们改成8015;
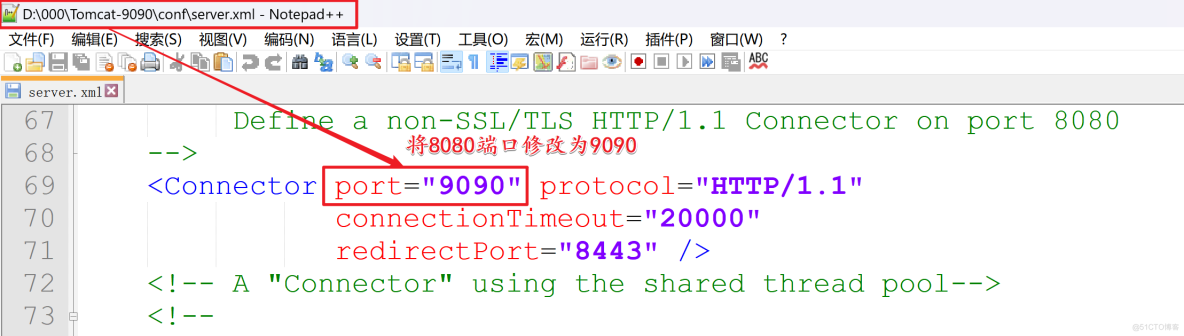
该端口是HTTP访问的端口,我们改为9090(Tomcat-8080服务器不用修改);
Tomcat启动时会占用8009端口,Tomcat-8080服务器启动已经占用了8009,因此Tomcat-9090这台服务器我们改成8019;

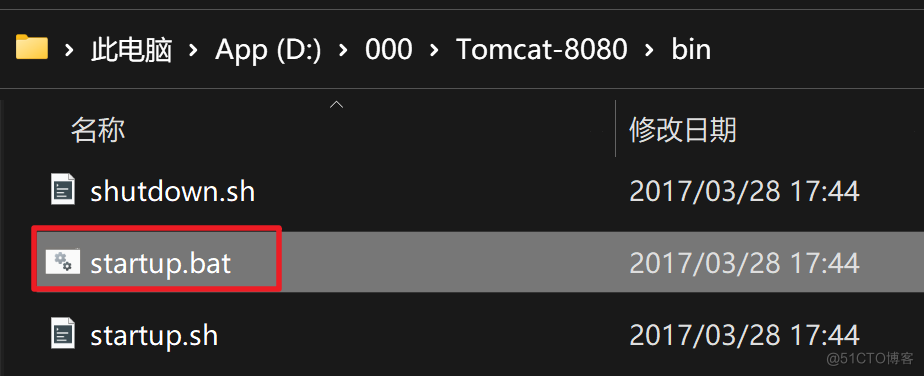
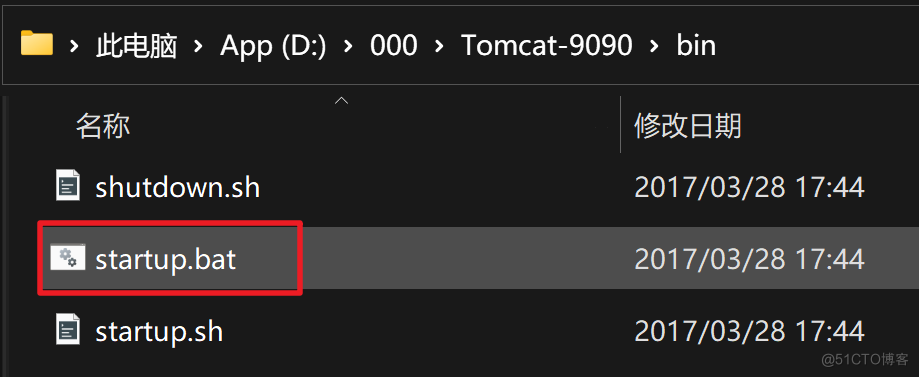
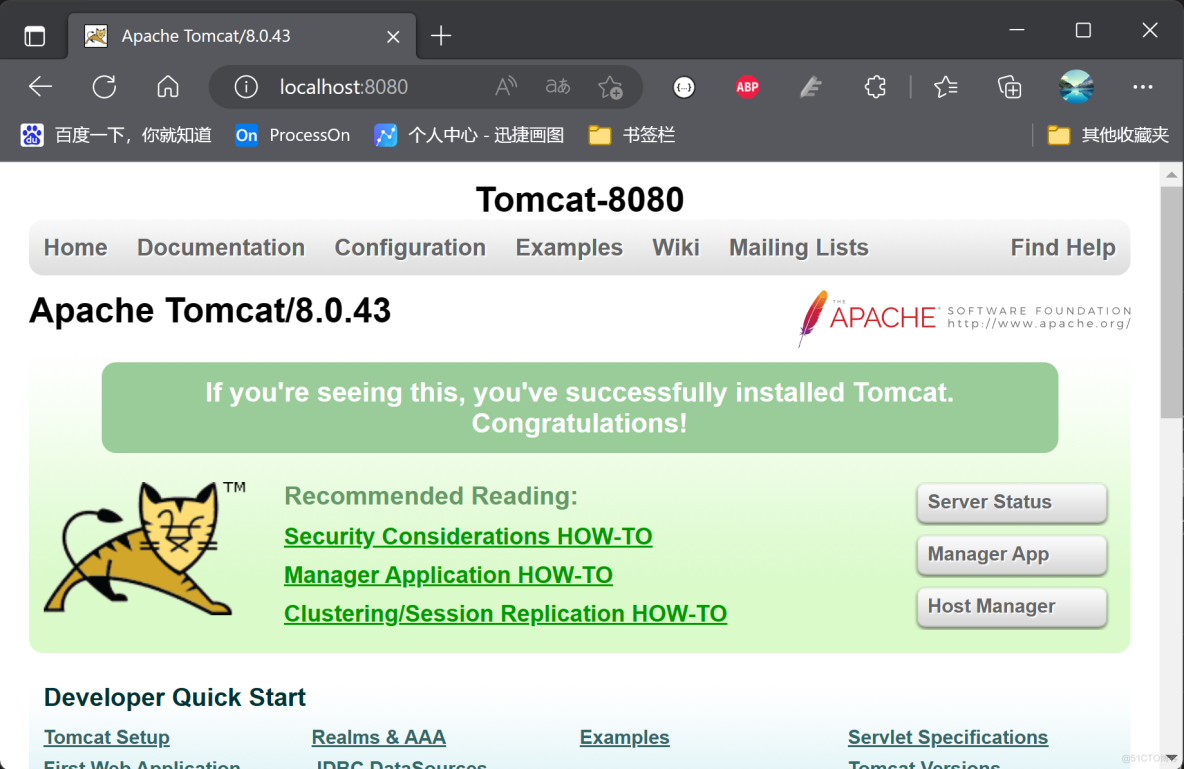
2.1.4 启动Tomcat
访问http://localhost:8080:
访问http://localhost:9090:

2.2 配置代理服务器(Nginx)
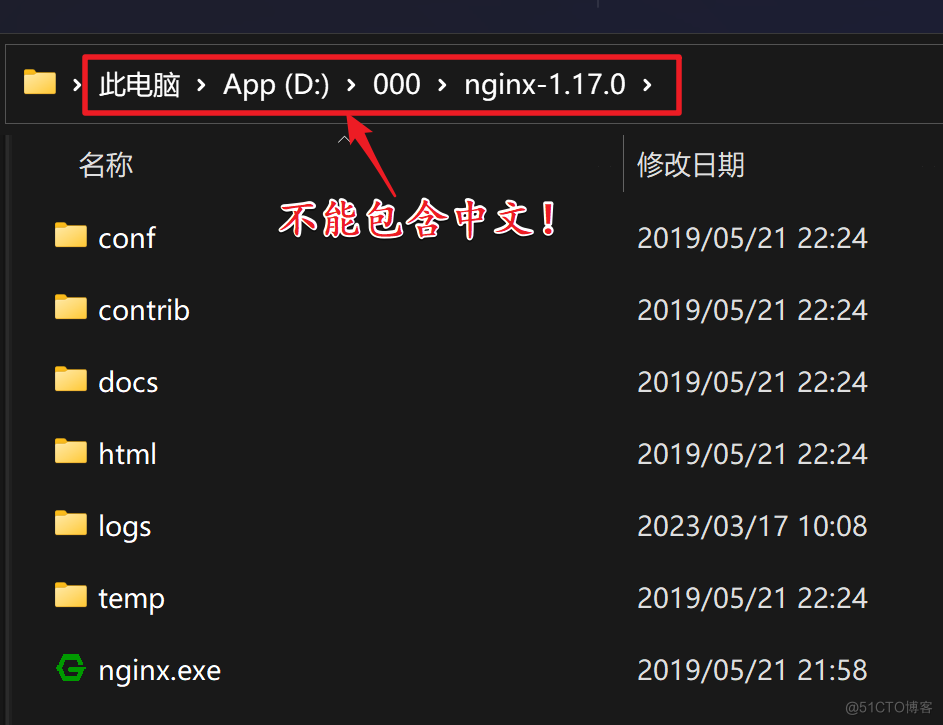
2.2.1 解压Nginx
注意:Nginx的所在目录不能包含中文!
2.2.2 启动Nginx
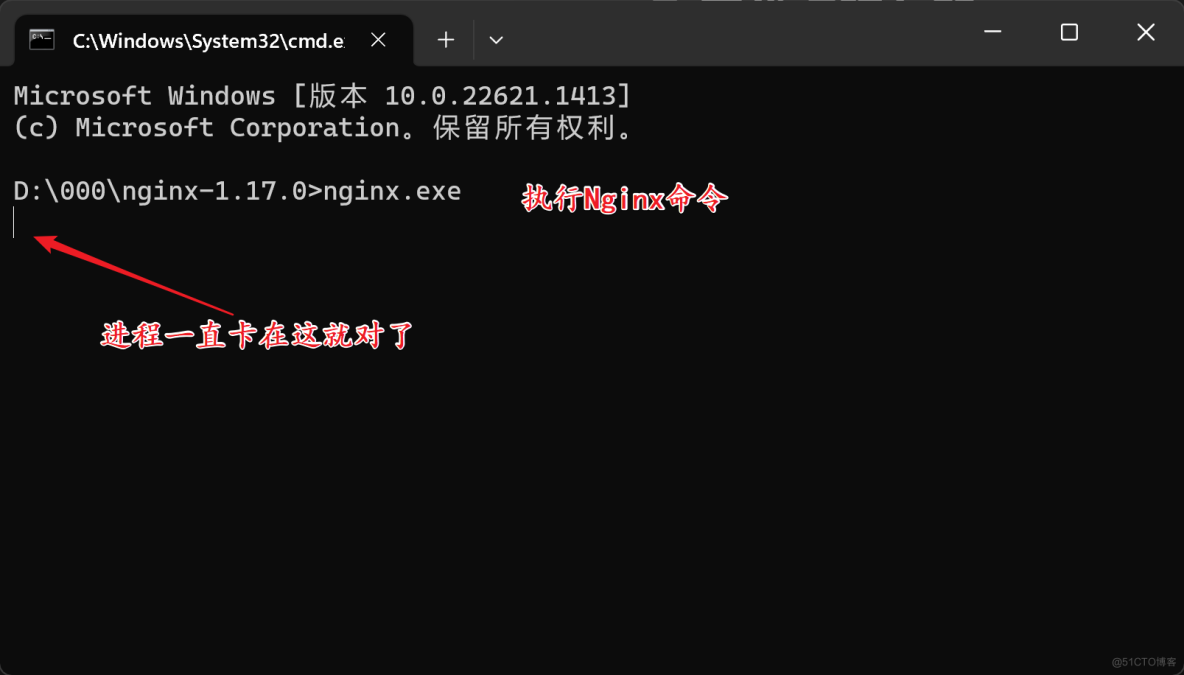
Nginx的默认端口是80,由于HTTP协议的默认端口也是80,因此我们直接在浏览器上输入:http://localhost即可访问到Ngxin服务器;
当然,你输入:http://localhost:80也能访问;

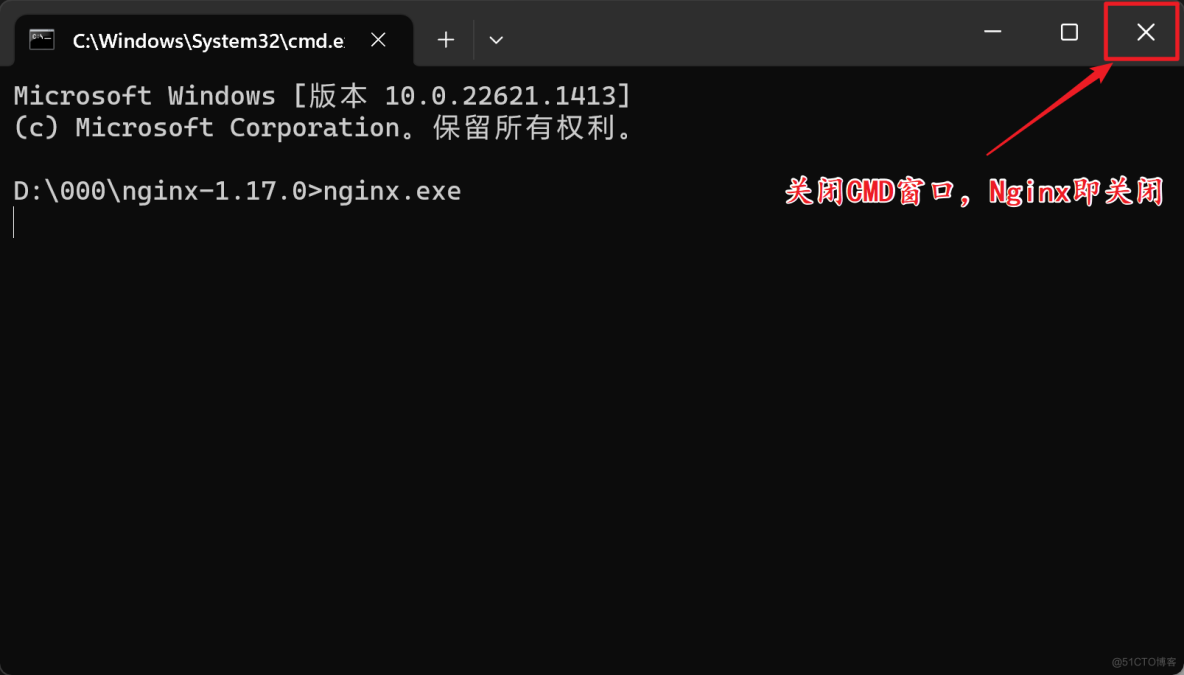
2.2.3 关闭Nginx
关闭Nginx很简单,直接把刚刚的CMD窗口关闭即可;
但Nginx在Windows操作系统上会有些Bug,大家最好测试一下关闭后是否还能访问到Nginx,如果还能访问到,那就意味着Nginx没有关闭,我们需要打开任务管理器来关闭;
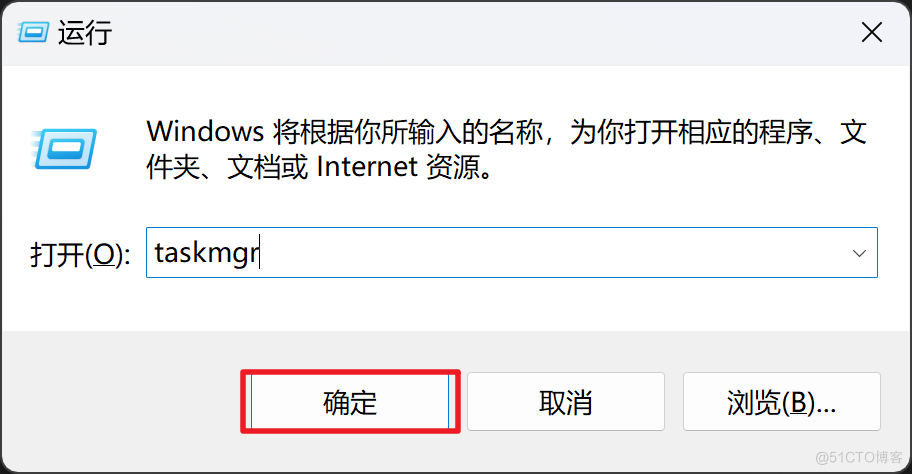
按住windows+r,打开运行窗口,输入taskmgr打开任务管理器:
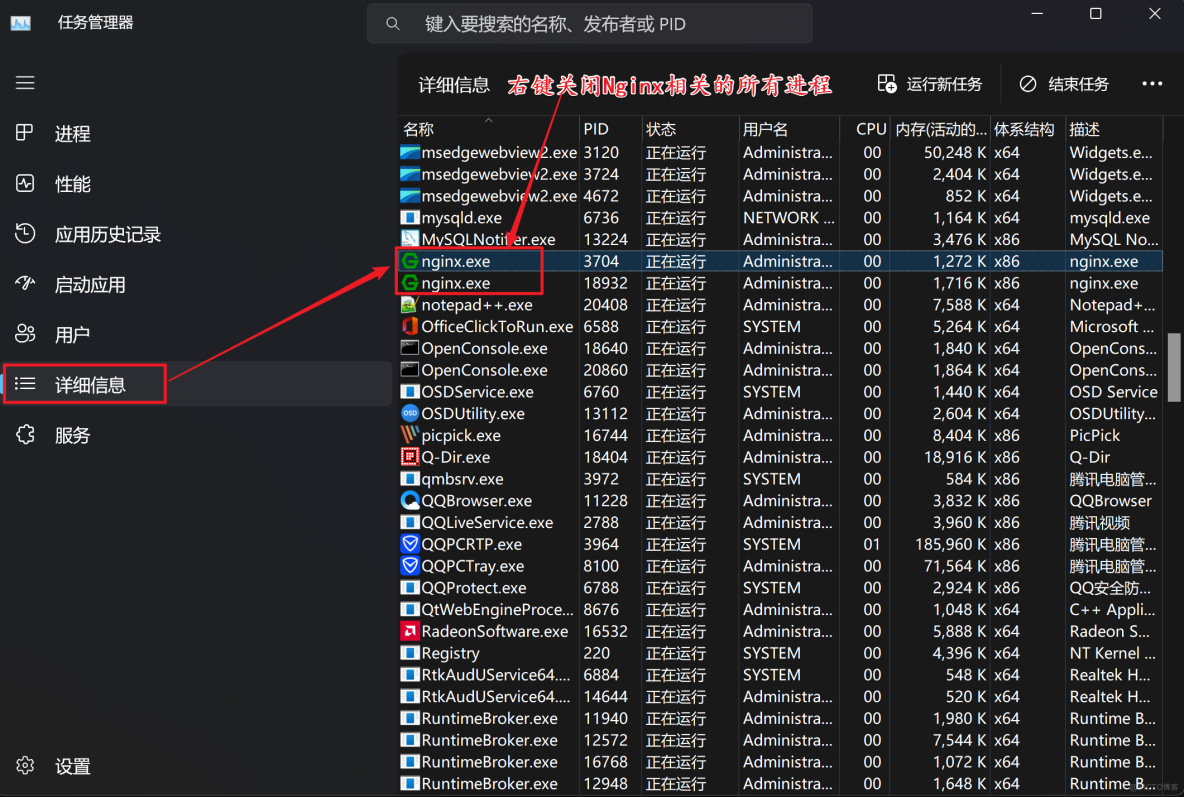
在任务管理器中关闭Nginx相关的所有进程:
2.2.4 配置Nginx代理
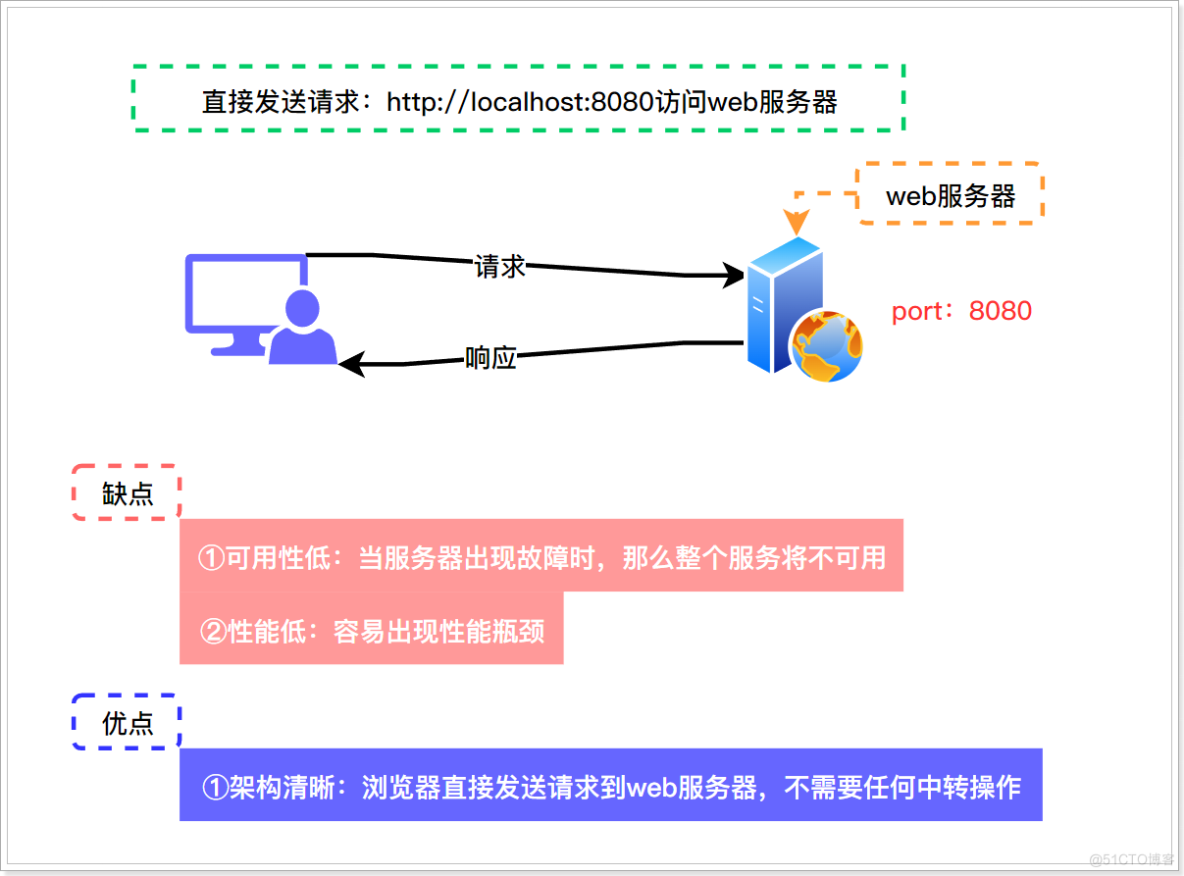
还记得一开始的那张图吗:
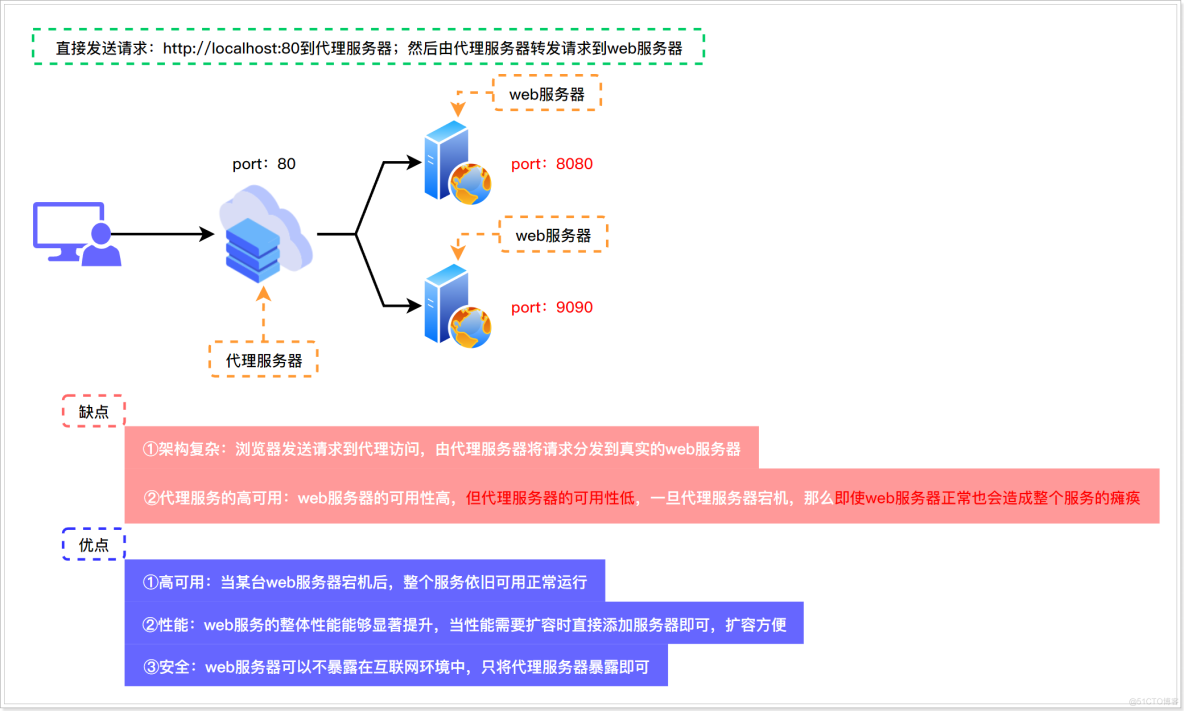
客户端以后都是访问到Nginx(代理服务器),然后由Nginx将请求转发到Tomcat(web服务器)
所以,我们要在Nginx中进行相关配置;
编辑nginx/conf/nginx.conf配置文件:

1)定义集群组:
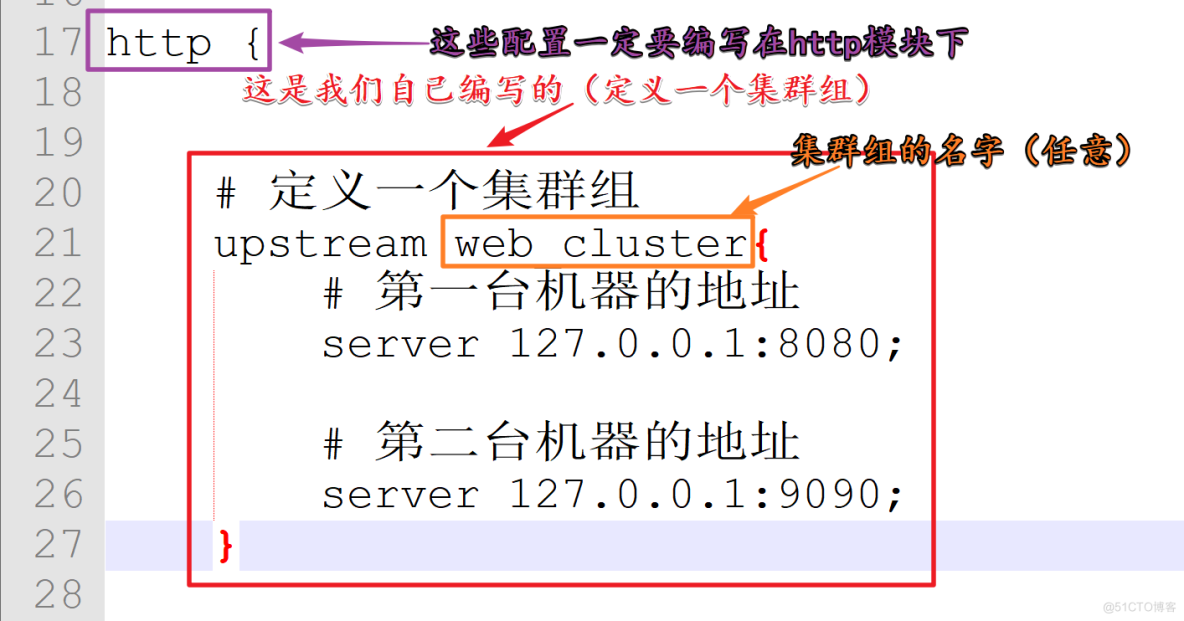
怕自己编写错误的那就直接复制我的吧(注意,一定要将配置编写在http模块下):
# 定义一个集群组upstream web_cluster{ # 第一台机器的地址 server 127.0.0.1:8080; # 第二台机器的地址 server 127.0.0.1:9090;}
2)代理配置
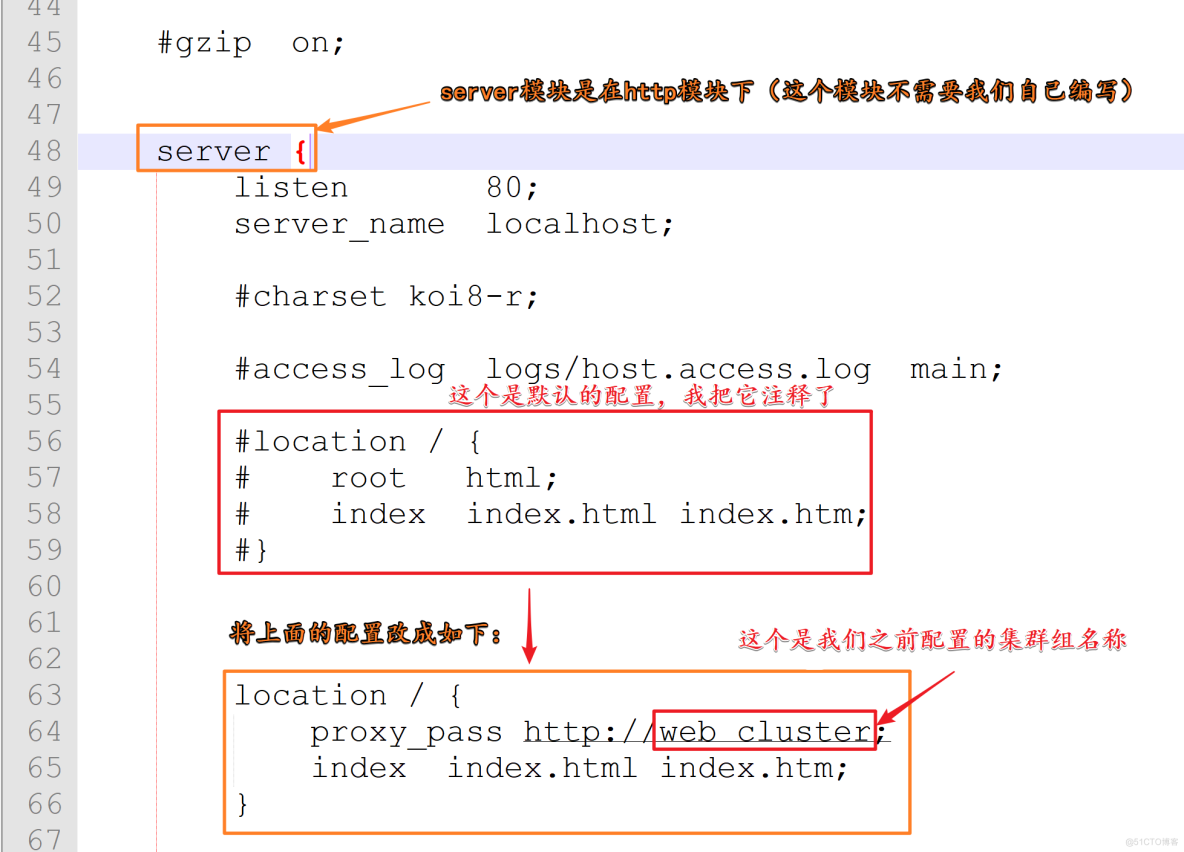
- 只需要把Nginx的http模块下的server模块下的location配置替换成下面的即可:
location / { proxy_pass http://web_cluster; index index.html index.htm;}
- 配置完成的Nginx的配置文件(如果你实在拿不稳,就全盘复制我的吧):
#user nobody;worker_processes 1;#error_log logs/error.log;#error_log logs/error.log notice;#error_log logs/error.log info;#pid logs/nginx.pid;events { worker_connections 1024;}http { # 定义一个集群组 upstream web_cluster{ # 第一台机器的地址 server 127.0.0.1:8080; # 第二台机器的地址 server 127.0.0.1:9090; } include mime.types; default_type application/octet-stream; #log_format main '$remote_addr - $remote_user [$time_local] "$request" ' # '$status $body_bytes_sent "$http_referer" ' # '"$http_user_agent" "$http_x_forwarded_for"'; #access_log logs/access.log main; sendfile on; #tcp_nopush on; #keepalive_timeout 0; keepalive_timeout 65; #gzip on; server { listen 80; server_name localhost; #charset koi8-r; #access_log logs/host.access.log main; #location / { # root html; # index index.html index.htm; #} location / { proxy_pass http://web_cluster; index index.html index.htm; } #error_page 404 /404.html; # redirect server error pages to the static page /50x.html # error_page 500 502 503 504 /50x.html; location = /50x.html { root html; } # proxy the PHP scripts to Apache listening on 127.0.0.1:80 # #location ~ \.php$ { # proxy_pass http://127.0.0.1; #} # pass the PHP scripts to FastCGI server listening on 127.0.0.1:9000 # #location ~ \.php$ { # root html; # fastcgi_pass 127.0.0.1:9000; # fastcgi_index index.php; # fastcgi_param SCRIPT_FILENAME /scripts$fastcgi_script_name; # include fastcgi_params; #} # deny access to .htaccess files, if Apache's document root # concurs with nginx's one # #location ~ /\.ht { # deny all; #} } # another virtual host using mix of IP-, name-, and port-based configuration # #server { # listen 8000; # listen somename:8080; # server_name somename alias another.alias; # location / { # root html; # index index.html index.htm; # } #} # HTTPS server # #server { # listen 443 ssl; # server_name localhost; # ssl_certificate cert.pem; # ssl_certificate_key cert.key; # ssl_session_cache shared:SSL:1m; # ssl_session_timeout 5m; # ssl_ciphers HIGH:!aNULL:!MD5; # ssl_prefer_server_ciphers on; # location / { # root html; # index index.html index.htm; # } #}}
2.3 测试集群效果
把Tomcat-8080、Tomcat9090、Nginx等服务器都启动;
访问:http://lcoalhost,发现两台web服务器能够同时提供服务;
Nginx默认的集群策略是负载均衡,即将请求平均分到到每台web服务器;