本文实例分析了Android开发之TabHost选项卡及相关疑难解决方法。分享给大家供大家参考,具体如下:
前言:
虽然现在谷歌已经不推荐使用TabHost,但是初学者还是很有必要接触下这一成金的经典的,本文将介绍纤细介绍这一空间的使用,以及大家可能遇到的问题。注:文末给出完整实现代码
三个问题:
1. 无法显示TabHost
2. 添加图片 + 文字 无法同时
3. 说在最后:点击事件
4. 底部导航无法实现
现在
从问题出发:
问题一:无法显示 TabHost
很多人调用TabHost的方法是:
setContentView(R.layout.activity_main);
tabHost = getTabHost();
然后发现啥也没有,一脸蒙圈。。。 在这里建议大家采用遮掩的调用方法:
LayoutInflater.from(this).inflate(R.layout.activity_main,
    tabHost.getTabContentView(), true);
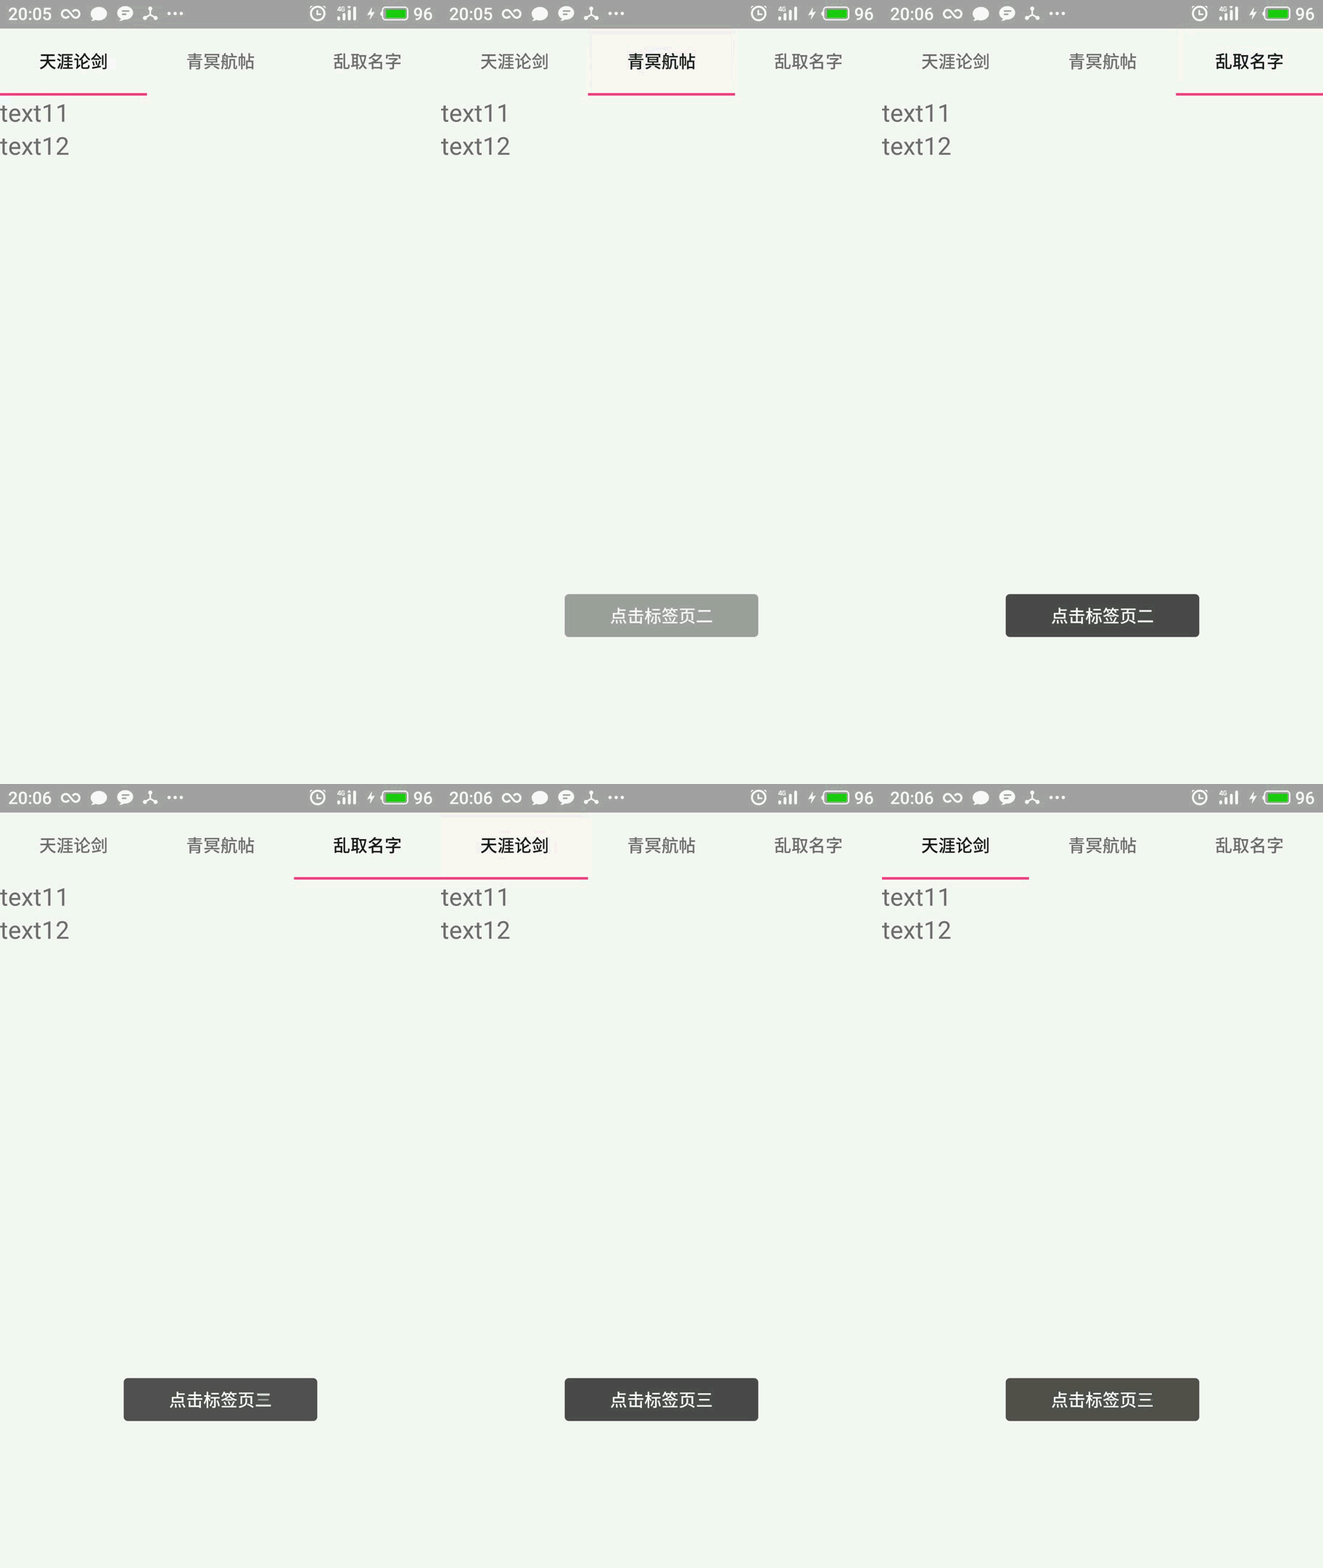
成功后的页面:

注:UI 略丑请忽视
问题二:图片、文字无法同时添加
好了,很多人辛辛苦苦把界面搞出来了,可能想搞个底部菜单 加个图片,结果凉凉 半天搞不出来 ,这里介绍一个方法 ,由于TabHost本身图片、文字冲突 ,无法添加,这是我们就得把目光迁移到自定义view上:本段参考自:https://www.jb51.net/article/157914.htm
首先在/layout下建立自定义view名为:tab_indicator.xml文件
<?xml version="1.0" encoding="utf-8"?>
<RelativeLayout xmlns:android="http://schemas.android.com/apk/res/android"
  android:layout_width="0dip"
  android:layout_height="64dip"
  android:layout_weight="1"
  android:orientation="vertical"
  android:background="#45c0c0c0"
  android:padding="5dp">
  <ImageView android:id="@+id/icon"
    android:layout_width="wrap_content"
    android:layout_height="wrap_content"
    android:layout_centerHorizontal="true"
    />
  <TextView android:id="@+id/title"
    android:layout_width="wrap_content"
    android:layout_height="wrap_content"
    android:layout_alignParentBottom="true"
    android:layout_centerHorizontal="true"
    style="?android:attr/tabWidgetStyle"
    />
</RelativeLayout>
接着,紧随其后在/drawable下添加:tab_info.xml文件:
<?xml version="1.0" encoding="utf-8"?>
<selector xmlns:android="http://schemas.android.com/apk/res/android">
  <item android:drawable="@drawable/find"
    android:state_selected="true" />
  <item android:drawable="@drawable/find1" />
</selector>
这些都搞定之后,就可以在活动中调用了:
首先在活动中先建立AddTab()方法:
private void AddTab(String label, int drawableId) {
  Intent intent = new Intent(this, TextActivity.class);
  TabHost.TabSpec spec = tabHost.newTabSpec(label);
  View tabIndicator = LayoutInflater.from(this).inflate(R.layout.tab_indicator, getTabWidget(), false);
  TextView title = (TextView) tabIndicator.findViewById(R.id.title);
  title.setText(label);
  ImageView icon = (ImageView) tabIndicator.findViewById(R.id.icon);
  icon.setImageResource(drawableId);
  spec.setIndicator(tabIndicator);
  spec.setContent(intent);
  tabHost.addTab(spec);
}
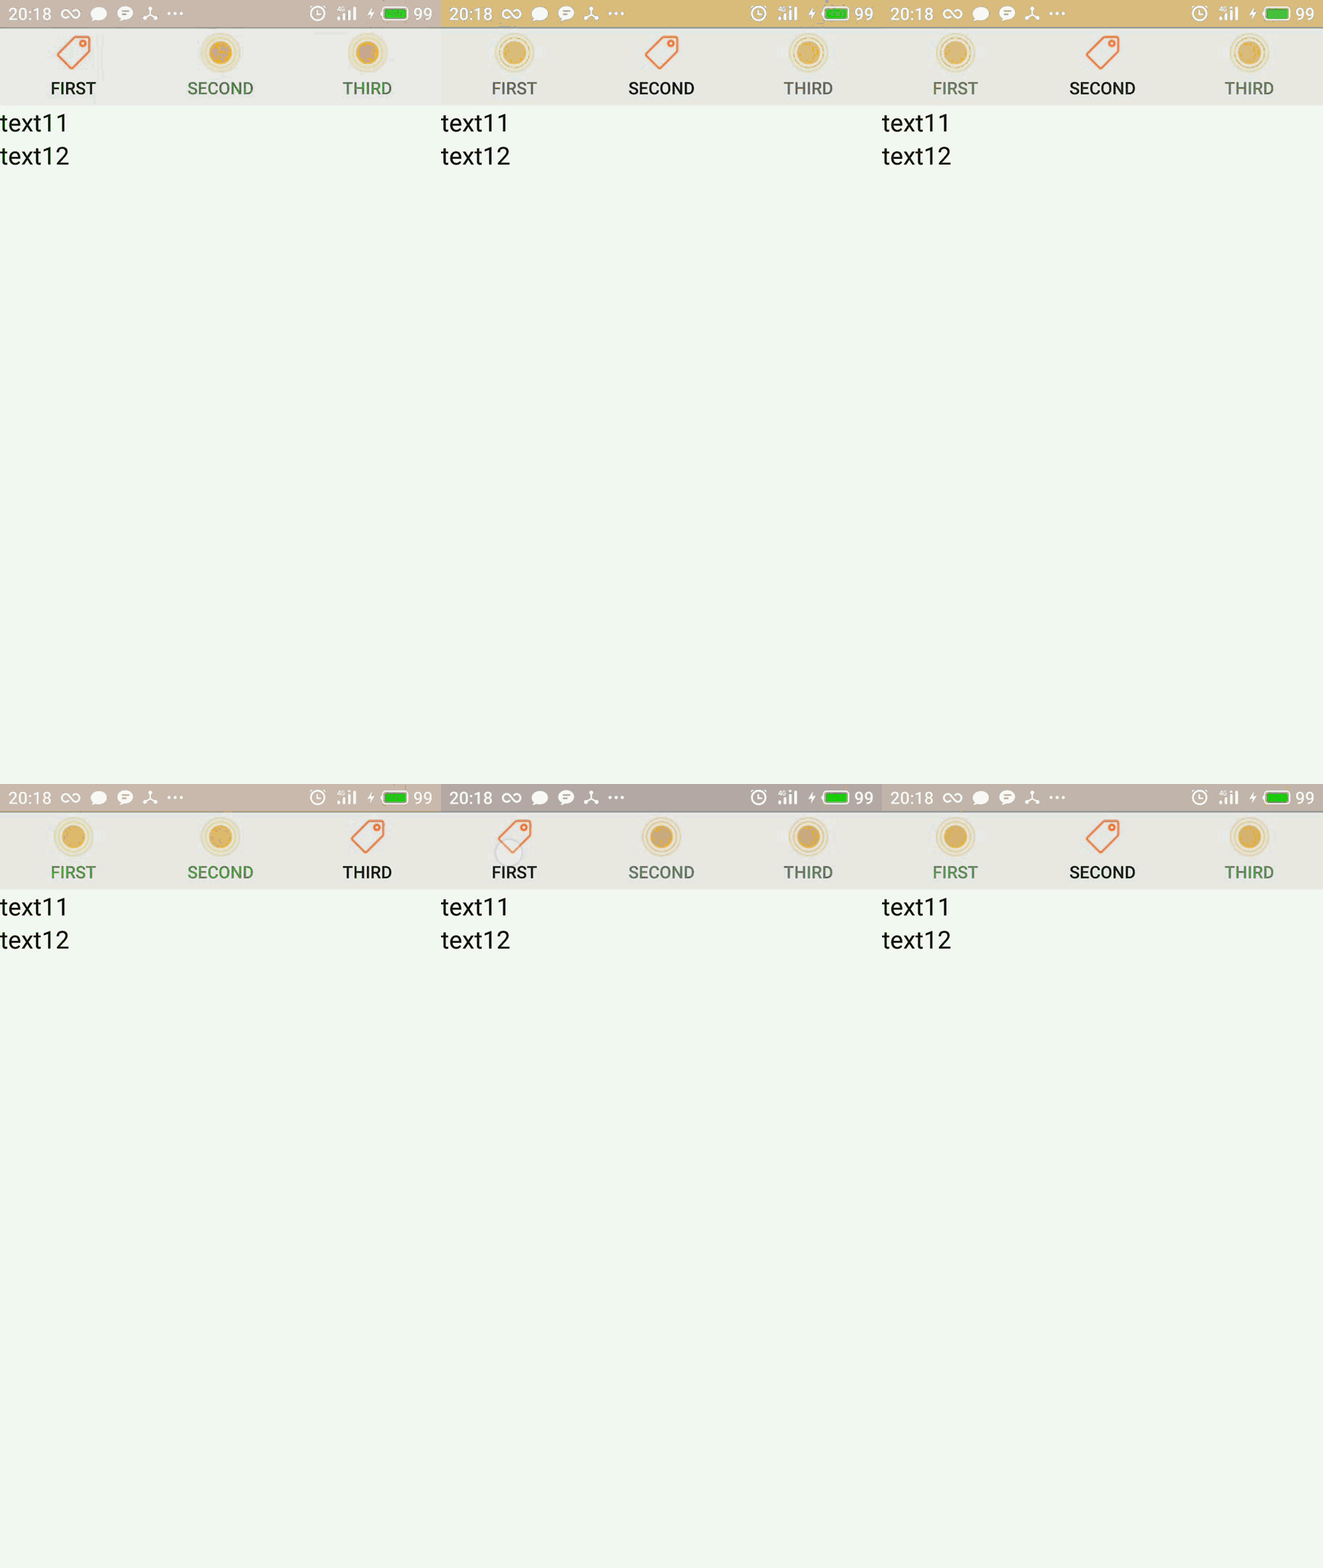
终于我们。。。:

成功了!!!
问题三:添加监听事件
这个无脑 只要 id 匹配就行了,直接上代码:
tabHost.setOnTabChangedListener(new TabHost.OnTabChangeListener(){
  @Override
  // tabId是newTabSpec参数设置的tab页名,并不是layout里面的标识符id
  public void onTabChanged(String tabId) {
    if (tabId.equals("tab1")) {  //第一个标签
      Toast.makeText(MainActivity.this, "点击标签页一", Toast.LENGTH_SHORT).show();
    }else if (tabId.equals("tab2")) {  //第二个标签
      Toast.makeText(MainActivity.this, "点击标签页二", Toast.LENGTH_SHORT).show();
    }else if (tabId.equals("tab3")) {  //第三个标签
      Toast.makeText(MainActivity.this, "点击标签页三", Toast.LENGTH_SHORT).show();
    }
  }
});
暂时能记起来的 疑难就这些了 如果还有请给我留言 我尽力解答。。
附上布局与实现:
布局:
<?xml version="1.0" encoding="utf-8" ?>
<TabHost xmlns:android="http://schemas.android.com/apk/res/android"
  android:id="@android:id/tabhost"
  android:layout_width="match_parent"
  android:layout_height="match_parent"
  android:layout_weight="1"
  android:scrollbarSize="100dp">
  <LinearLayout
    android:layout_width="match_parent"
    android:layout_height="match_parent"
    android:orientation="vertical">
    <TabWidget
      android:id="@android:id/tabs"
      android:layout_width="match_parent"
      android:layout_height="wrap_content">
      <FrameLayout
        android:id="@android:id/tabcontent"
        android:layout_width="match_parent"
        android:layout_height="match_parent">
        <!--定义第一个标签页特内容-->
        <LinearLayout
          android:id="@+id/tab01"
          android:orientation="vertical"
          android:layout_width="match_parent"
          android:layout_height="match_parent">
          <TextView
            android:layout_width="match_parent"
            android:layout_height="wrap_content"
            android:text="text11"
            android:textSize="20dp"/>
          <TextView
            android:layout_width="match_parent"
            android:layout_height="wrap_content"
            android:text="text12"
            android:textSize="20dp"/>
        </LinearLayout>
        <!--定义第二个标签页的内容-->
        <LinearLayout
          android:id="@+id/tab02"
          android:orientation="vertical"
          android:layout_width="match_parent"
          android:layout_height="match_parent">
          <TextView
            android:layout_width="match_parent"
            android:layout_height="wrap_content"
            android:text="text11"
            android:textSize="20dp"/>
          <TextView
            android:layout_width="match_parent"
            android:layout_height="wrap_content"
            android:text="text12"
            android:textSize="20dp"/>
        </LinearLayout>
        <!--定义第三个标签页的内容-->
        <LinearLayout
          android:id="@+id/tab03"
          android:orientation="vertical"
          android:layout_width="match_parent"
          android:layout_height="match_parent">
          <TextView
            android:layout_width="match_parent"
            android:layout_height="wrap_content"
            android:text="text11"
            android:textSize="20dp"/>
          <TextView
            android:layout_width="match_parent"
            android:layout_height="wrap_content"
            android:text="text12"
            android:textSize="20dp"/>
        </LinearLayout>
      </FrameLayout>
    </TabWidget>
  </LinearLayout>
</TabHost>
实现:
public class MainActivity extends TabActivity {
  TabHost tabHost;
  @Override
  protected void onCreate(Bundle savedInstanceState) {
    super.onCreate(savedInstanceState);
//    setContentView(R.layout.activity_main);
    tabHost = getTabHost();
    LayoutInflater.from(this).inflate(R.layout.activity_main,
        tabHost.getTabContentView(), true);
    AddTab("tab1", R.drawable.tab_info);
    AddTab("tab2", R.drawable.tab_info);
    AddTab("tab3", R.drawable.tab_info);
//
    //标签切换事件处理,setOnTabChangedListener
    tabHost.setOnTabChangedListener(new TabHost.OnTabChangeListener(){
      @Override
      // tabId是newTabSpec参数设置的tab页名,并不是layout里面的标识符id
      public void onTabChanged(String tabId) {
        if (tabId.equals("tab1")) {  //第一个标签
          Toast.makeText(MainActivity.this, "点击标签页一", Toast.LENGTH_SHORT).show();
        }else if (tabId.equals("tab2")) {  //第二个标签
          Toast.makeText(MainActivity.this, "点击标签页二", Toast.LENGTH_SHORT).show();
        }else if (tabId.equals("tab3")) {  //第三个标签
          Toast.makeText(MainActivity.this, "点击标签页三", Toast.LENGTH_SHORT).show();
        }
      }
    });
  }
  private void AddTab(String label, int drawableId) {
    Intent intent = new Intent(this, TextActivity.class);
    TabHost.TabSpec spec = tabHost.newTabSpec(label);
    View tabIndicator = LayoutInflater.from(this).inflate(R.layout.tab_indicator, getTabWidget(), false);
    TextView title = (TextView) tabIndicator.findViewById(R.id.title);
    title.setText(label);
    ImageView icon = (ImageView) tabIndicator.findViewById(R.id.icon);
    icon.setImageResource(drawableId);
    spec.setIndicator(tabIndicator);
    spec.setContent(intent);
    tabHost.addTab(spec);
  }
}
ps:新建的layout和/drawable里的xml文件在问题给过,这里就不反复给了。
问题四:底部导航效果无法实现
底部导航的参见方法是把TabWidget放在FrameLayout后面,但是啧啧。。。
<RelativeLayout xmlns:android="http://schemas.android.com/apk/res/android"
  android:layout_width="fill_parent"
  android:layout_height="fill_parent" >
  <TabHost
    android:id="@android:id/tabhost"
    android:layout_width="match_parent"
    android:layout_height="match_parent"
    android:layout_alignParentBottom="true"
    android:layout_alignParentLeft="true" >
    <LinearLayout
      android:layout_width="match_parent"
      android:layout_height="match_parent"
      android:orientation="vertical" >
      <FrameLayout
        android:id="@android:id/tabcontent"
        android:layout_width="match_parent"
        android:layout_height="match_parent"
        android:layout_gravity="top">
        中间内容前面给出 这里省略
      </FrameLayout>
    </LinearLayout>
    <TabWidget
      android:id="@android:id/tabs"
      android:layout_width="match_parent"
      android:layout_height="wrap_content"
      android:layout_gravity="bottom" >
    </TabWidget>
  </TabHost>
</RelativeLayout>
你会发现并没有什么 卵用 !!!呕!!,so:
百度了半天找不到问题所在,然后。。。修改下MainActivity
@Override
protected void onCreate(Bundle savedInstanceState) {
  super.onCreate(savedInstanceState);
  //原来
//    tabHost = getTabHost();
//    LayoutInflater.from(this).inflate(R.layout.activity_main,
//        tabHost.getTabContentView(), true);
  //修改后
  setContentView(R.layout.activity_main);
  tabHost = getTabHost();
  tabHost.setup(this.getLocalActivityManager());
  AddTab("tab1", R.drawable.tab_info);
  AddTab("tab2", R.drawable.tab_info);
  AddTab("tab3", R.drawable.tab_info);
  //标签切换事件处理,setOnTabChangedListener
  iniClick();
}
注:此处我已经将点击事件封装到方法中
最后:全剧终
哦,还没有且等我放下最后的图。。

啧啧,搞定
更多关于Android相关内容感兴趣的读者可查看本站专题:《Android开发入门与进阶教程》、《Android调试技巧与常见问题解决方法汇总》、《Android基本组件用法总结》、《Android视图View技巧总结》、《Android布局layout技巧总结》及《Android控件用法总结》
希望本文所述对大家Android程序设计有所帮助。
