本篇主要记录一下 如何安装 openstack的 第一个组件 keystone 认证授权组件
openstack 版本 我选的是queens 版本
看了一下官网 文档还是蛮全的,我采用 centos7 来做实验
https://docs.openstack.org/keystone/queens/install/

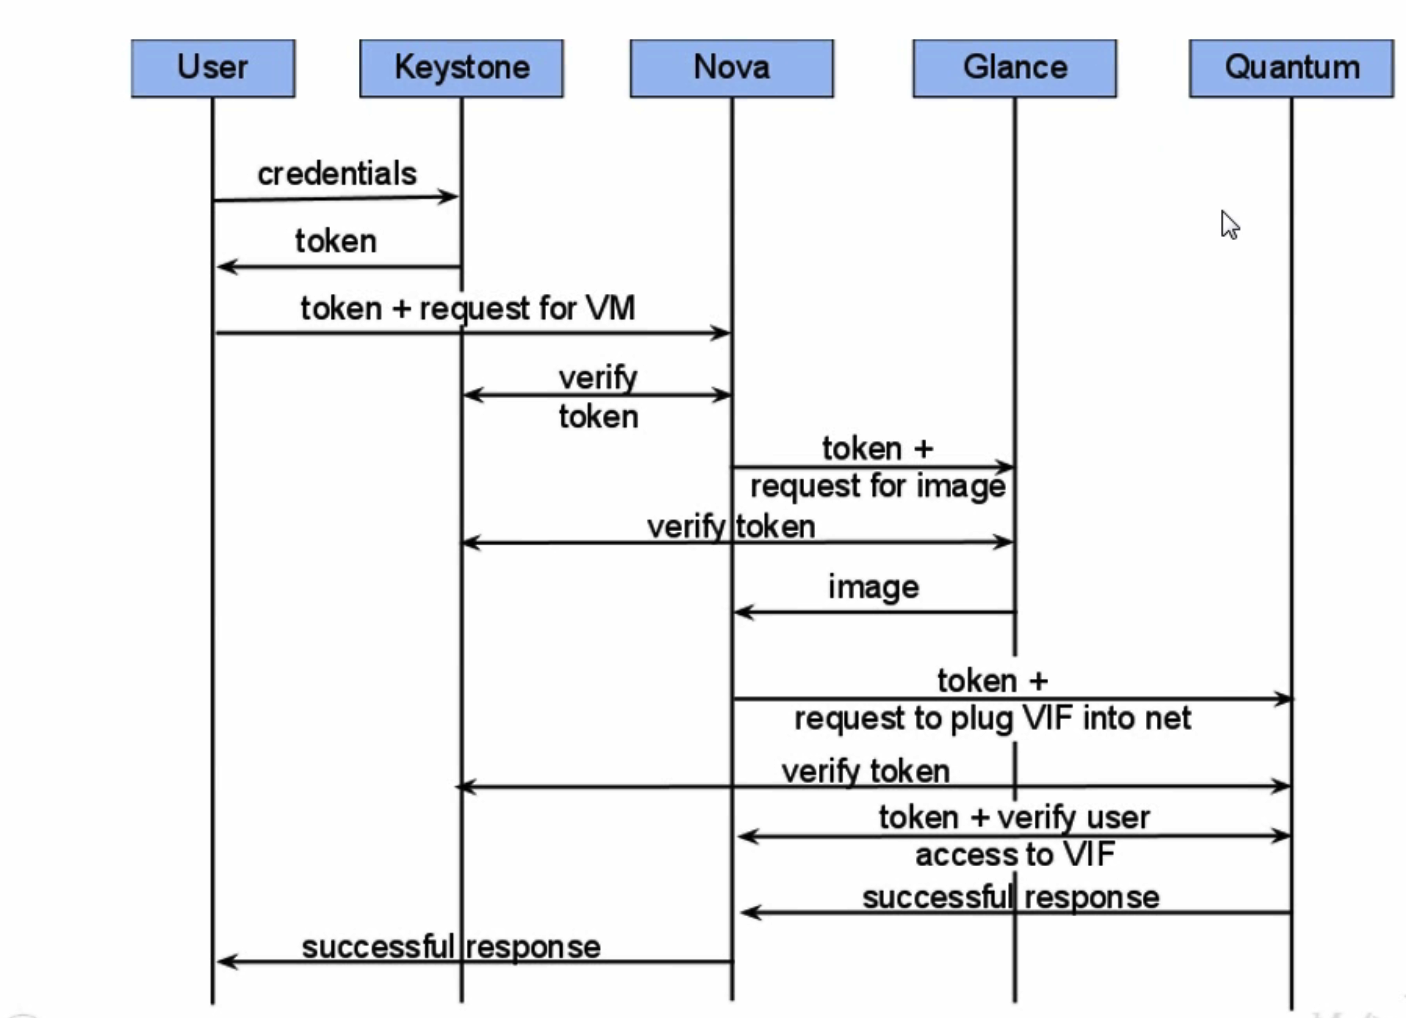
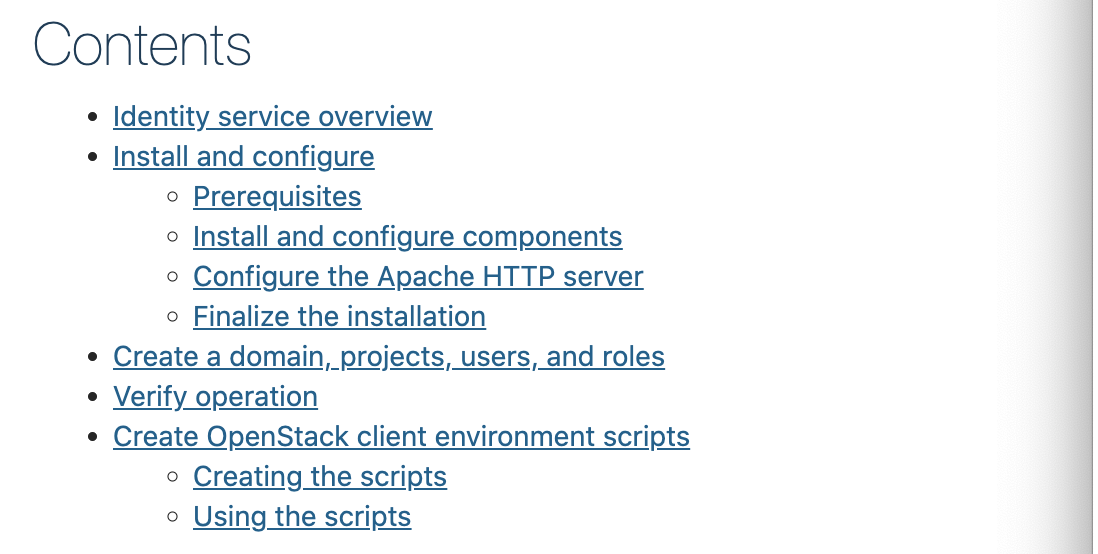
Keystone 是openstack 体系下面的认证、授权、和 目录服务管理 的一个重要的组件,keystone 通常是我们接触openstack 的第一个组件,它可以管理其他openstack service ,每个服务都可以有一个或者多个endpoints,并且 endpoint 被分为 3种类型: admin 、internal、public, 通过名称我们也能大概知道 就是其他服务所暴露的终端地址 给不通场景使用,public 一般是对外的 internal 一般是服务之间的通信地址,admin 一般管理员操作的地址,并且 endpoint 具有 region 类型,既可以对 endpoint 进行局域划分 ,我们默认使用RegionOne
具体看 https://docs.openstack.org/keystone/queens/install/
3.安装 OpenStack packages前置 需要准备一个 centos7 系统
-
Upgrade the packages on all nodes:
yum upgrade注意:If the upgrade process includes a new kernel, reboot your host to activate it.
-
Install the appropriate OpenStack client for your version.
For CentOS 7 and RHEL 7
# yum install python-openstackclientFor CentOS 8 and RHEL 8
# yum install python3-openstackclient -
RHEL and CentOS enable SELinux by default. Install the
openstack-selinuxpackage to automatically manage security policies for OpenStack services:# yum install openstack-selinux
或者通过手动关闭selnux
4.Network Time Protocol (NTP ) (必须)
openstack 各个组件之间 需要进行频繁的调用,所以他们的 时间一点要保持一致,所以这个 NTP 必须要进行处理
centos7 已经推荐使用 chrony 了 ,我看 openstack 官方文档也是这样操作的
4.1 安装 chronyyum -y install chrony
#注释 这4个
#server 0.centos.pool.ntp.org iburst
#server 1.centos.pool.ntp.org iburst
#server 2.centos.pool.ntp.org iburst
#server 3.centos.pool.ntp.org iburst
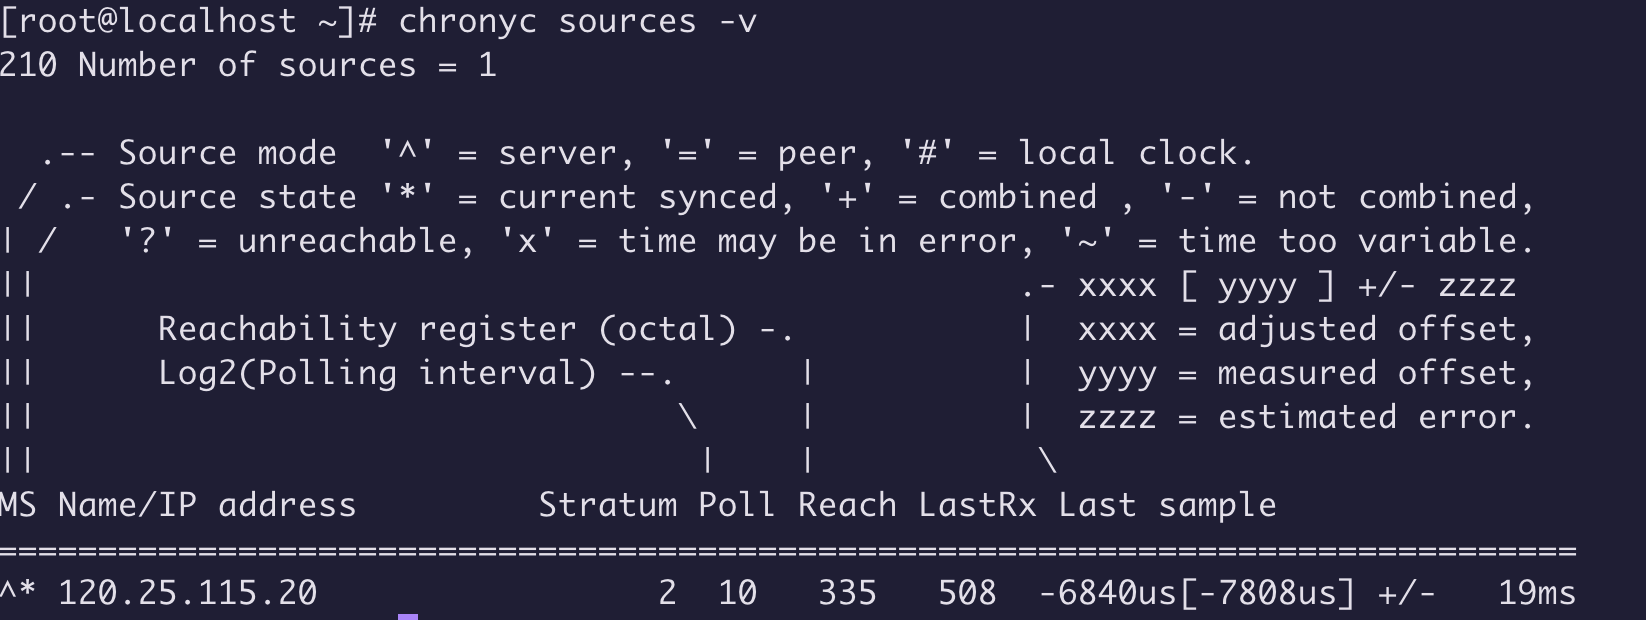
#添加阿里云 ntp 服务器
server ntp1.aliyun.com iburst
#允许同步的网段 我的是这个,根据情况自己配置
allow 192.168.56.0/24
注意是 chronyd.service
systemctl enable chronyd.service
systemctl start chronyd.service
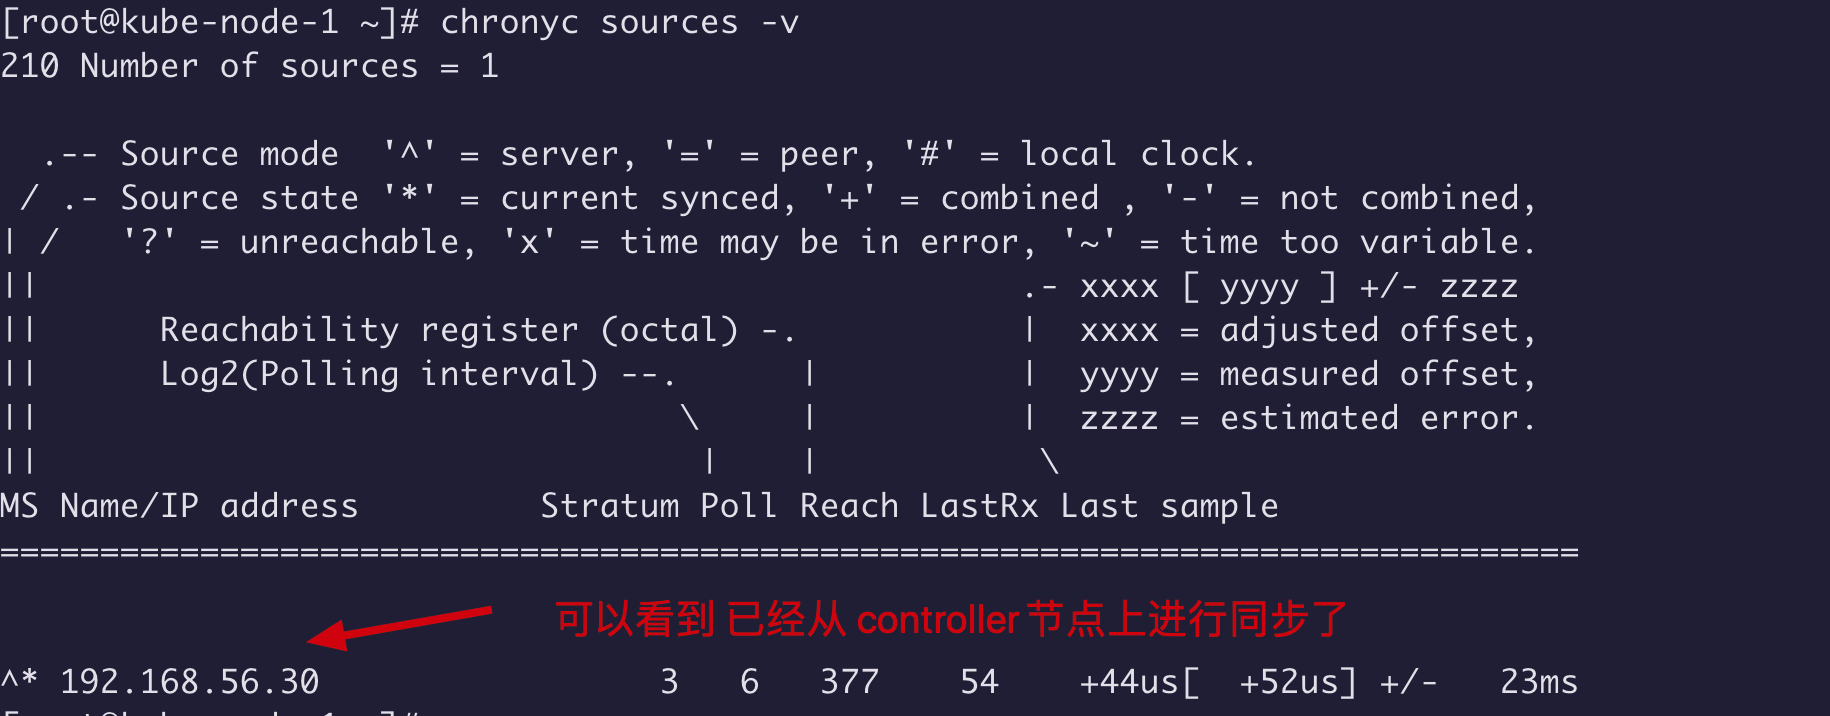
nodes 其他节点 直接同步 上面的 controller节点即可
server 192.168.56.30
注意: 由于chrony 使用 udp 端口 123 和 323 ,所以 注意关闭 防火墙,或者把端口打开!
5.1 Install the packages: 安装 mariadb 包由于 keystone 中相关的 services 信息 都需要存储的地方 ,所以 需要安装 mariadb ,不过也支持其他
# yum install mariadb mariadb-server python2-PyMySQL
Create and edit the /etc/my.cnf.d/openstack.cnf file (backup existing configuration files in /etc/my.cnf.d/ if needed) and complete the following actions:
-
Create a
[mysqld]section, and set thebind-addresskey to the management IP address of the controller node to enable access by other nodes via the management network. Set additional keys to enable useful options and the UTF-8 character set:[mysqld] bind-address = 192.168.56.30 default-storage-engine = innodb innodb_file_per_table = on max_connections = 4096 collation-server = utf8_general_ci character-set-server = utf8
注意 在 /etc/my.cnf.d/openstack.cnf 下面进行编辑 然后 bind-address 可以指定为 controller 节点ip
systemctl enable mariadb.service
systemctl start mariadb.service
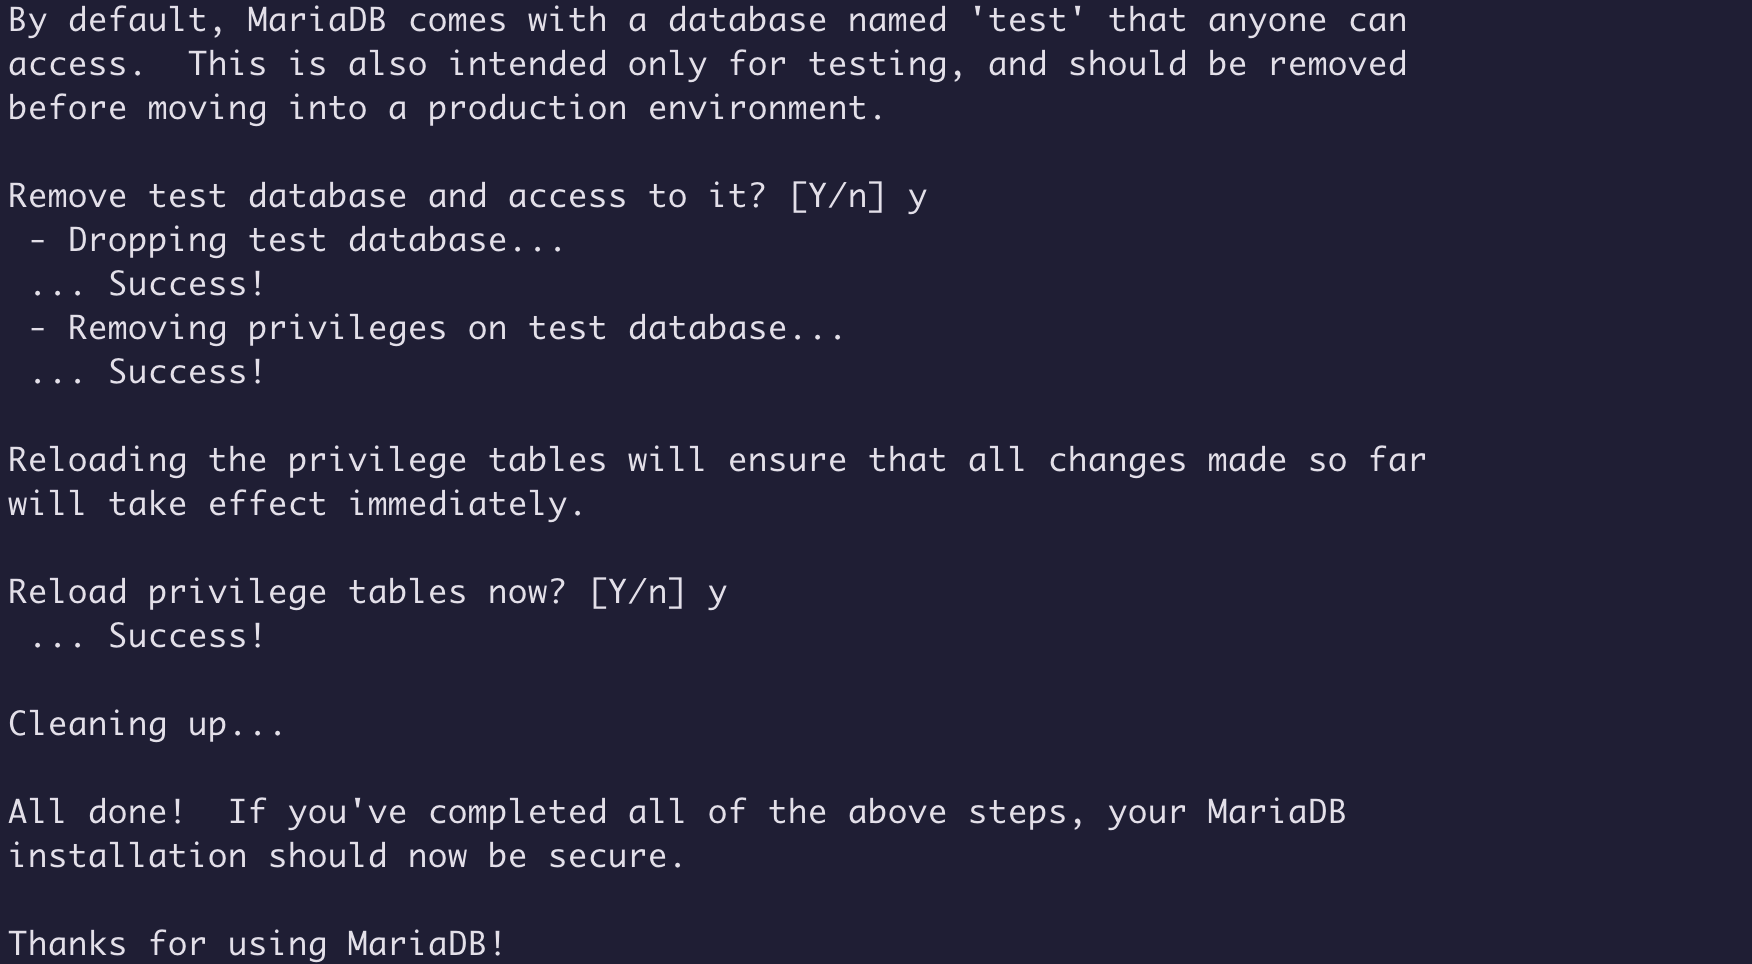
mysql_secure_installation #一步步配置即可
6.1 安装 rabbitmq-serverOpenStack 使用消息队列来协调服务之间的操作和状态信息。消息队列服务通常在控制器节点上运行。OpenStack支持多种消息队列服务,包括RabbitMQ,Qpid和ZeroMQ。
yum install rabbitmq-server
systemctl enable rabbitmq-server.service
systemctl start rabbitmq-server.service
rabbitmqctl add_user openstack RABBIT_PASS #注意替换 RABBIT_PASS 密码
openstack user:
rabbitmqctl set_permissions openstack ".*" ".*" ".*"
官网地址:https://docs.openstack.org/keystone/queens/install/index-rdo.html
上面已经安装了 mariadb 服务,这里需要开始对它进行配置
Before you install and configure the Identity service, you must create a database.
-
使用root用户登录 mysql :
$ mysql -u root -p -
创建
keystonedatabase:MariaDB [(none)]> CREATE DATABASE keystone; -
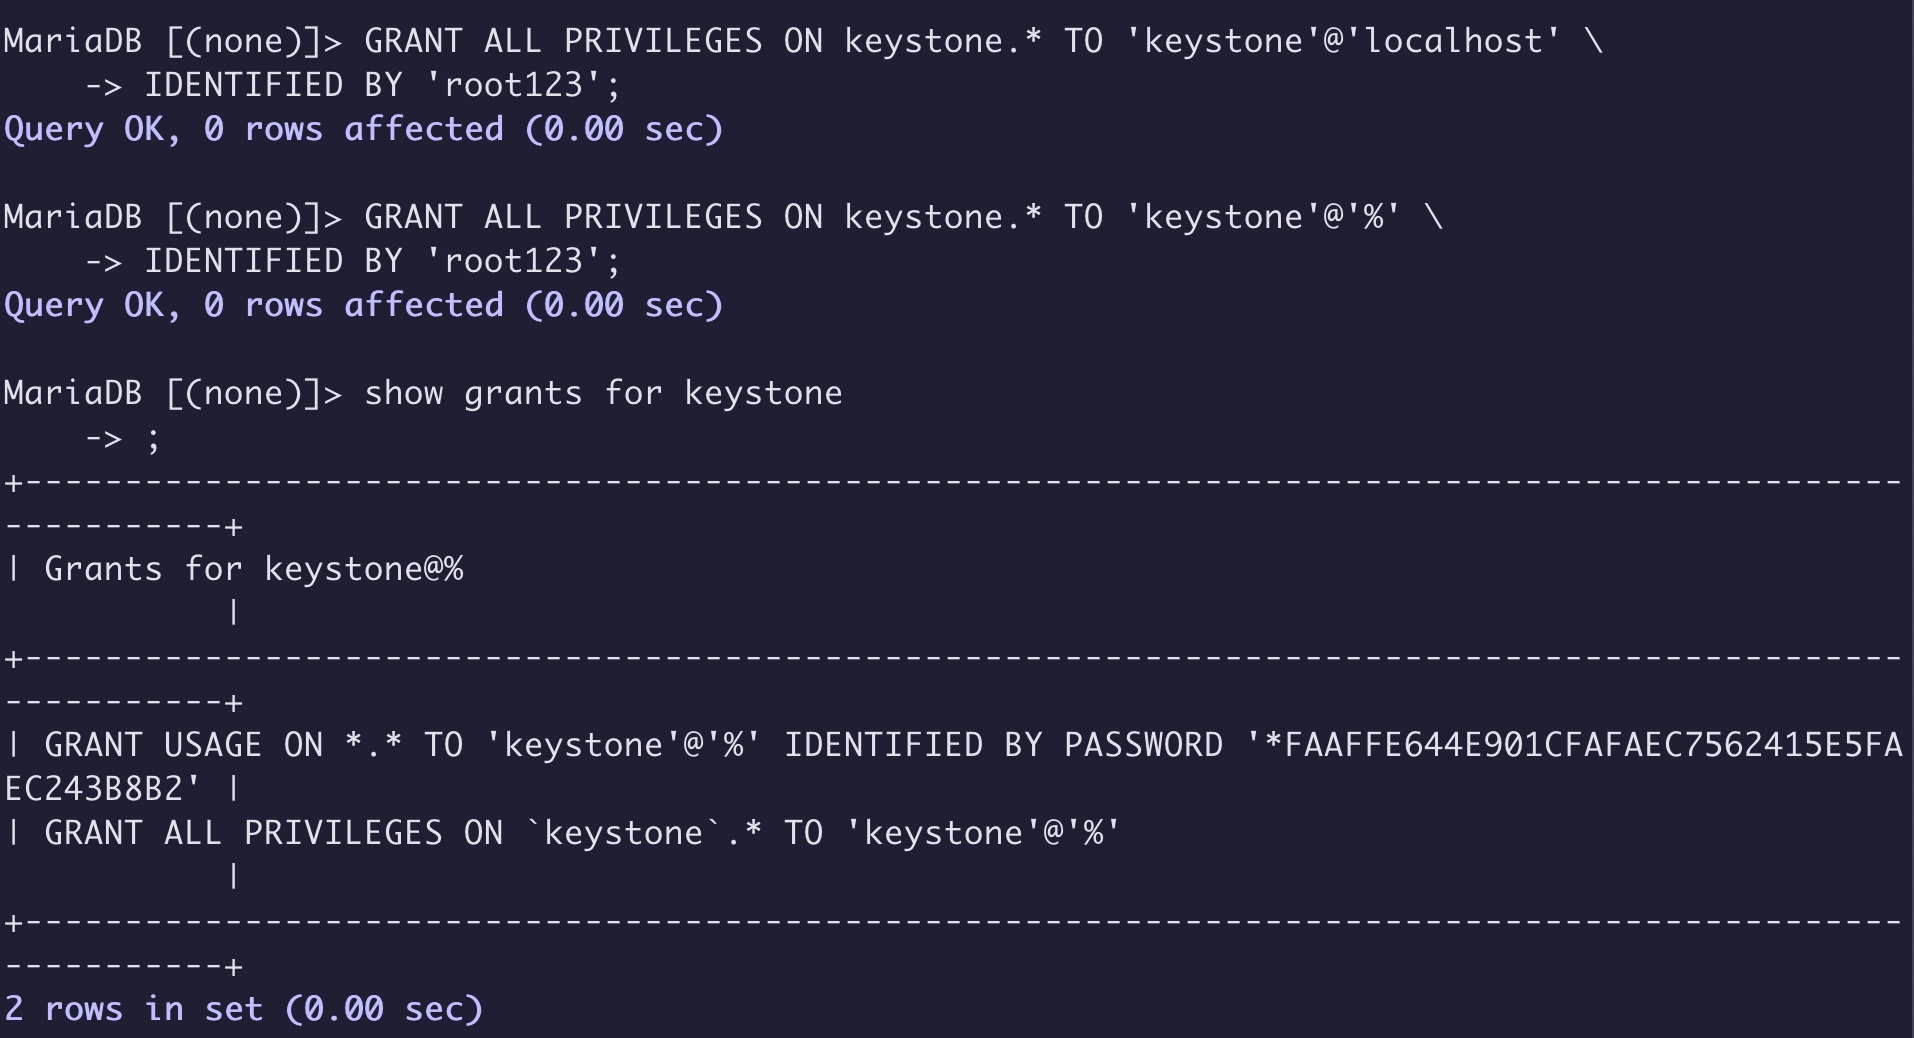
Grant proper access to the
keystonedatabase:MariaDB [(none)]> GRANT ALL PRIVILEGES ON keystone.* TO 'keystone'@'localhost' \ IDENTIFIED BY 'KEYSTONE_DBPASS'; MariaDB [(none)]> GRANT ALL PRIVILEGES ON keystone.* TO 'keystone'@'%' \ IDENTIFIED BY 'KEYSTONE_DBPASS';
Replace KEYSTONE_DBPASS with a suitable password.
yum install openstack-keystone httpd mod_wsgi
安装过程中的报错:

Error: Package: python2-qpid-proton-0.22.0-1.el7.x86_64 (centos-openstack-queens)
Requires: qpid-proton-c(x86-64) = 0.22.0-1.el7
Available: qpid-proton-c-0.14.0-2.el7.x86_64 (extras)
qpid-proton-c(x86-64) = 0.14.0-2.el7
Available: qpid-proton-c-0.17.0-4.el7.x86_64 (centos-openstack-queens)
qpid-proton-c(x86-64) = 0.17.0-4.el7
Available: qpid-proton-c-0.22.0-1.el7.x86_64 (centos-openstack-queens)
qpid-proton-c(x86-64) = 0.22.0-1.el7
Installing: qpid-proton-c-0.35.0-1.el7.x86_64 (epel)
qpid-proton-c(x86-64) = 0.35.0-1.el7
You could try using --skip-broken to work around the problem
You could try running: rpm -Va --nofiles --nodigest

包冲突导致的兼容错误单独选定需要的版本进行安装即可

`解决方案:yum install -y python2-qpid-proton-0.22.0-1.el7.x86_64
安装完成后 /etc/keyston 就存在了
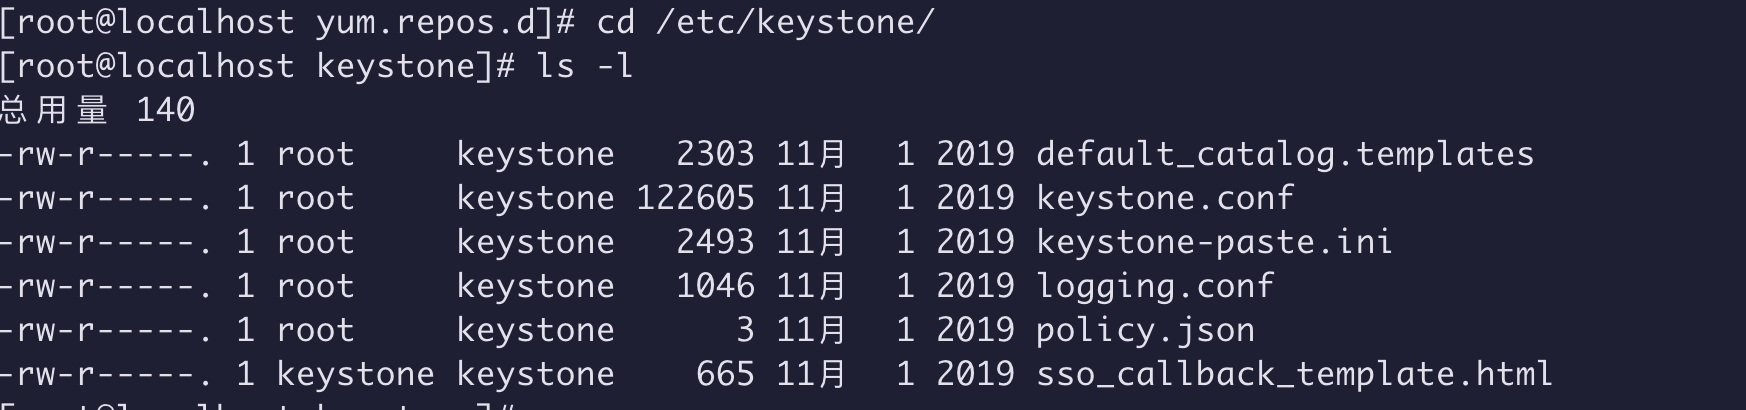
/etc/keystone/keystone.conf 连接 mysql
[database]
# ...
connection = mysql+pymysql://keystone:KEYSTONE_DBPASS@controller/keystone
注意 controller 是你的 本机ip 可以配置掉 /etc/hosts中
7.2.3 token provider[token]
# ...
provider = fernet
su -s /bin/sh -c "keystone-manage db_sync" keystone
keystone-manage fernet_setup --keystone-user keystone --keystone-group keystone
keystone-manage credential_setup --keystone-user keystone --keystone-group keystone
注意替换 ADMIN_PASS
keystone-manage bootstrap --bootstrap-password ADMIN_PASS \
  --bootstrap-admin-url http://controller:5000/v3/ \
  --bootstrap-internal-url http://controller:5000/v3/ \
  --bootstrap-public-url http://controller:5000/v3/ \
  --bootstrap-region-id RegionOne
ServerName controller
Create a link to the /usr/share/keystone/wsgi-keystone.conf file:
ln -s /usr/share/keystone/wsgi-keystone.conf /etc/httpd/conf.d/
systemctl enable httpd.service
systemctl start httpd.service
为了可以执行 openstack 命令
export OS_USERNAME=admin
export OS_PASSWORD=ADMIN_PASS #这个是上面 keystone-manage bootstrap 指定的
export OS_PROJECT_NAME=admin
export OS_USER_DOMAIN_NAME=Default
export OS_PROJECT_DOMAIN_NAME=Default
export OS_AUTH_URL=http://controller:5000/v3
export OS_IDENTITY_API_VERSION=3
openstack domain create --description "An Example Domain" example
openstack project create --domain default --description "Service Project" myservice
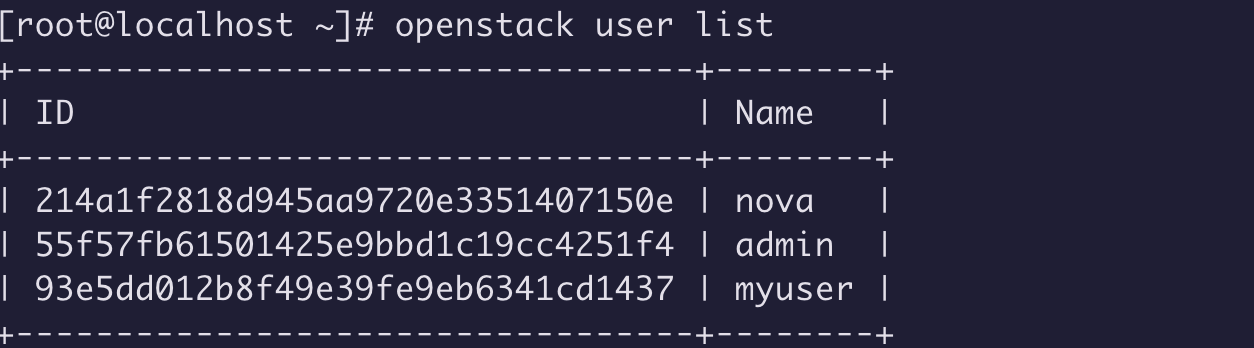
#创建 用户
openstack user create --domain default   --password ADMIN_PASS myuser

#创建 角色
openstack role create myrole

#为servce 项目指定用户角色
openstack role add --project service --user myuser myrole #为service项目指定用户角色
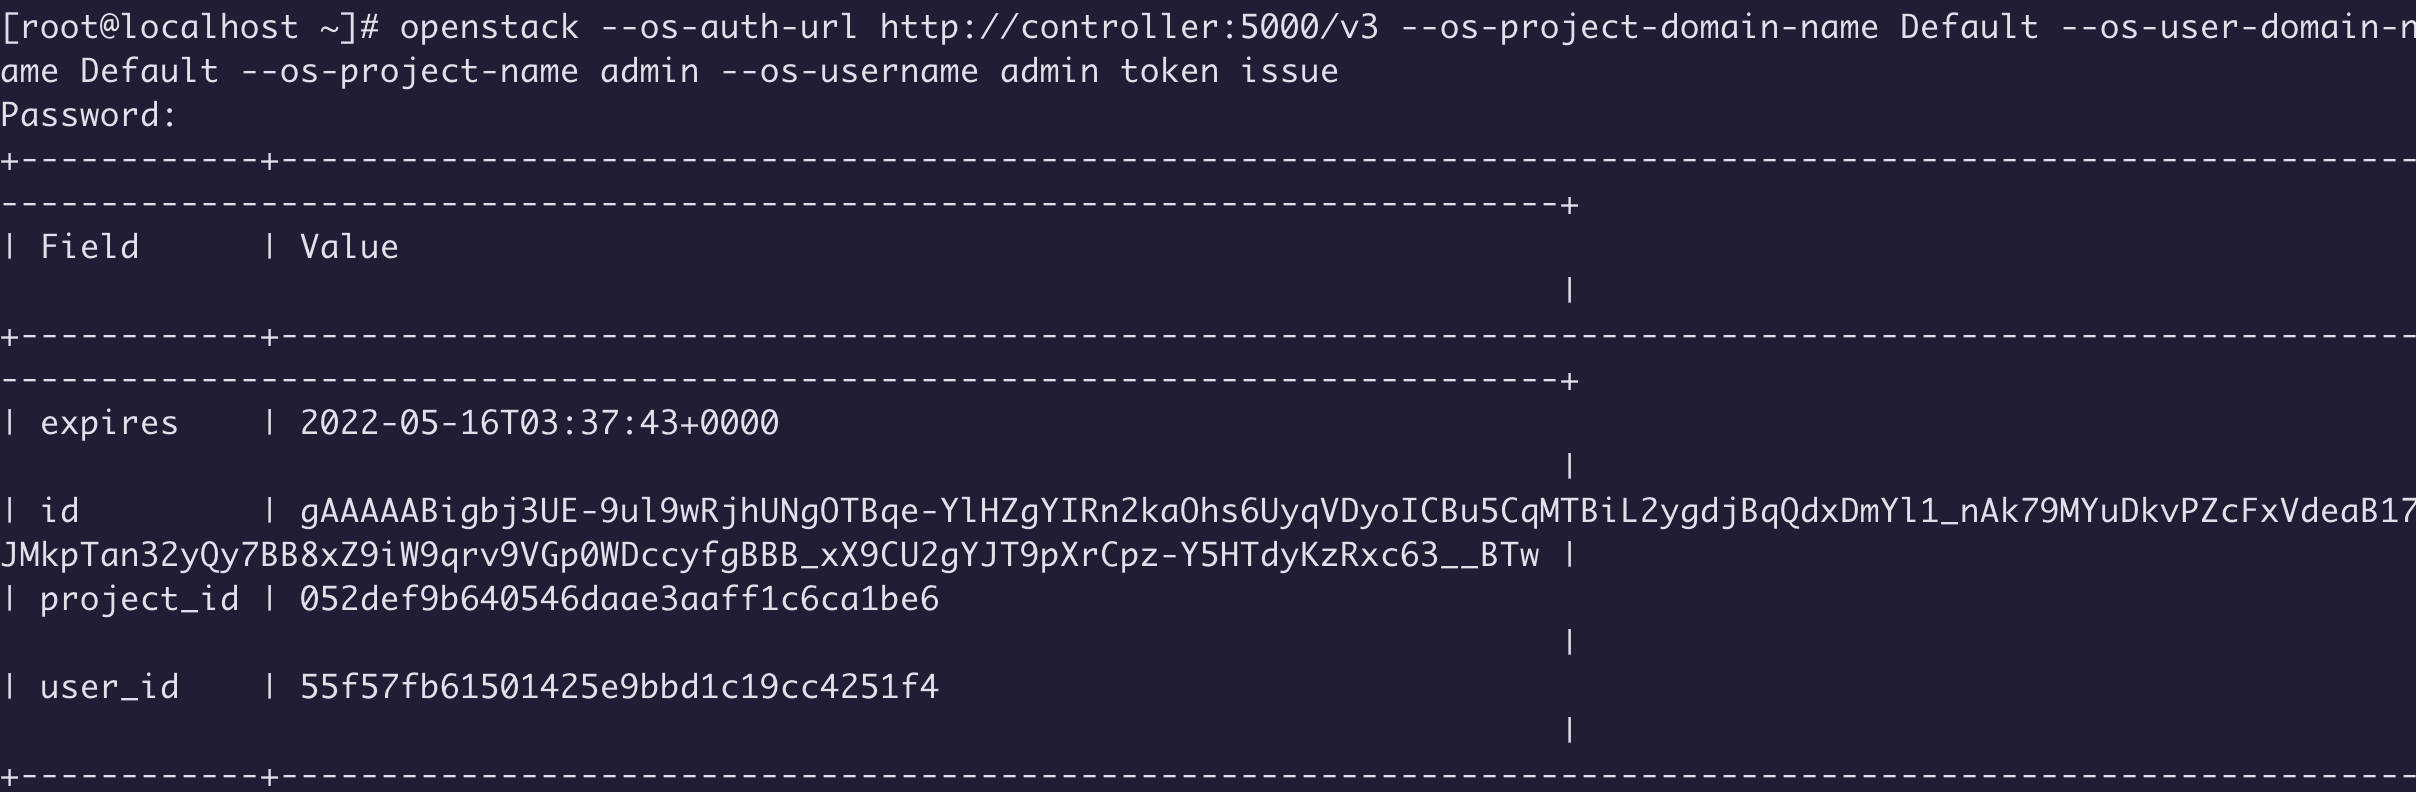
unset OS_AUTH_URL OS_PASSWORD
openstack --os-auth-url http://controller:5000/v3 --os-project-domain-name Default --os-user-domain-name Default --os-project-name admin --os-username admin token issue
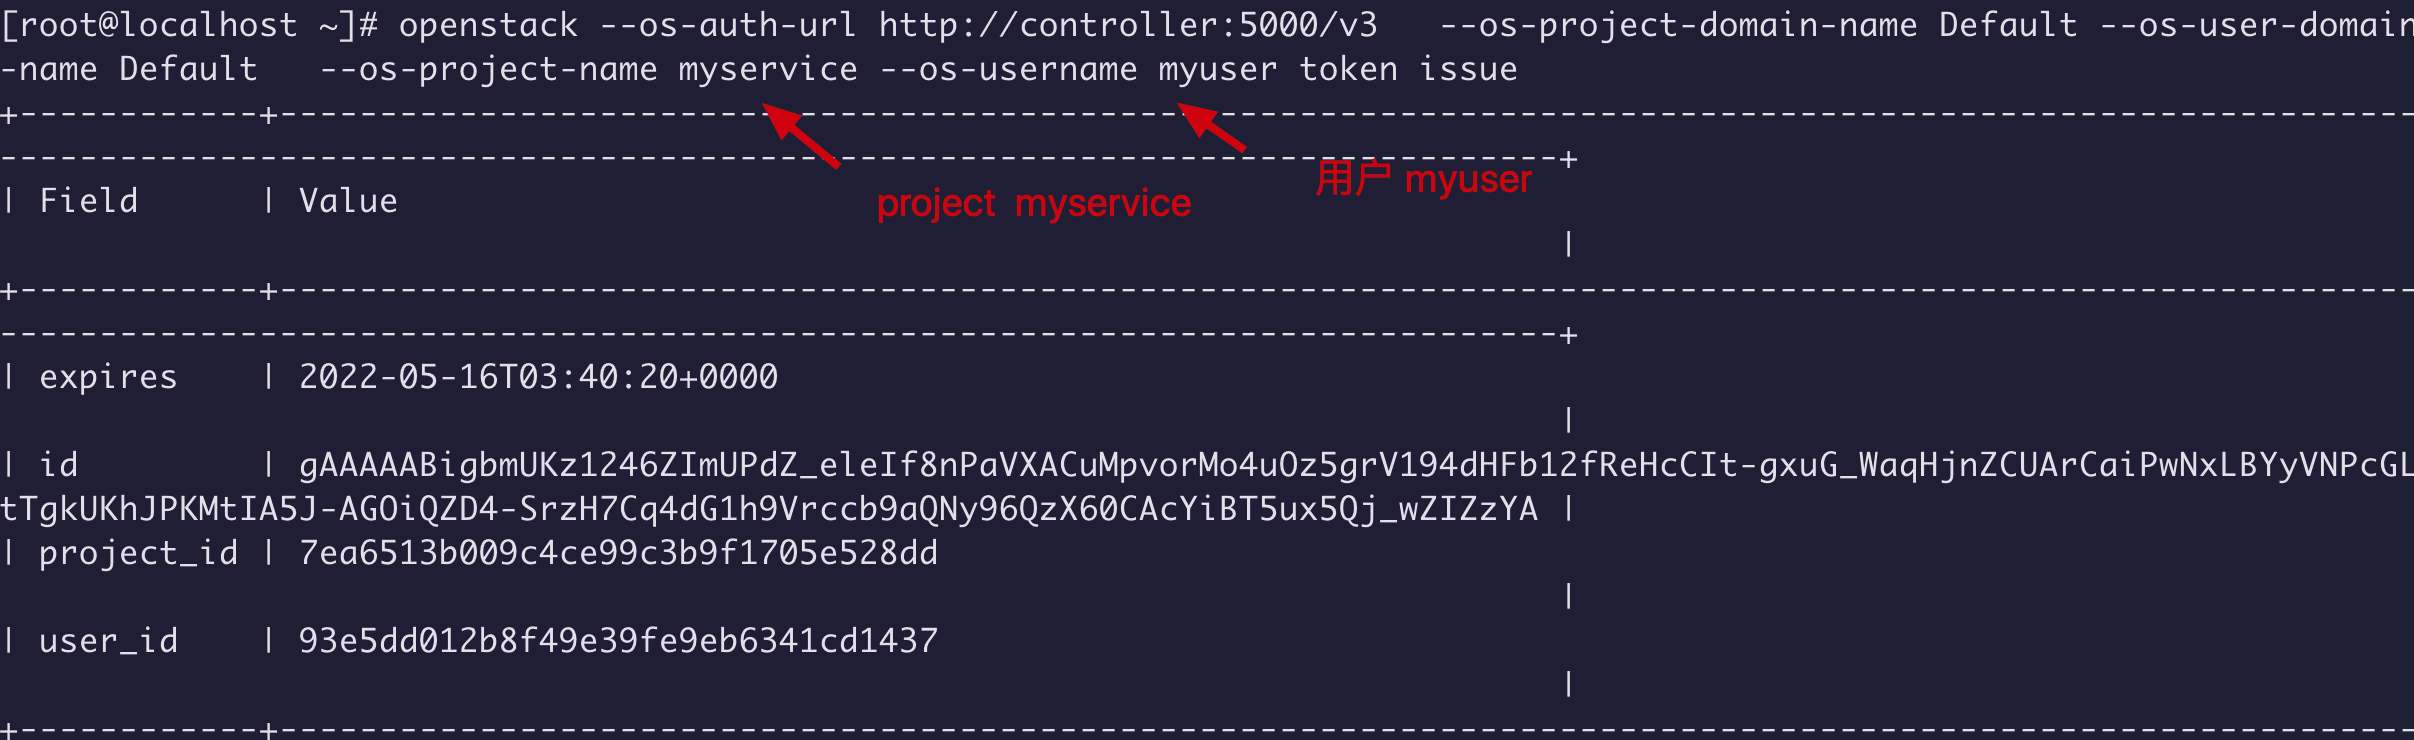
openstack --os-auth-url http://controller:5000/v3 \
  --os-project-domain-name Default --os-user-domain-name Default \
  --os-project-name myservice --os-username myuser token issue
至此 openstack keystone 组件已经安装完成了。。
总结本篇主要记录一下 openstack queens 版本 keystone 组件的安装过程 被领导催促要学习openstack 我也很无奈。

欢迎大家访问 个人博客 Johnny小屋