ae可以说是制作动画的一个好帮手了。下面小编就分享了哦,希望感兴趣的朋友都来共同学习哦。 我们先打开ae软件,导入素材创建序列,并新建灯光图层。 然后将时间指示器移动到序
ae可以说是制作动画的一个好帮手了。下面小编就分享了哦,希望感兴趣的朋友都来共同学习哦。

我们先打开ae软件,导入素材创建序列,并新建灯光图层。

然后将时间指示器移动到序列的首帧。
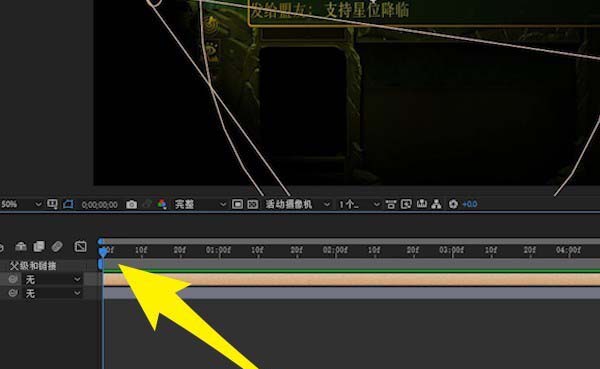
接着我们给灯光层的位置打上关键帧。
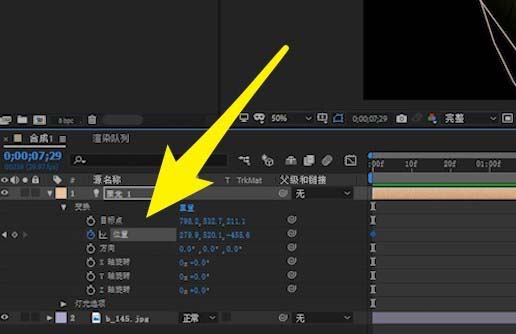
这时候我们将时间指示器移动到末帧,调整x轴或者y轴的位置。

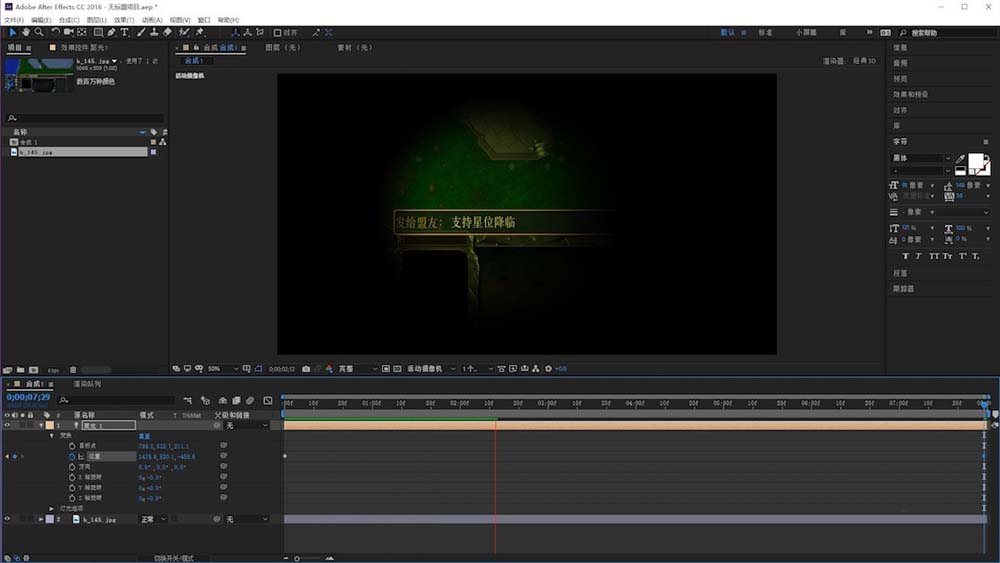
最后完成后即可按空格键预览效果。
ae相关攻略推荐:
ae让文字居中的操作过程讲解
ae把图片变成白色的操作流程
ae拆分图层的操作技巧
上文就讲解了,希望有需要的朋友都来学习哦。