Painter这款软件有的伙伴还不熟悉的,今天小编就讲解关于Painter制作钢笔式花瓣效果的操作内容哦,希望能够帮助到大家呢。 打开Painter,鼠标左键单击菜单下的【文件】【新建】,在新
Painter这款软件有的伙伴还不熟悉的,今天小编就讲解关于Painter制作钢笔式花瓣效果的操作内容哦,希望能够帮助到大家呢。

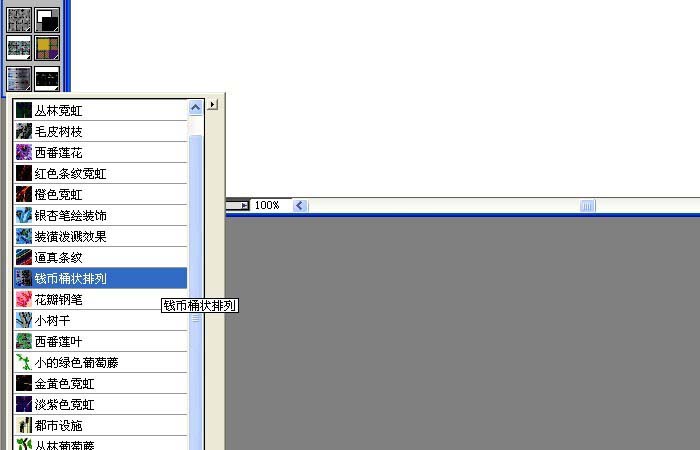
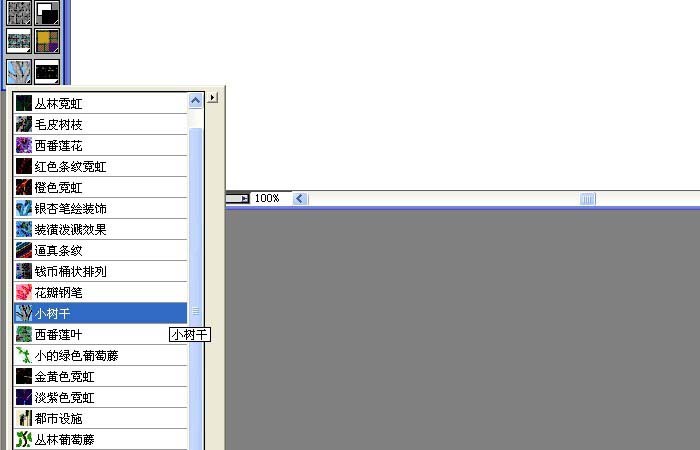
打开Painter,鼠标左键单击菜单下的【文件】>>【新建】,在新创建画布中绘图,在左边工具箱里选择【外观选择】,这里选择花瓣排列的效果,如下图所示。
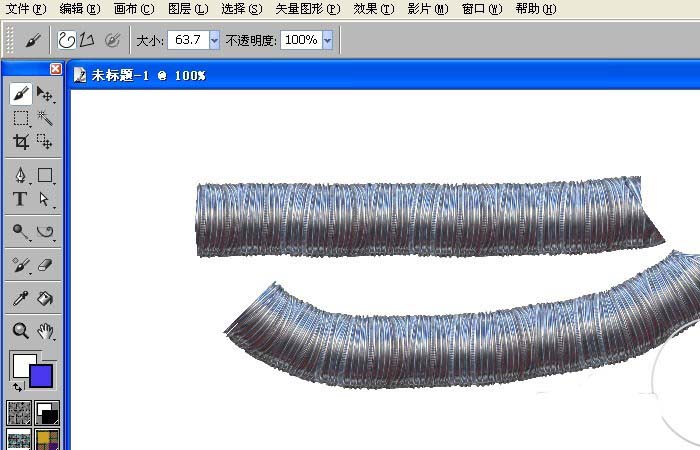
然后设置画笔大小15,用画笔在画布上绘画一些花瓣排列的图形出来,如图。
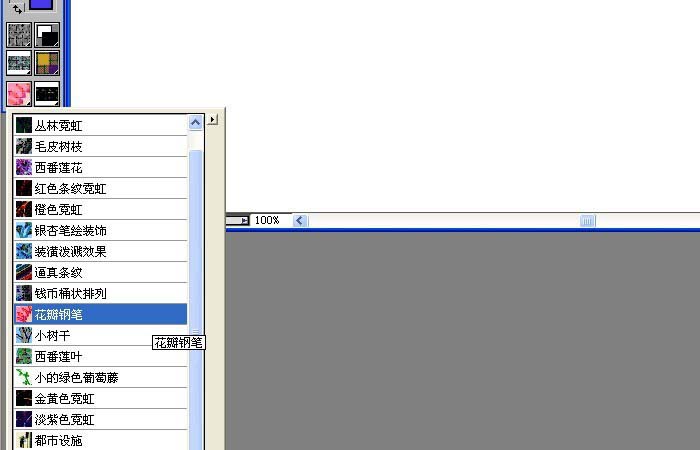
更改画笔效果的显示样式,选择钢笔式花瓣效果,如图。
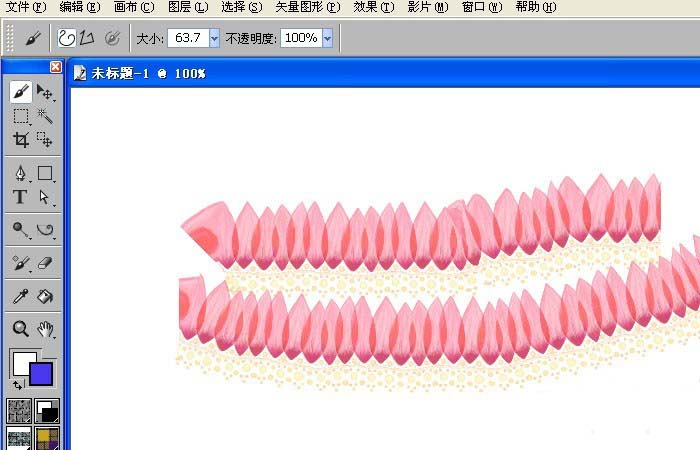
更改画笔大小设为20,用画笔在画布上绘画一些彩色花瓣的图形出来,如图。
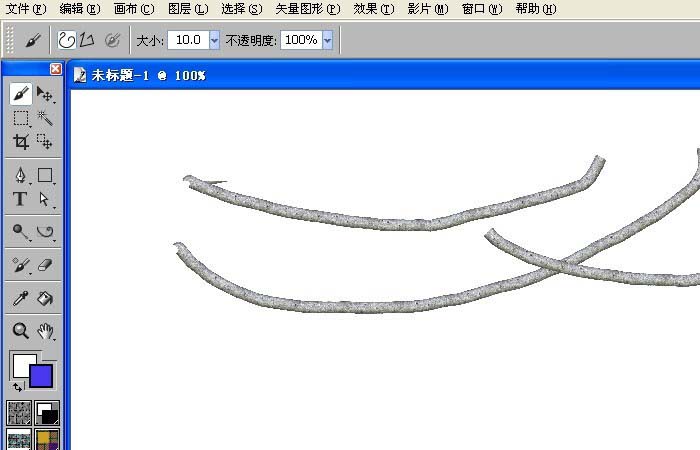
这时更改画笔效果显示样式,选择针形花瓣效果,如图。
最后设置画笔大小设为10,用画笔在画布上绘画一些针形花瓣的图形出来,如图所示。用不同画笔的外观显示就会画出不同效果,喜欢绘画的朋友按着操作也来画画吧。
各位小伙伴们,看完上面的精彩内容,都清楚Painter制作钢笔式花瓣效果的操作内容了吧!