需求
1)准备4台虚拟机,一台Windows虚拟机PC1(不限制win7或者win10)、一台Linux服务器server1(IP是192.168.206.3/24)和一台网卡为DHCP类型的Linux服务器server2和一台空虚拟机server3。虚拟机网络均使用仅主机模式。2)server1提供DHCP服务给PC1和server2分配对应网段的IP地址。3)在server1安装和启动httpd服务对外提供Web服务,并搭建DNS服务负责解析域名www.kgc.com 为192.168.206.3,使得PC1能够使用域名www.kgc.com访问Web服务器。4)在server2安装NFS服务,提供共享目录/share ,在/share目录中创建文件index.html,文件内容自定义。把server2的/share目录通过NFS挂载到server1的/var/www/html目录下,使得PC1访问Web服务时能够显示自定义的内容。5)server1提供PXE服务,能够使server3可以自动安装Centos7 Linux操作系统。
环境
```html/xml网段为192.168.206.0/241台server1 DHCP等服务206.3 ;ip1台server2 做NFS,DHCP获取地址1台server3 裸机装机,DHCP获取地址一台pc win7验证DNS等服务,DHCP获取地址
## 实验操作 1、首先server1我们安装DHCP服务  接着我们复制模版,覆盖空白配置文件,进配置文件里去设置  里面的设置配置如下:   保存退出后关闭防火墙、增强服务、开启DHCPD  2、我们先去SERVER2 我们先去改网卡改成DHCP模式,再去重启网卡   随后重启完成后我们ifconfig,发现server已经分配到ip地址了  随后我们转向**pc1** 首先网卡如下更改,dns是为下面的http访问做准备的。随后禁用网卡再重启  随后我们用ipconfig来看看,发现已经分配到ip地址了  3、下面我们做需求(3),首先去server1,我们先安装httpd服务。**然后启动httpd(别忘记了!)**   接着我们开始做**粗体** 还是server1主机,先安装bind服务  首先是vim /etc/named.conf,随后如图所示进行更改  其次是vim /etc/named.rfc1912.zones,进去后如图所示更改  最后我们首先cd /var/named 然后ls查看文件,看到named.localhost,这个文件就是我们的目标 , 我们cp出这个文件的改名文件,然后vim进去编辑 ```html/xml cp -p named.localhost kgc.com.zone vim kgc.com.zone 如图进行以下修改
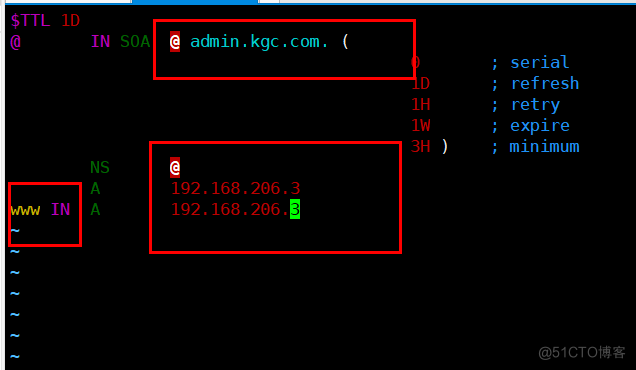 我们启动named服务(DNS)
 下面我们转向pc1打开网站输入```html/xmlwww.kgc.com ;实验的测试域名

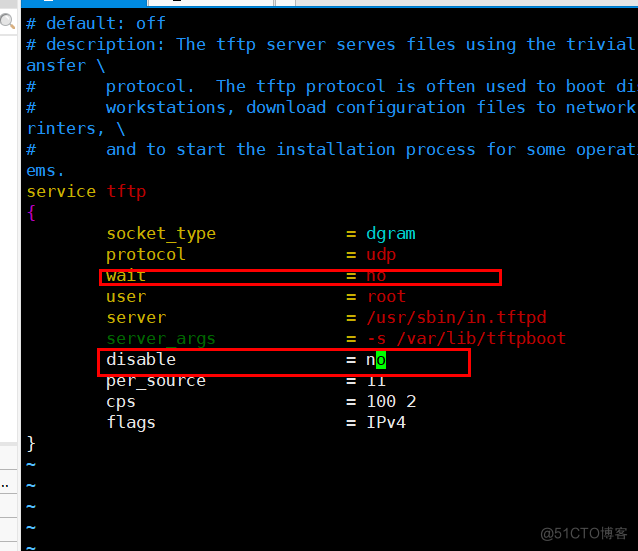 完成之后我们启动tftp服务
 下面是DHCP服务,由于需求(2)已经做过了,只需要进图修改就行```html/xmlvim /etc/dhcp/dhcpd.conf
下面我们准备kickstart了准备kickstart服务打开方式:1、可视化桌面左上角:应用程序-系统工具-kickstart2、字符化界面:```html/xmlsystem-config-kickstart 召唤出来
       图中yum脚本 ```html/xml mkdir /etc/yum.repos.d/repos.bak mv /etc/yum/repos.d/*.repo /etc/yum.repos.d/repos.bak echo '[local] name=local baseurl=ftp://192.168.206.3/centos7 enabled=1 gpgcheck=0' /etc/yum.repos.d/local/repo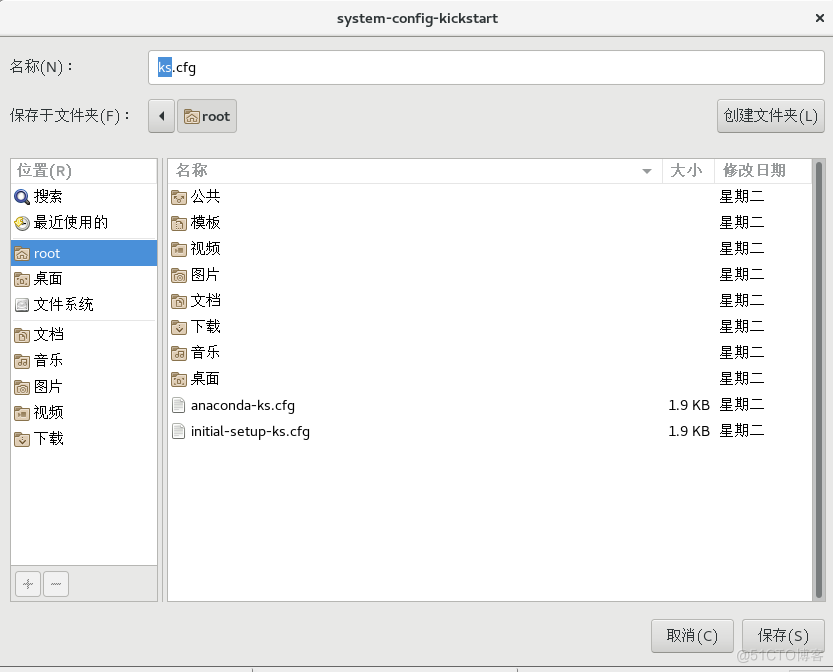 最终我保存到root家目录随后我们去家目录
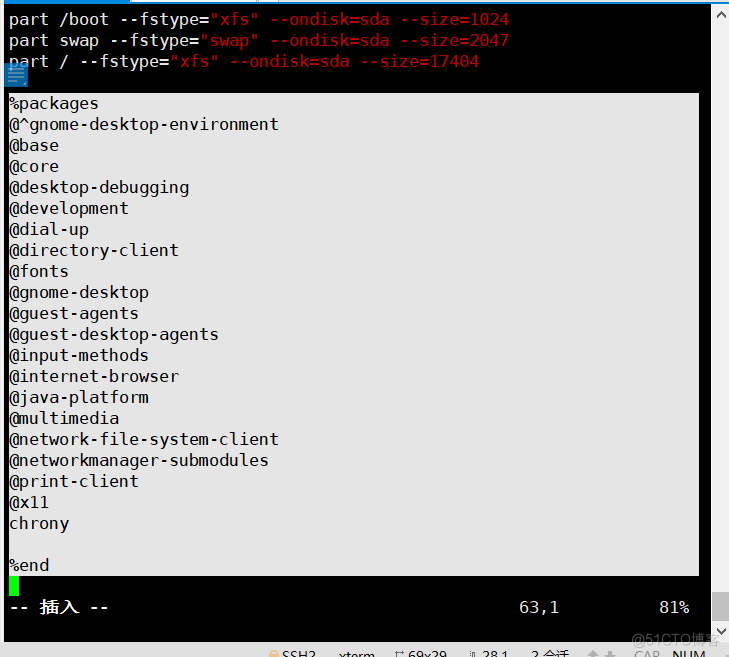
进入后我们会发现多了initial-setup-ks.cfg和ks.cfg文件。我们首先vim initial-setup-ks.cfg,进去后把第二张图的所选部分复制退出后我们vim ks.cfg,把这个复制的内容贴到ks.cfg的最下面保存退出,把ks.cfg复制去/var/ftp目录中。cp /root/ks.cfg /var/ftp/ks.cfg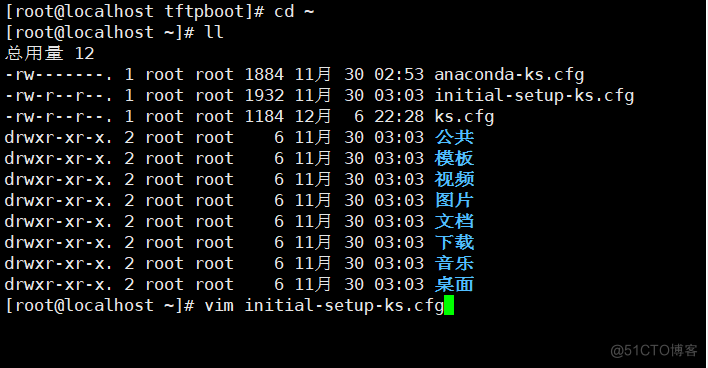


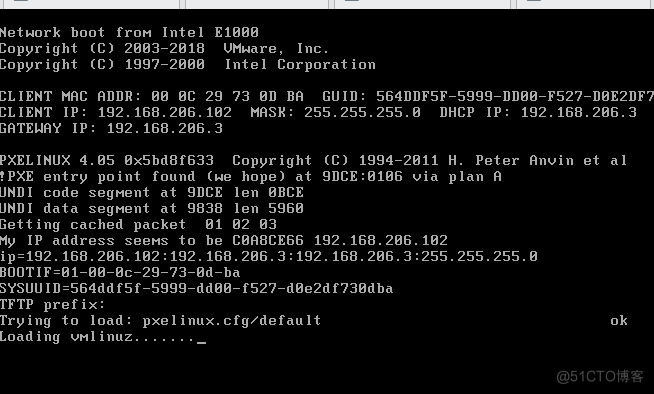
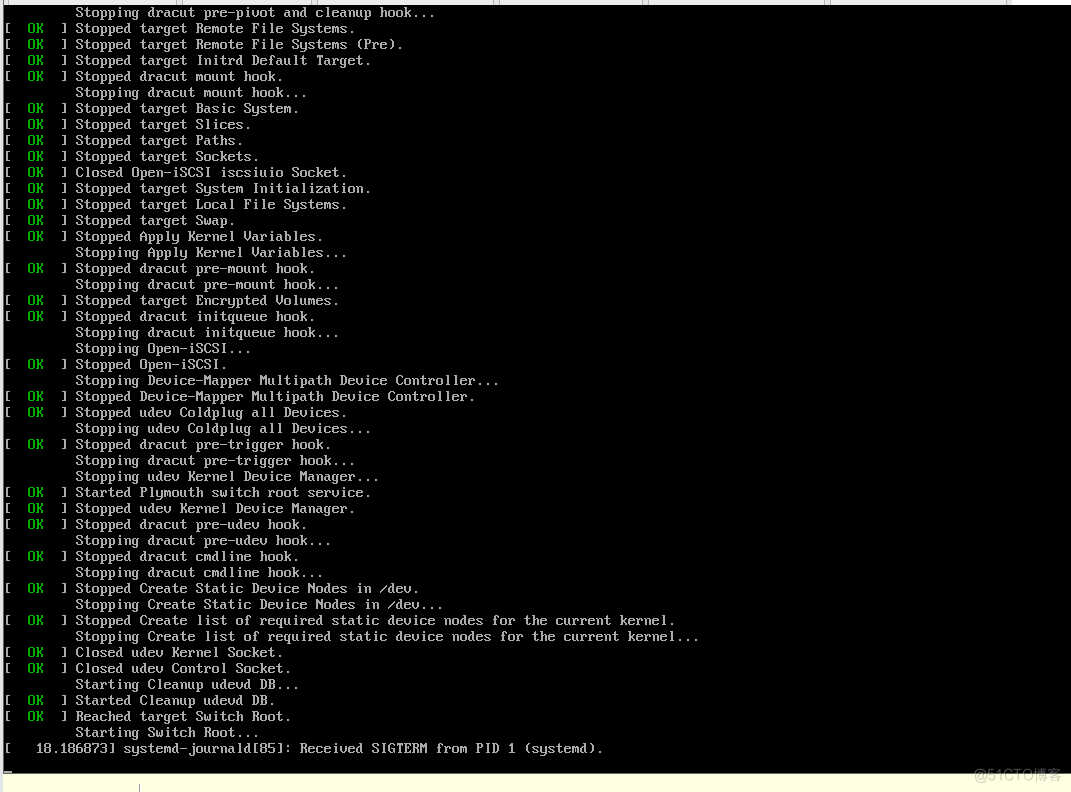
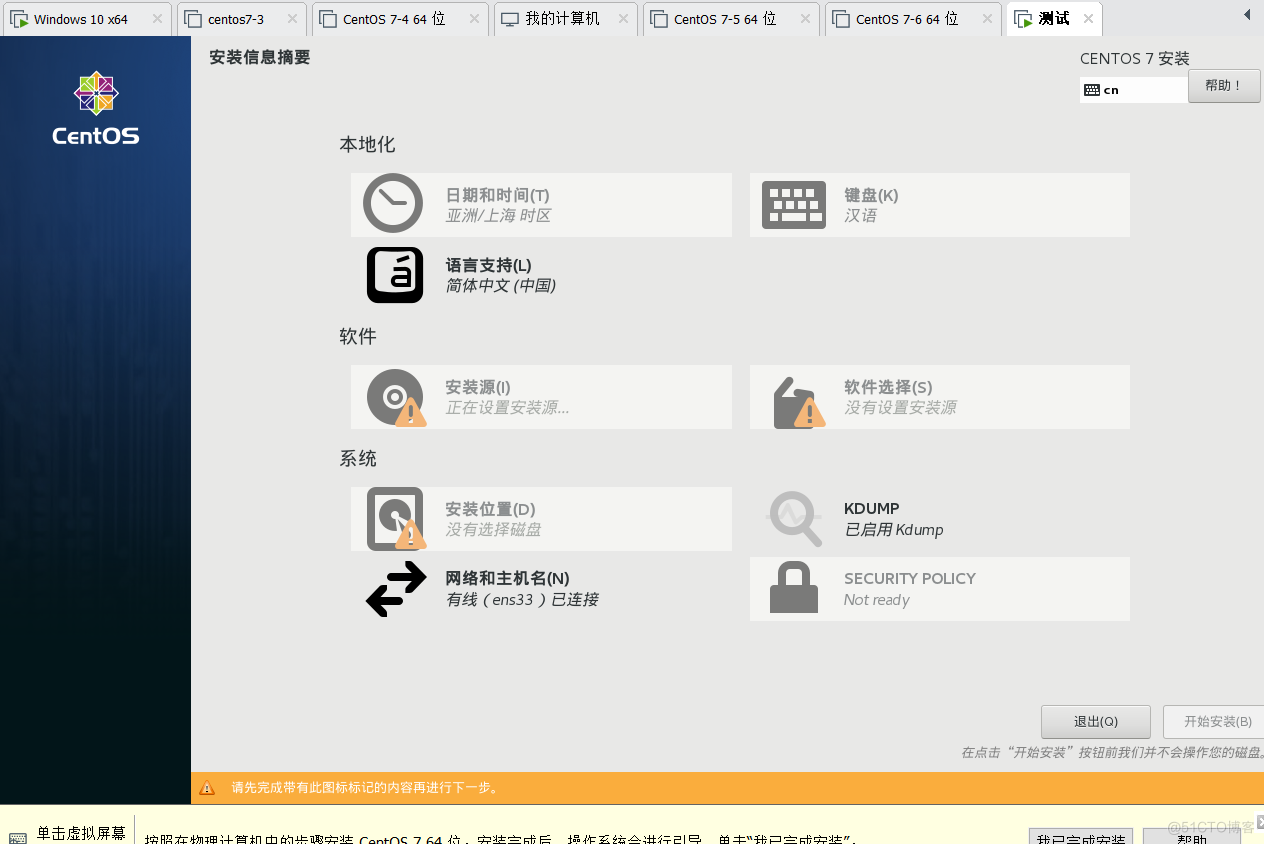
 server1主机配置完成,下面将server3裸机放入206.0网段后即可自动获取dhcp装机6、server3裸机开机后自动获取DHCP引导,之后自动进行装机,如果配置错误,server3会有报警提示,可自行去看补充:我这边是kickstart无人值守自动装机,且为'wait=no'的多并发装机。也可以去vim /etc/xinetd.d/tftp,把wait=yes,改成装完一台装下一台裸机