今天我来给大家分享一下在Linux下搭建web服务器 1、安装包 yuminstallhttpd 安装完成后我们会在/etc目录下看到有一个httpd的目录 我们的默认文件存放位置在/var/www/html 然后修改我们的注配置
今天我来给大家分享一下在Linux下搭建web服务器
1、安装包
安装完成后我们会在/etc目录下看到有一个httpd的目录
我们的默认文件存放位置在/var/www/html
然后修改我们的注配置文件
vim /etc/httpd/conf/httpd.conf ServerName 自己的主机名:80表示服务名称为自己的主机名,监听在80端口
然后就可以建文件了
vim /var/www/html/index.html hello这就是我们的主页文件了
然后我们开启一下我的HTTP服务
service httpd start然后我们就可以在另外一台虚拟机上测试了
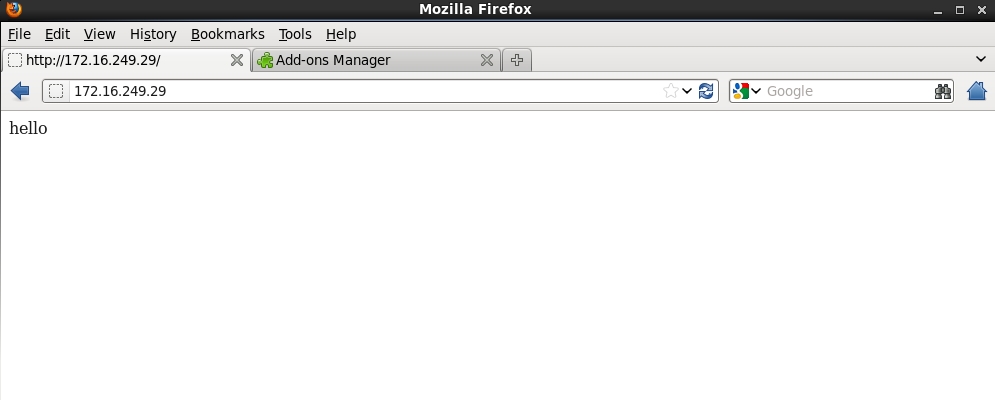
这就简单的搭建好一台web服务器了。
注:如果显示无法连接,可能是你的防火墙给挡在墙外了,需要关闭防火墙才行。
2、创建基于文件的访问控制
首先我们需要创建一个目录
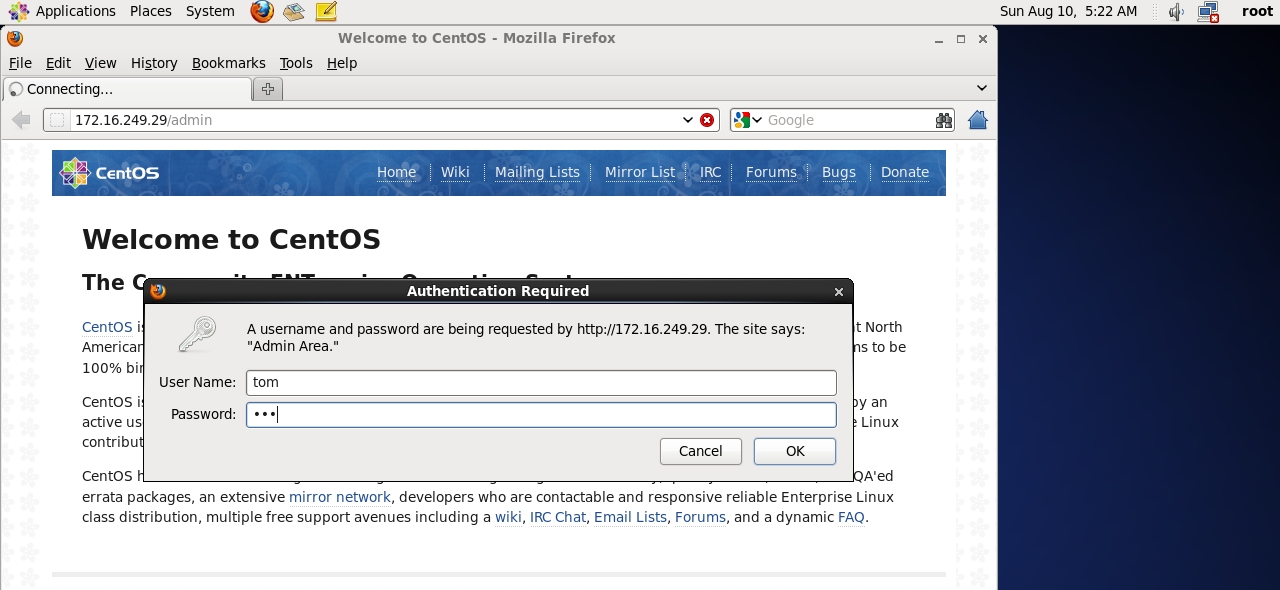
cd /var/www/html mkdir admin mkdir bbs vim bbs/index.html hello a vim /etc/httpd/conf/httpd.conf <Directory "/var/www/html/admin"> Options none Allowoverride AuthConfig AuthType Basic AuthName "Admin Area." AuthUserFile /etc/httpd/conf/.httpasswd Require valid-user </Directory>然后做用户名和密码存放文件
htpasswd -c -m /etc/httpd/conf/.httpasswd tom tom tom htpasswd -m /etc/httpd/conf/.httpasswd jry jry jry然后重读一下配置文件
当我们再次访问时就会弹出输入用户名和密码了
3、基于组的访问控制配置
在2的基础上,我们创建一个文件
添加test组,组成员为tom,然后再编辑配置文件,把上个实例中的文件内容修改如下
vim /etc/httpd/conf/httpd.conf <Directory "/var/www/html/admin"> Options none Allowoverride AuthConfig AuthType Basic AuthName "Admin Area." AuthUserFile /etc/httpd/conf/.httpasswd AuthGroupFile /etc/httpd/conf/.httpgroup Require group test </Directory>然后重读配置文件
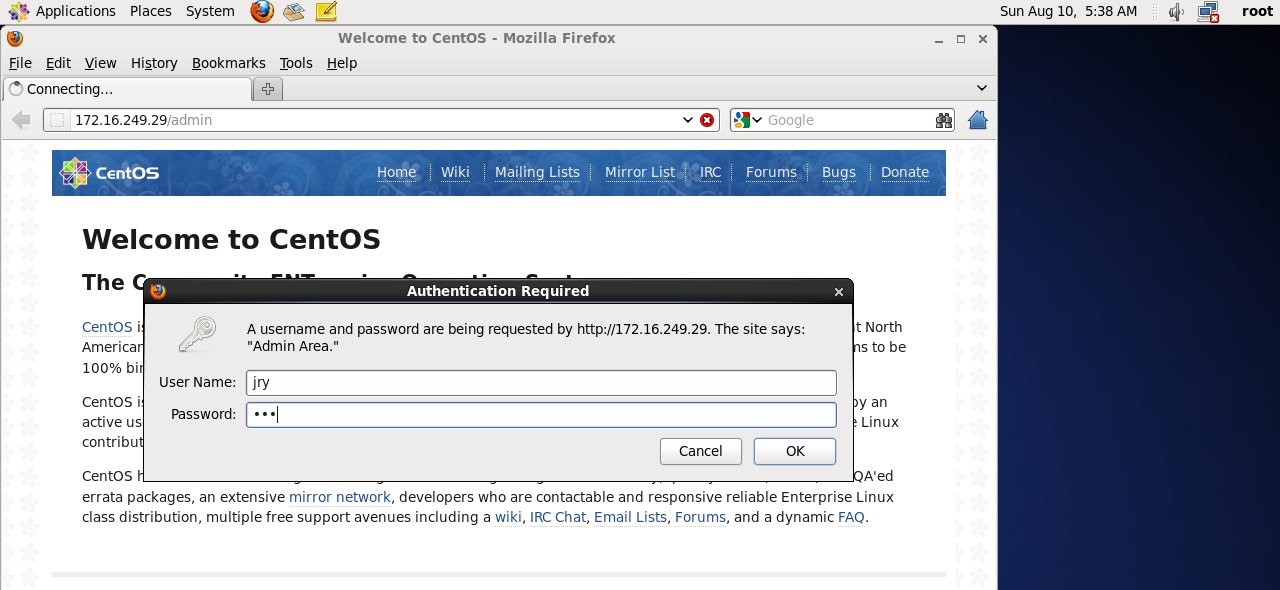
service httpd reload然后我们分别登陆tom和jry查看
4、基于端口做虚拟主机
编辑主配置文件
配置文件语法检查
httpd -t创建对应的目录,并提供页面文件
然后重读配置文件
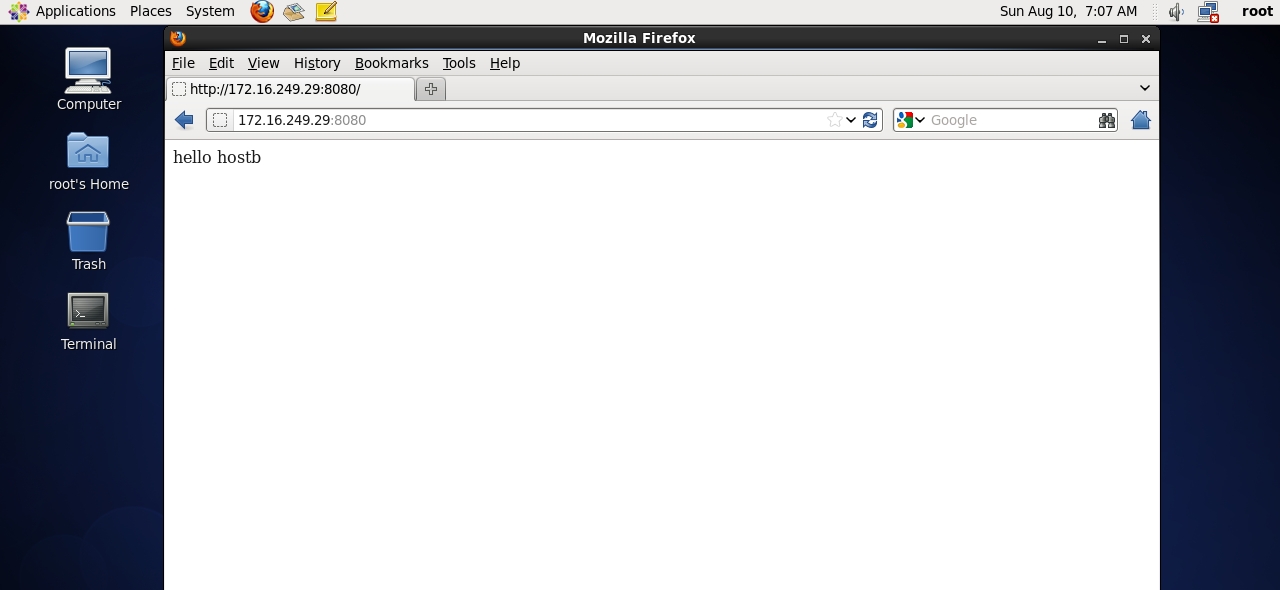
service httpd restart然后就可以测试了
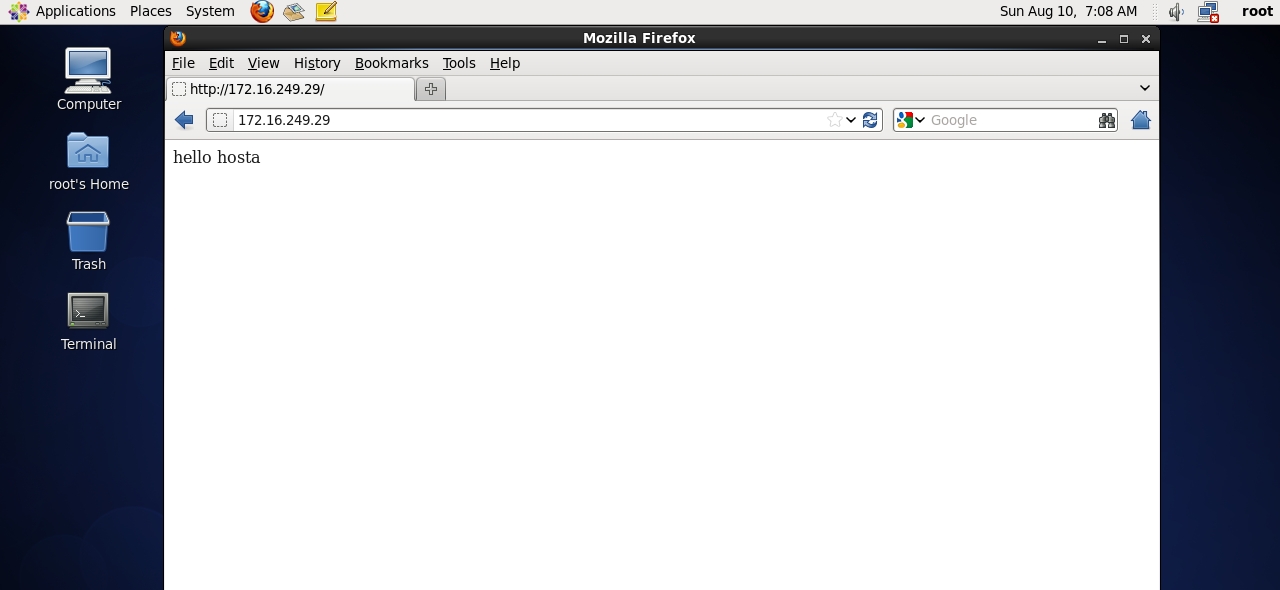
5、基于IP的虚拟主机
步骤跟4实例中的一样,只用把第二个IP地址改为其他IP即可,并把8080端口改为80。
6、基于ssl的配置
首先我们需要自建CA [root@jsh ~]# cd /etc/pki/CA/ 生成密钥文件 [root@jsh CA]# (umask 077; openssl genrsa -out private/cakey.pem 2048) 创建自签证书 [root@jsh CA]# openssl req -new -x509 -key private/cakey.pem -out cacert.pem -days 1000 You are about to be asked to enter information that will be incorporated into your certificate request. What you are about to enter is what is called a Distinguished Name or a DN. There are quite a few fields but you can leave some blank For some fields there will be a default value, If you enter '.', the field will be left blank. ----- Country Name (2 letter code) [XX]:CN State or Province Name (full name) []:Henan Locality Name (eg, city) [Default City]:ZZ Organization Name (eg, company) [Default Company Ltd]:jsh Organizational Unit Name (eg, section) []:ops Common Name (eg, your name or your server's hostname) []:caserver.jsh.com Email Address []: 初始化 [root@jsh CA]# touch serial index.txt [root@jsh CA]# echo 00 > serial 在另外一台http服务器上创建密钥文件 [root@jsh ~]# cd /etc/httpd/ [root@jsh httpd]# mkdir ssl [root@jsh httpd]# cd ssl [root@jsh ssl]# (umask 077; openssl genrsa -out httpd.key 1024) 生成请求证书 [root@jsh ssl]# openssl req -new -key httpd.key -out httpd.csr You are about to be asked to enter information that will be incorporated into your certificate request. What you are about to enter is what is called a Distinguished Name or a DN. There are quite a few fields but you can leave some blank For some fields there will be a default value, If you enter '.', the field will be left blank. ----- Country Name (2 letter code) [XX]:CN State or Province Name (full name) []:Henan Locality Name (eg, city) [Default City]:ZZ Organization Name (eg, company) [Default Company Ltd]:jsh Organizational Unit Name (eg, section) []:ops Common Name (eg, your name or your server's hostname) []:jsh Email Address []: Please enter the following 'extra' attributes to be sent with your certificate request A challenge password []: An optional company name []: 签署证书 [root@jsh ssl]# openssl ca -in httpd.csr -out httpd.crt -days 1000 编辑配置文件 [root@jsh ssl]# cd /etc/httpd/conf.d/ [root@jsh conf.d]# vim ssl.conf 修改监听端口为443 SSLCertificateFile/etc/httpd/ssl/httpd.crt SSLCertificateKeyFile/etc/httpd/ssl/httpd.key DocumentRoot "/web/vhosta" [root@jsh conf.d]# 好啦,这样就完成了!!!