由于 小程序端 有camera组件 直接就可以调起摄像头 但是 app端是不支持这个标签的 所以只能用其他的方法 使用 nvue 中live-pusher 组件 子组件 templatedivdiv class="livefater"div style="width: 300px;h
由于 小程序端 有camera组件 直接就可以调起摄像头 但是 app端是不支持这个标签的 所以只能用其他的方法 使用 nvue 中 live-pusher 组件
子组件
<template>
	<div>
		<div class="livefater">
			<div style="width: 300px;height: 300px;border-radius: 150px;overflow: hidden;">
				<!-- orientation="horizontal" //设置垂直水平方向 -->
				<live-pusher id='livePusher' ref="livePusher" class="livePusher" url=""
					mode="SD" :muted="true" :enable-camera="true" :auto-focus="true" :beauty="1" whiteness="2"
					aspect="1:1" @statechange="statechange" @netstatus="netstatus" @error="error"></live-pusher>
			</div>
			<cover-image src="/static/image/gai1.png" class="gaiimg"></cover-image>
		</div>
		<view class="message" style="color: #fff;">
			<text class="info">{{message}}</text>
		</view>
	</div>
</template>

<script>
	export default {
		props: {
			time: {
				default: 5000,
				type: Number
			},
			message: {
				default: '识别中,请稍后...',
				type: String
			}
		},
		data() {
			return {}
		},
		mounted() {

			// 注意:需要在onReady中 或 onLoad 延时
			this.context = uni.createLivePusherContext("livePusher", this);
			var that = this
			uni.getSystemInfo({
				success: function(e) {
					// 计算导航栏高度
					that.statusBar = e.statusBarHeight
					// #ifndef MP
					if (e.platform == 'android') {
						that.CustomBar = e.statusBarHeight + 50
					} else {
						that.CustomBar = e.statusBarHeight + 45
					}
					console.log(that.statusBar)
					// #endif
					// #ifdef MP-WEIXIN
					let custom = wx.getMenuButtonBoundingClientRect()
					that.CustomBar = custom.bottom + custom.top - e.statusBarHeight

					// #endif

					// #ifdef MP-ALIPAY
					that.CustomBar = e.statusBarHeight + e.titleBarHeight
					// #endif
				}
			})
			setTimeout(() => {
				this.startPreview()
			})
		},
		methods: {
			// 拍照事件
			snapshot: function() {
				var that = this
				this.context.snapshot({
					success: (e) => {
						console.log(e.message, '拍照信息');
						this.$emit('faceImg', e.message)
					}
				});
			},
			// 开启摄像头
			startPreview() {
				console.log("1")
				var that = this
				this.context.startPreview({
					success: (a) => {
						console.log("livePusher.startPreview:" + JSON.stringify(a));
						that.Timer = setInterval(function() {
							that.snapshot()
						}, that.time)
					},
					fail(err) {
						console.log(err);
					}
				});
			},
		},
	}
</script>

<style>
	<style lang="less">page {
		background: #0c8cf9;
	}

	.u-navbar__content__left {
		display: flex !important;
		align-items: center;
	}

	.u_nav_slot {
		display: flex;
		align-items: center;
		flex-direction: row;
		color: rgba(0, 0, 0, 0.9);
		font-size: 14.4rpx;
		font-weight: 700;

	}

	.text {
		margin-left: 1rpx;
		color: #fff;
		font-size: 16rpx;
	}

	.box {
		z-index: 99;
		position: absolute;
		left: 35%;
		top: 25%;
		width: 250rpx;
		height: 250rpx;
		background: pink;
	}

	.message {
		flex: 1;
		justify-content: center;
		align-items: center;
		font-weight: 700;
	}

	.info {
		color: #fff !important;
		font-size: 20rpx;
	}

	.livePusher {
		width: 300px;
		height: 300px;
	}

	.livefater {
		display: -ms-flex;
		display: -webkit-flex;
		display: flex;
		justify-content: center;
		flex-direction: column;
		align-items: center;
		margin-top: 10rpx;
		margin-bottom: 50rpx;
		height: 350px;
	}

	.gaiimg {
		width: 300px;
		height: 300px;
		margin-top: -300px;
	}
</style>
</style>
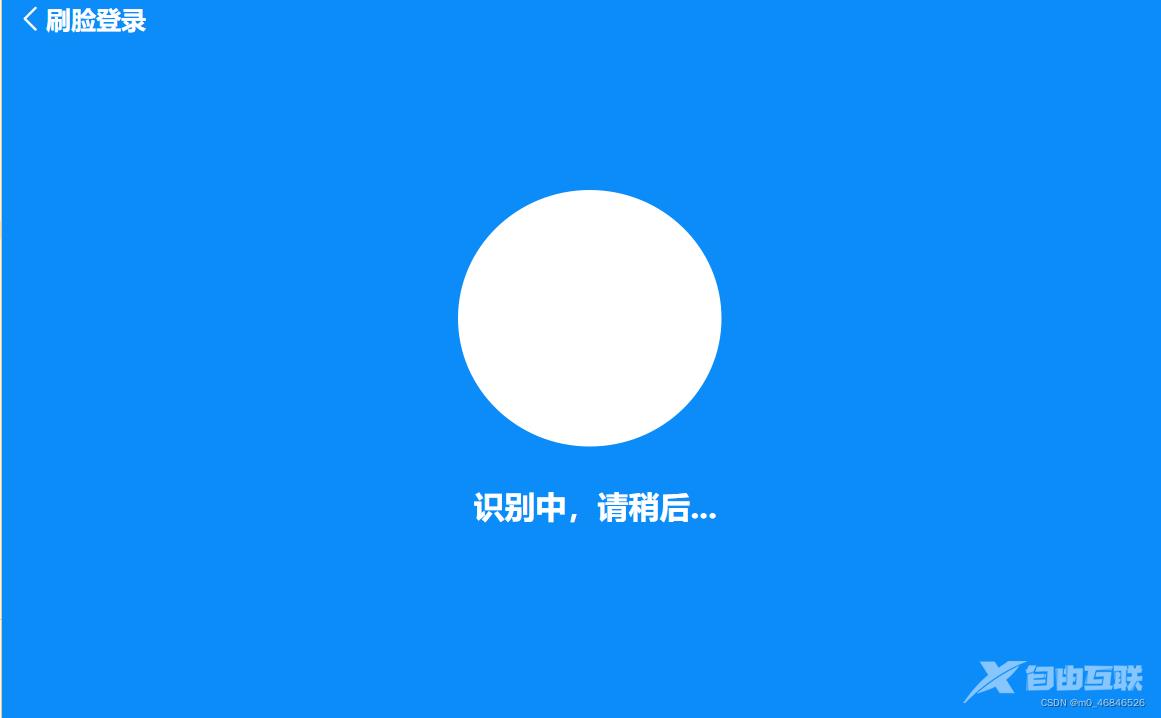
由于 人脸一般是 原型 样式 但是默认的live-pusher 是正方形 而且层级是比较高的 其他普通元素标签是无法压住他的 但是 cover-imgae的图片是可以压上去的
父组件
<TestingFace :time="5000" @faceImg="faceImg" :message="message"></TestingFace>
faceImg 就是子组件传过来的 图片 message 是传过去的内容 time是倒计时的拍照时间,具体内容可以根据内容去加逻辑 注意 子父组件都是 nvue

到此这篇关于uniapp app 人脸识别的实现示例的文章就介绍到这了,更多相关uniapp app 人脸识别内容请搜索自由互联以前的文章或继续浏览下面的相关文章希望大家以后多多支持自由互联!
