在Winform开发中中,我们为了方便客户选择,往往使用系统的字典数据选择,毕竟选择总比输入来的快捷、统一,一般我们都会简单封装一下,以便方便对控件的字典值进行展示处理,本篇随笔介绍DevExpress控件的几种常见的字典绑定展示方式,希望我们在实际WInform项目中使用到。
1、常规下拉列表的处理
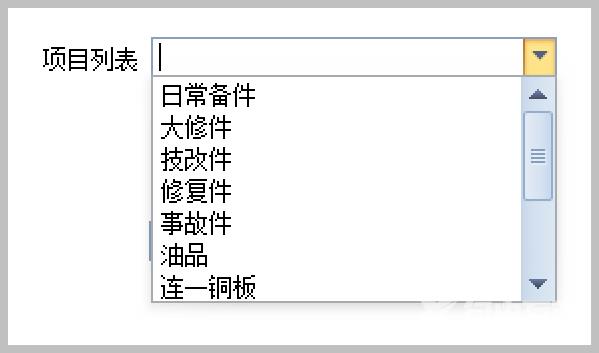
常规的处理方式,可能会使用ComboBoxEdit 控件来承载下拉列表,下拉列表的值可以是固定的列表,也可以来自字典的方式,具体根据实际情况而定,大概的效果如下所示。

单击下拉列表,会展示一些常规的字典项目,如下效果所示。

如果使用控件原始方式,我们绑定控件的下拉列表值的做法如下所示。
combo.Properties.BeginUpdate();//可以加快
combo.Properties.Items.Clear();
combo.Properties.Items.AddRange(itemList);
combo.Properties.EndUpdate();//可以加快
不过我们一般倾向于高效率的界面处理,一般会编写各类型的界面控件的扩展函数用于快速处理。

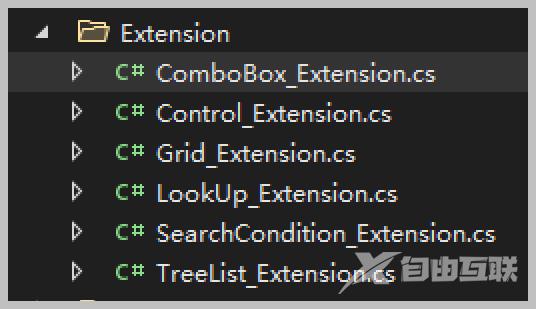
不同类型的控件我们用一个独立的扩展文件来处理,这样方便维护的同时,也方便借鉴完善。
例如对于上面的控件,我们的绑定方法的扩展函数如下所示。
/// <summary>
/// 绑定下拉列表控件为指定的数据字典列表
/// </summary>
/// <param name="combo">下拉列表控件</param>
/// <param name="itemList">数据字典列表</param>
/// <param name="defaultValue">控件默认值</param>
/// <param name="emptyFlag">是否加入空值选项</param>
public static void BindDictItems(this ComboBoxEdit combo, List<CListItem> itemList, string defaultValue, bool emptyFlag = true)
{
    combo.Properties.BeginUpdate();//可以加快
    combo.Properties.Items.Clear();
    combo.Properties.Items.AddRange(itemList);
    if (emptyFlag)
    {
        combo.Properties.Items.Insert(0, new CListItem(""));
    }

    if (itemList.Count > 0)
    {
        if (!string.IsNullOrEmpty(defaultValue))
        {
            combo.SetComboBoxItem(defaultValue);
        }
        else
        {
            combo.SelectedIndex = 0;
        }
    }

    combo.Properties.EndUpdate();//可以加快
}
其中方法增加了一些默认值以及是否追加空白项目的处理。
当然,我们为了适应各种数据源的绑定方式,我们重载了很多不同的函数处理,如下截图所示。

当然对于其他同类型的下列列表控件也是这样处理即可。这样界面上,我们就可以指定调用绑定的处理操作了
private void InitDictItem()
{
    this.txtManufacture.Items.Clear();
    this.txtManufacture.Items.AddRange(DictItemUtil.GetDictByDictType("供货商"));

    this.txtBigType.Items.Clear();
    this.txtBigType.Items.AddRange(DictItemUtil.GetDictByDictType("备件属类"));
}
或者,我们可以根据字典的类型,来进一步做一个扩展函数,来简化绑定的处理。
/// <summary>
/// 绑定下拉列表控件为指定的数据字典列表
/// </summary>
/// <param name="control">下拉列表控件</param>
/// <param name="dictTypeName">数据字典类型名称</param>
/// <param name="defaultValue">控件默认值</param>
/// <param name="emptyFlag">是否添加空行</param>
public static void BindDictItems(this ComboBoxEdit control, string dictTypeName, string defaultValue, bool emptyFlag = true)
{
    Dictionary<string, string> dict = BLLFactory<DictData>.Instance.GetDictByDictType(dictTypeName);
    List<CListItem> itemList = new List<CListItem>();
    foreach (string key in dict.Keys)
    {
        itemList.Add(new CListItem(key, dict[key]));
    }

    control.BindDictItems(itemList, defaultValue, emptyFlag);
}
使用了这些简化的扩展函数,我们可以对系统的字典,根据字典类型来进行绑定了。
private void InitDictItem()
{
    this.txtManufacture.BindDictItems("供货商");
    this.txtSearchManufacture.BindDictItems("供货商");
    this.txtSearchDept.BindDictItems("部门");
}
如上代码所示,简化了很多处理,就一个函数就可以绑定了系统字典类型的下拉列表了。
2、带序号的GridLookUpEdit下拉列表
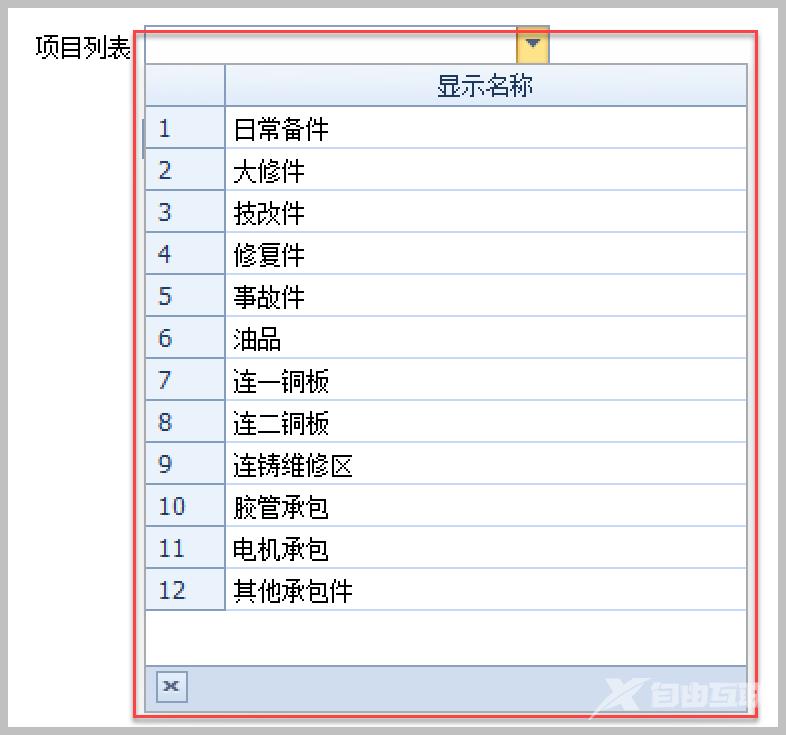
有时候,我们在一些常见的系统里面,经常看到一些带有序号的下拉列表,其实里面就是一个GridControl的控件,我们只需要赋值对应的列表数据源,以及设置显示的列内容,并重写下序号的展示处理就可以实现了。
我们先来看看实际的效果。

上面的列表是一个GridControl的内在控件,我们使用这个GridLookUpEdit下拉列表控件的时候,设置好GridControl的数据源和显示的列就基本上可以了。
//绑定数据源和显示的内容、隐藏值
this.txtProjectList.Properties.DataSource = list;
this.txtProjectList.Properties.ValueMember = "Value";
this.txtProjectList.Properties.DisplayMember = "Text";

//设置Grid显示的列信息
var columns = new List<LookUpColumnInfo>()
{
    new LookUpColumnInfo("Value", "显示名称")
};
for (int i = 0; i < columns.Count; i++)
{
    this.txtProjectList.Properties.View.CreateColumn(columns[i].FieldName, columns[i].Caption,
        columns[i].Width, true, UnboundColumnType.Bound, DefaultBoolean.False, FixedStyle.None);
}

//其他属性设置
this.txtProjectList.Properties.ImmediatePopup = true;
this.txtProjectList.Properties.TextEditStyle = TextEditStyles.Standard;
this.txtProjectList.Properties.PopupWidthMode = DevExpress.XtraEditors.PopupWidthMode.ContentWidth;

//设定列表的序号的宽度和显示文本
this.txtProjectList.Properties.View.IndicatorWidth = 40;
this.txtProjectList.Properties.View.CustomDrawRowIndicator += (s, e) =>
{
    if (e.Info.IsRowIndicator && e.RowHandle >= 0)
    {
        e.Info.DisplayText = (e.RowHandle + 1).ToString();
    }
};
那么如果我们需要使用扩展函数来简化实际的代码,那么应该如何封装这个GridLookupEdit的下列控件呢,我们编写的扩展函数代码如下所示。
        /// <summary>
        /// 绑定控件的数据源
        /// </summary>
        /// <param name="lookup">控件对象</param>
        /// <param name="dataSource">数据源</param>
        /// <param name="displayMember">显示字段</param>
        /// <param name="valueMember">值字段</param>
        /// <param name="showRowIndicator">是否显示序号</param>
        /// <param name="lookUpColumnInfos">显示的列</param>
        /// <returns></returns>
        public static object BindDictItems(this GridLookUpEdit lookup, object dataSource, string displayMember, string valueMember, bool showRowIndicator = true, params LookUpColumnInfo[] lookUpColumnInfos)
        {
            lookup.Properties.DataSource = dataSource;
            lookup.Properties.DisplayMember = displayMember;
            lookup.Properties.ValueMember = valueMember;

            lookup.Properties.View.Columns.Clear();
            for (int i = 0; i < lookUpColumnInfos.Length; i++)
            {
                lookup.Properties.View.CreateColumn(lookUpColumnInfos[i].FieldName, lookUpColumnInfos[i].Caption,
                    lookUpColumnInfos[i].Width, true, UnboundColumnType.Bound, DefaultBoolean.False, FixedStyle.None);
            }
            lookup.Properties.ImmediatePopup = true;
            lookup.Properties.TextEditStyle = TextEditStyles.Standard;

            if (showRowIndicator)
            {
                lookup.Properties.View.IndicatorWidth = 40;
                //重写序号显示,默认不显示数值
                lookup.Properties.View.CustomDrawRowIndicator += (s, e) =>
                {
                    if (e.Info.IsRowIndicator && e.RowHandle >= 0)
                    {
                        e.Info.DisplayText = (e.RowHandle + 1).ToString();
                    }
                };
            }

            return dataSource;
        }
这样处理后,界面上简化了不少代码,如下使用代码所示。
var list = DictItemUtil.GetDictByDictType("备件类别");
var columns = new List<LookUpColumnInfo>()
{
    new LookUpColumnInfo("Value", "显示名称")
};

this.txtProjectList2.BindDictItems(list, "Text", "Value", true, columns.ToArray());
通过上面的两种方式,我们可以得到常见的两种下拉列表的数据绑定展示方式。


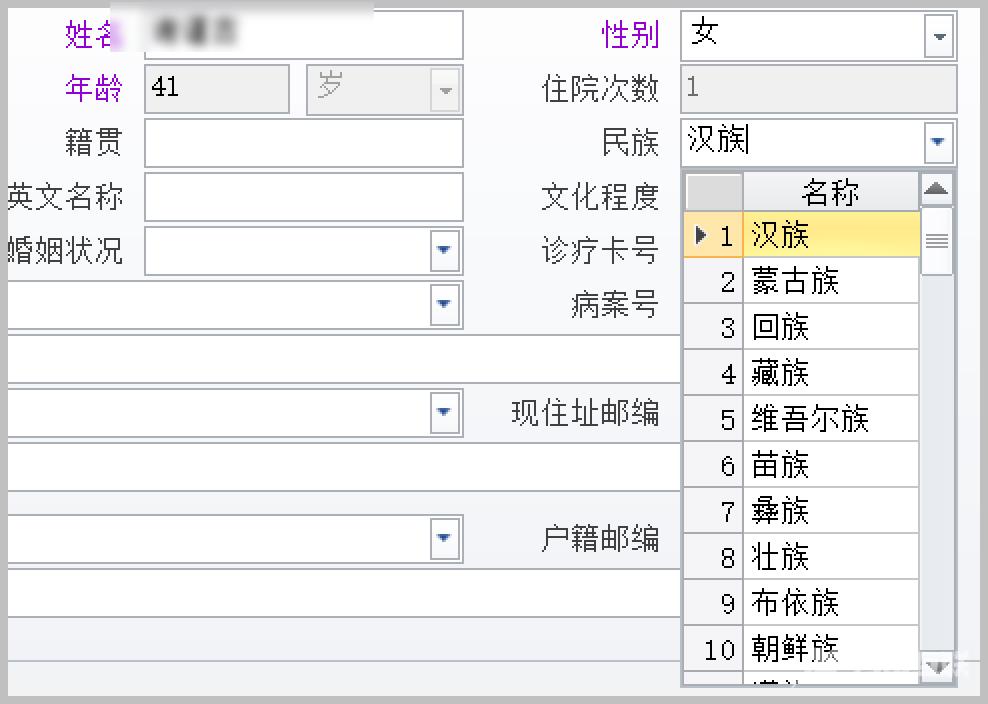
而对于其他类似的下拉列表,如树形列表,带搜索的SearchLookupEdit等控件,我们也可以用类似的方式编写自定义的扩展函数,这样我们使用起来就非常方便的了。类似我们下面的做法方式,分门别类的对它们进行一些简单的封装处理。

以上就是这篇文章的全部内容了,希望本文的内容对大家的学习或者工作具有一定的参考学习价值,谢谢大家对自由互联的支持。如果你想了解更多相关内容请查看下面相关链接
