目录 一、开发前的准备 二、实现效果图 三、具体操作实现 总结 一、开发前的准备 实现二维码或条形码的扫描识别比较普遍的做法是去调用微信 JS-SDK 的扫一扫功能(详见 概述 | 微信
目录
- 一、开发前的准备
- 二、实现效果图
- 三、具体操作实现
- 总结
一、开发前的准备
实现二维码或条形码的扫描识别比较普遍的做法是去调用微信 JS-SDK 的扫一扫功能(详见 概述 | 微信开放文档),或者支付宝 H5 开放的API(详见 支付宝H5开放文档)。
但是这两者都会比较麻烦且有一定的局限性,微信的扫一扫只能在微信里用,而且还需要公众号认证等配置操作。支付宝在内置 App 内可以同时识别二维码和条形码,但外部调用的 API 无法一次性同时识别,只能分开识别。
我这里就提供一个直接使用的开源库:https://github.com/zxing-js/library,本人移动端前端开发的框架是 Vue,组件库用的是 Vant,本文方案只要开发时用的电脑具有摄像头就可以实现效果预览。
二、实现效果图
这里分享两个在线工具
1、免费在线条形码生成器-条码生成制作工具
2、草料二维码生成器 或者 点击这里
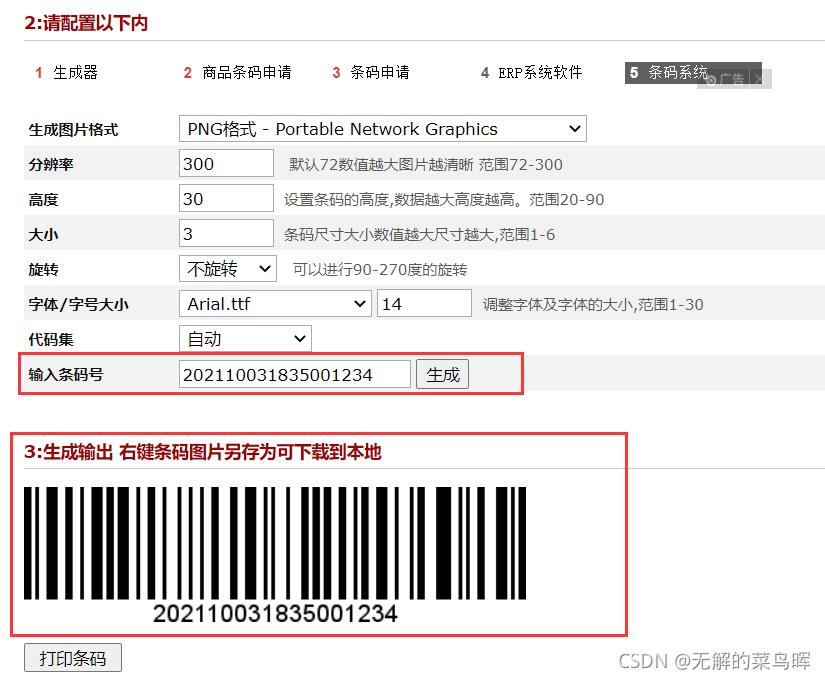


可以看到这样操作不用经过任何打包(有的需要打包成 app 才行)、部署(有的需要部署到 https 的服务器才行)、配置(前面说的诸如微信开发的配置等...)。
三、具体操作实现
1、安装。
npm install @zxing/library --save
2、假设场景:页面上有个按钮,点击触发扫码功能 @click='scanCode()',在 methods 写入该方法。
scanCode() {
  console.log('浏览器信息', navigator.userAgent);
  this.$router.push({
    path: '/scanCodePage'
  });
}
同时在 vue-router 写入对应页面的路由。
{
  title: '扫码页面',
  name: 'scanCodePage',
  path: '/scanCodePage',
  component: () => import('@/views/scanCodePage.vue')
}
3、扫码页面代码,通过与 video 标签结合使用,把以下代码直接全部拷贝到新建的一个 scanCodePage.vue 文件里使用,读者在注释的地方自行根据需求,编写后续的业务代码即可。
<template>
<div class="page-scan">
<!--返回-->
<van-nav-bar title="扫描二维码/条形码" fixed
@click-left="clickIndexLeft()"
class="scan-index-bar">
<template #left>
<van-icon name="arrow-left" size="18" color="#fff"/>
<span style="color: #fff"> 取消 </span>
</template>
</van-nav-bar>
<!-- 扫码区域 -->
<video ref="video" id="video" class="scan-video" autoplay></video>
<!-- 提示语 -->
<div v-show="tipShow" class="scan-tip"> {{tipMsg}} </div>
</div>
</template>
<script>
import { BrowserMultiFormatReader } from '@zxing/library';
import { Dialog, Notify } from 'vant';
export default {
name: 'scanCodePage',
data() {
return {
loadingShow: false,
codeReader: null,
scanText: '',
vin: null,
tipMsg: '正在尝试识别....',
tipShow: false
}
},
created() {
this.codeReader = new BrowserMultiFormatReader();
this.openScan();
},
destroyed(){
this.codeReader.reset();
},
watch: {
'$route'(to, from) {
if(to.path == '/scanCodePage'){
this.codeReader = new BrowserMultiFormatReader();
this.openScanTwo();
}
}
},
methods: {
async openScan() {
this.codeReader.getVideoInputDevices().then((videoInputDevices) => {
this.tipShow = true;
this.tipMsg = '正在调用摄像头...';
console.log('videoInputDevices', videoInputDevices);
// 默认获取第一个摄像头设备id
let firstDeviceId = videoInputDevices[0].deviceId;
// 获取第一个摄像头设备的名称
const videoInputDeviceslablestr = JSON.stringify(videoInputDevices[0].label);
if (videoInputDevices.length > 1) {
// 判断是否后置摄像头
if (videoInputDeviceslablestr.indexOf('back') > -1) {
firstDeviceId = videoInputDevices[0].deviceId;
} else {
firstDeviceId = videoInputDevices[1].deviceId;
}
}
this.decodeFromInputVideoFunc(firstDeviceId);
}).catch(err => {
this.tipShow = false;
console.error(err);
});
},
async openScanTwo() {
this.codeReader = await new BrowserMultiFormatReader();
this.codeReader.getVideoInputDevices().then((videoInputDevices) => {
this.tipShow = true;
this.tipMsg = '正在调用摄像头...';
console.log('videoInputDevices', videoInputDevices);
// 默认获取第一个摄像头设备id
let firstDeviceId = videoInputDevices[0].deviceId;
// 获取第一个摄像头设备的名称
const videoInputDeviceslablestr = JSON.stringify(videoInputDevices[0].label);
if (videoInputDevices.length > 1) {
// 判断是否后置摄像头
if (videoInputDeviceslablestr.indexOf('back') > -1) {
firstDeviceId = videoInputDevices[0].deviceId;
} else {
firstDeviceId = videoInputDevices[1].deviceId;
}
}
this.decodeFromInputVideoFunc(firstDeviceId);
}).catch(err => {
this.tipShow = false;
console.error(err);
});
},
decodeFromInputVideoFunc(firstDeviceId) {
this.codeReader.reset(); // 重置
this.scanText = '';
this.codeReader.decodeFromInputVideoDeviceContinuously(firstDeviceId, 'video', (result, err) => {
this.tipMsg = '正在尝试识别...';
this.scanText = '';
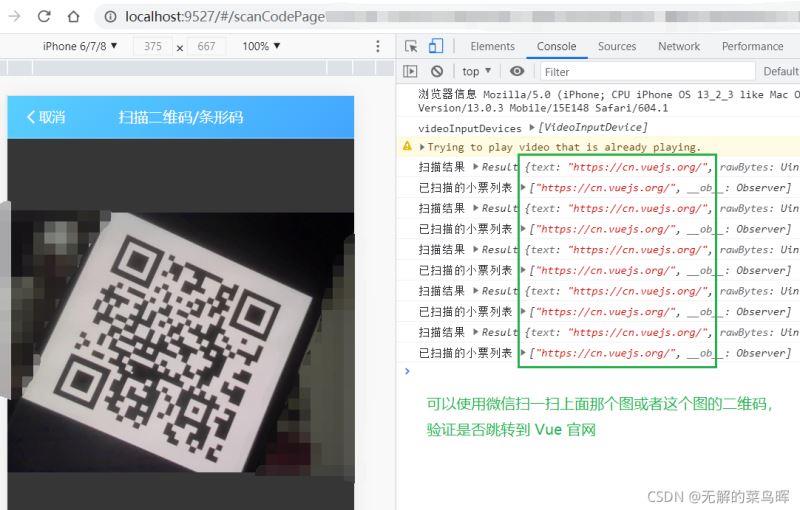
if (result) {
console.log('扫描结果', result);
this.scanText = result.text;
if (this.scanText) {
this.tipShow = false;
// 这部分接下去的代码根据需要,读者自行编写了
// this.$store.commit('app/SET_SCANTEXT', result.text);
// console.log('已扫描的小票列表', this.$store.getters.scanTextArr);
}
}
if (err && !(err)) {
this.tipMsg = '识别失败';
setTimeout(() => {
this.tipShow = false;
}, 2000)
console.error(err);
}
});
},
clickIndexLeft(){ // 返回上一页
this.codeReader = null;
this.$destroy();
this.$router.back();
}
}
}
</script>
<style lang="scss">
.scan-index-bar{
background-image: linear-gradient( -45deg, #42a5ff ,#59cfff);
}
.van-nav-bar__title{
color: #fff !important;
}
.scan-video{
height: 80vh;
}
.scan-tip{
width: 100vw;
text-align: center;
margin-bottom: 10vh;
color: white;
font-size: 5vw;
}
.page-scan{
overflow-y: hidden;
background-color: #363636;
}
</style>
总结
到此这篇关于Vue移动端实现调用相机扫描二维码或条形码的文章就介绍到这了,更多相关Vue调用相机扫描二维码内容请搜索易盾网络以前的文章或继续浏览下面的相关文章希望大家以后多多支持易盾网络!