Win11如何开机自启Wifi热点?近期有用户的电脑自带无线网卡,就想设置电脑开机自启无线热点,这样随时都可以让其他用户连接该网络,那么应该如何设置呢?我们一起来看看这篇Win11开机自动启动无线热点教程吧。
具体操作如下:
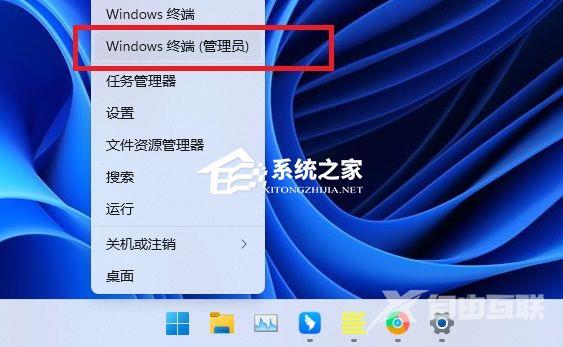
1、首先,按键盘上的【 Win + X 】组合键,或右键点击任务栏上的【Windows徽标】,在打开的右键菜单项中,选择【终端(管理员)】;
2、用户账户控制窗口,你要允许此应用对你的设备进行更改吗?点击【是】;

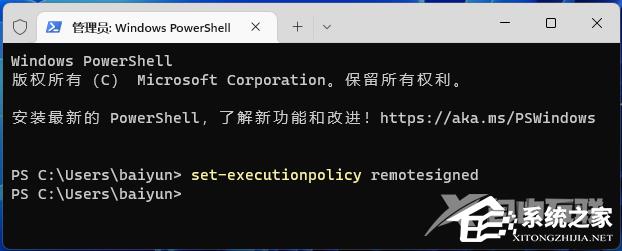
3、管理员:Windows PowerShell窗口,输入并执行以下命令:
set-executionpolicy remotesigned
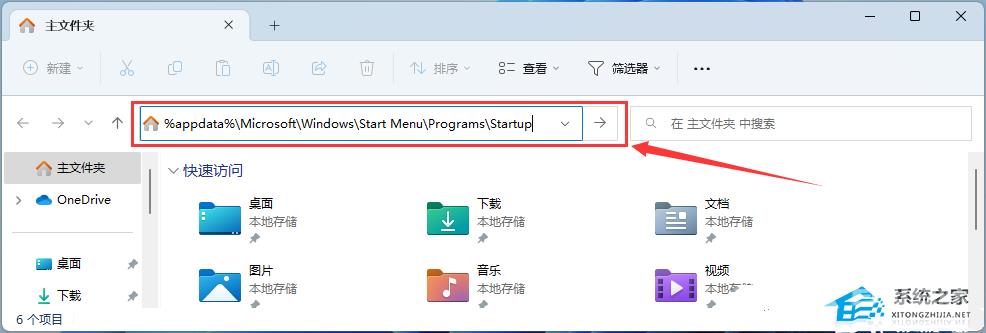
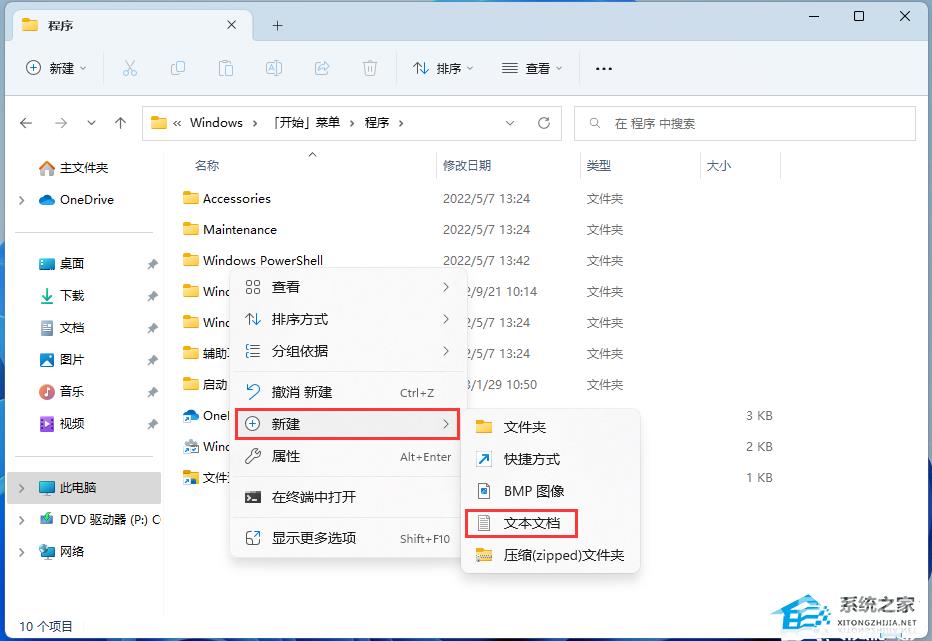
4、打开文件资源管理器,并在地址栏输入:
%appdata%\Microsoft\Windows\Start Menu\Programs\Startup
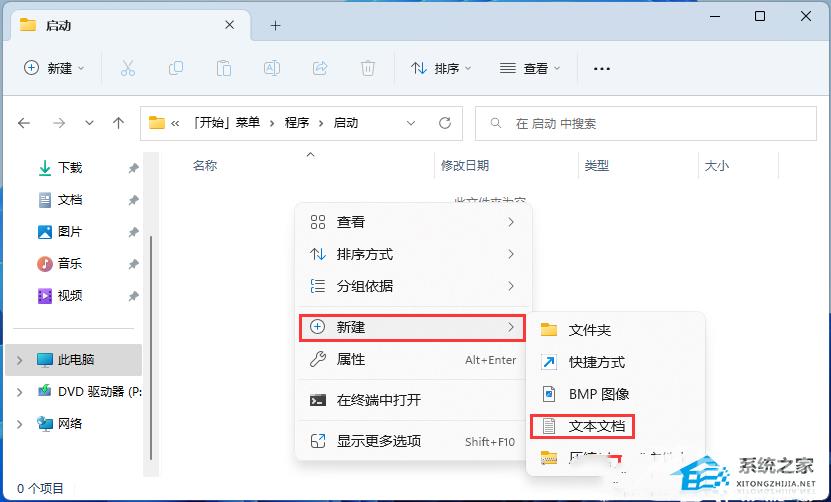
5、打开的文件夹中,空白处,点击【右键】,在打开的菜单项中,选择【新建文本文档】;
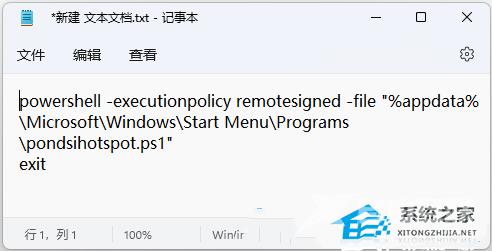
6、新建的文本文档窗口,输入以下内容:
- 01powershell -executionpolicy remotesigned -file "%appdata%\Microsoft\Windows\Start Menu\Programs\pondsihotspot.ps1"
- 02exit
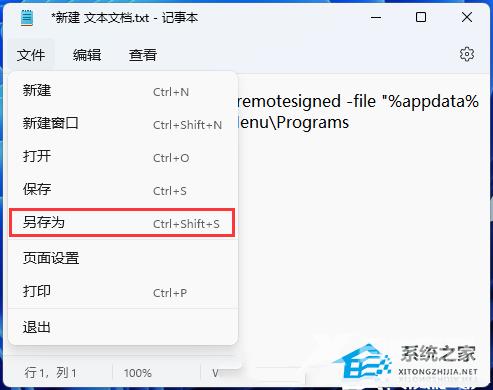
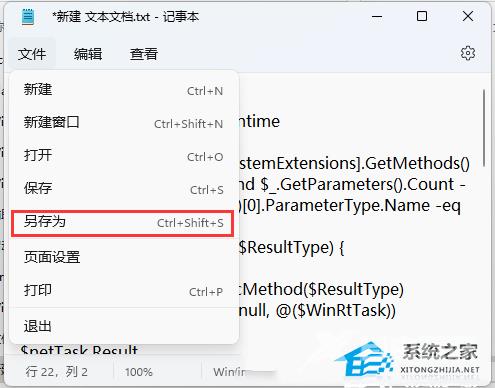
7、点击左上角的【文件】,在打开的下拉项中,选择【另存为】;
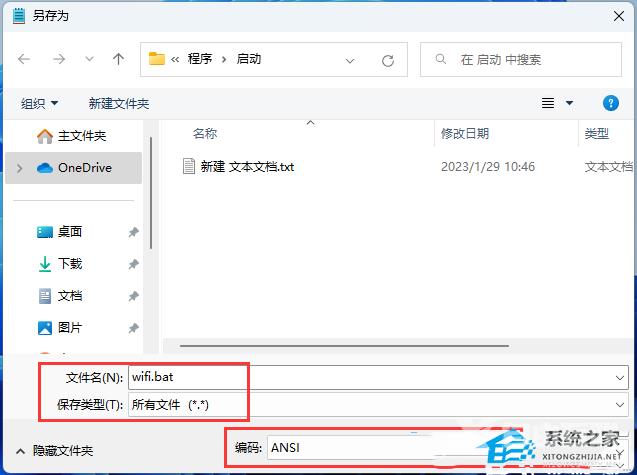
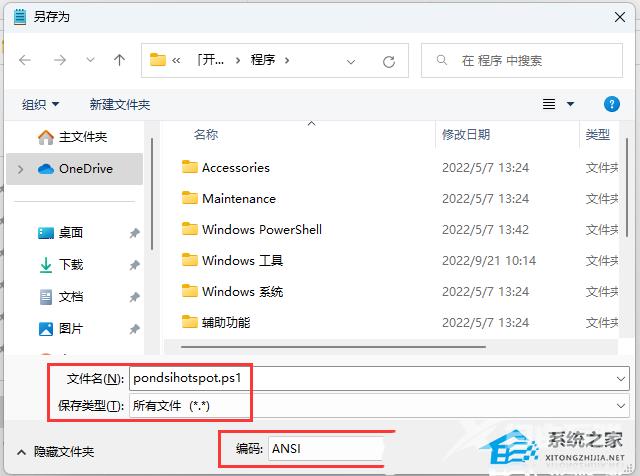
8、另存为窗口,注意两个地方:
1)文件名填入以【.bat】结尾的名称,保存类型选择【所有文件】
2)编码选择【ANSI】
最后点击【保存】。
9、再打开文件资源管理器,并在地址栏输入:
%appdata%\Microsoft\Windows\Start Menu\Programs

10、打开的文件夹中,空白处,点击【右键】,在打开的菜单项中,选择【新建文本文档】;
11、新建的文本文档窗口,输入以下内容:
- 01Add-Type -AssemblyName System.Runtime.WindowsRuntime
- 02$asTaskGeneric = ([System.WindowsRuntimeSystemExtensions].GetMethods() | ? { $_.Name -eq 'AsTask' -and $_.GetParameters().Count -eq 1 -and $_.GetParameters()[0].ParameterType.Name -eq 'IAsyncOperation`1' })[0]
- 03Function Await($WinRtTask, $ResultType) {
- 04$asTask = $asTaskGeneric.MakeGenericMethod($ResultType)
- 05$netTask = $asTask.Invoke($null, @($WinRtTask))
- 06$netTask.Wait(-1) | Out-Null
- 07$netTask.Result
- 08}
- 09Function AwaitAction($WinRtAction) {
- 10$asTask = ([System.WindowsRuntimeSystemExtensions].GetMethods() | ? { $_.Name -eq 'AsTask' -and $_.GetParameters().Count -eq 1 -and !$_.IsGenericMethod })[0]
- 11$netTask = $asTask.Invoke($null, @($WinRtAction))
- 12$netTask.Wait(-1) | Out-Null
- 13}
- 14$connectionProfile = [Windows.Networking.Connectivity.NetworkInformation,Windows.Networking.Connectivity,ContentType=WindowsRuntime]::GetInternetConnectionProfile()
- 15$tetheringManager = [Windows.Networking.NetworkOperators.NetworkOperatorTetheringManager,Windows.Networking.NetworkOperators,ContentType=WindowsRuntime]::CreateFromConnectionProfile($connectionProfile)
- 16if ($tetheringManager.TetheringOperationalState -eq 1) {
- 17"Hotspot is already On!"
- 18}
- 19else{
- 20"Hotspot is off! Turning it on"
- 21Await ($tetheringManager.StartTetheringAsync()) ([Windows.Networking.NetworkOperators.NetworkOperatorTetheringOperationResult])
- 22}
再点击左上角的【文件】,打开的下拉项中,选择【另存为】;
12、另存为窗口,注意两个地方:
1)文件名填入以【.ps1】结尾的名称,保存类型选择【所有文件】
2)编码选择【ANSI】
最后点击【保存】。
最后运行【wifi.bat】,测试能否打开热点。