Apache网页优化和安全
一、在 Centos01 上安装 apache 配置网站服务器
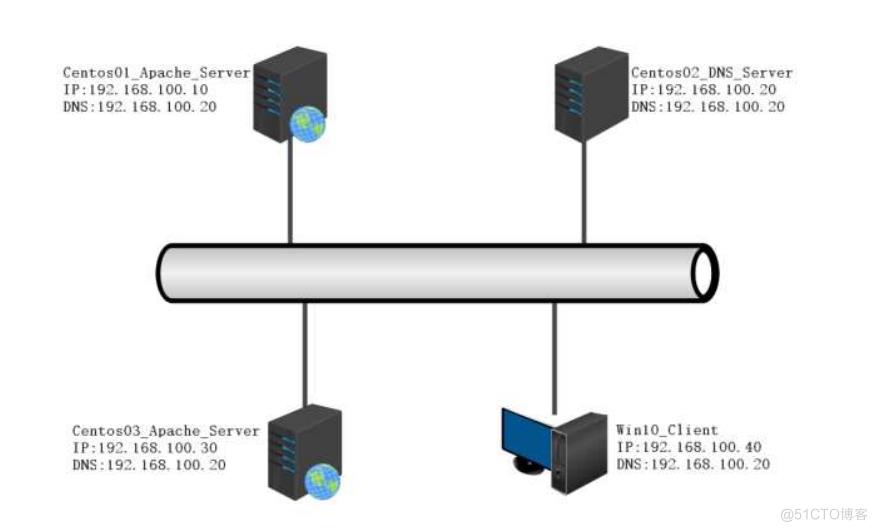
拓扑图:
1、在Centos01上安装apache服务配置网站
1)切换光盘
2)挂载光盘解压源代码程序
[root@centos01 ~]# mount /dev/cdrom /mnt/
mount: /dev/sr0 写保护,将以只读方式挂载
[root@centos01 ~]# tar zxf /mnt/httpd-2.2.17.tar.gz -C /usr/src/
[root@centos01 ~]# ls /usr/src/
debug  httpd-2.2.17  kernels
3)配置安装apache
[root@centos01 ~]# cd
/usr/src/httpd-2.2.17/
[root@centos01 httpd-2.2.17]# ./configure
--prefix=/usr/local --enable-so --enable-rewrite --enable-charset-lite
--enable-cgi
4)编译安装apache
[root@centos01 httpd-2.2.17]# make && make install
2、配置apache服务
1)生成服务控制文件添加执行权限
[root@centos01 ~]# cp /usr/local/bin/apachectl /etc/init.d/httpd
[root@centos01 ~]# chmod +x /etc/init.d/httpd
2)修改服务控制文件
[root@centos01 ~]# vim /etc/init.d/httpd
#!/bin/sh
#chkconfig:35 21 80
#description:Apache Server
3)添加系统服务设置开机自动启动
[root@centos01 ~]# chkconfig --add httpd
[root@centos01 ~]# chkconfig --level 35 httpd on
4)优化apache命令
[root@centos01 ~]# ln -s /usr/local/httpd/bin/* /usr/local/bin/
3、启动apache服务查看服务运行状态
1)启动服务
[root@centos01 ~]# systemctl start httpd
2)监听服务启动没有
[root@centos01 ~]# netstat -anptu | grep httpd
tcp6      0      0 :::80                   :::*                    LISTEN      53673/httpd
4、修改apache网页根目录设置网站主页
1)创建网站根目录设置主页
[root@centos01 ~]# mkdir /www
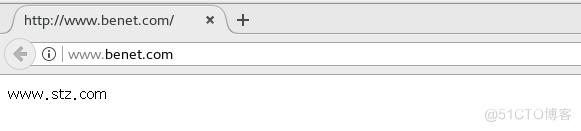
[root@centos01 ~]# echo "www.stz.com" > /www/index.html
2)修改apache主配置文件
[root@centos01 ~]# vim /usr/local/httpd/conf/httpd.conf
97 ServerName www.benet.com:80
131 <Directory "/www">
132    Options Indexes FollowSymLinks
133    AllowOverride None
134    Order allow,deny
135    Allow from all
136 </Directory>
137 <IfModule dir_module>
138    DirectoryIndex index.html
139 </IfModule>
3)检查主配置文件是否出错
[root@centos01 ~]# httpd -t
Syntax OK
4)重新启动apache让配置文件重新加载
[root@centos01 ~]# systemctl restart httpd
二、在Centos02上安装DNS使用域名访问Centos01使用www.benet.com访问,Centos03使用yum安装apache使用www.accp.com访问
1、安装DNS服务设置开机自动启动
1)挂载系统光盘安装DNS服务
[root@centos02 ~]# mount /dev/cdrom /mnt/
mount: /dev/sr0 写保护,将以只读方式挂载
[root@centos02 ~]# ls /mnt/ CentOS_BuildTag  GPL
LiveOS    RPM-GPG-KEY-CentOS-7
EFI              images    Packages
RPM-GPG-KEY-CentOS-Testing-7
EULA             isolinux  repodata
TRANS.TBL
2)安装DNS服务
[root@centos02 ~]# rpm -ivh /mnt/Packages/bind-9.9.4-50.el7.x86_64.rpm
[root@centos02 ~]# rpm -ivh /mnt/Packages/bind-chroot-9.9.4-50.el7.x86_64.rpm
3)设置服务开机自动启动
[root@centos02 ~]# systemctl start named
[root@centos02 ~]# systemctl enable named
2、修改主配置文件和区域配置文件
1)修改DNS主配置文件
[root@centos02 ~]# vim /etc/named.conf
options {
listen-on port 53 { any; };
directory      "/var/named";
};
zone "benet.com" IN {
      type master;
      file "/var/named/benet.com.zone";
};
zone "accp.com" IN {
    type master;
    file "/var/named/accp.com.zone";
};
2)检查主配置文件是否出错
[root@centos02 ~]# named-checkconf /etc/named.conf
3)修改区域配置文件
[root@centos02 ~]# vim /var/named/benet.com.zone
$TTL            86400
@               SOA             benet.com.       root.benet.com. (
                2023020914
                1H
                15M
                1W
                1D
)
@               NS              centos02.benet.com.
centos02        A               192.168.100.20
www             A               192.168.100.10
[root@centos02 ~]# vim /var/named/accp.com.zone
$TTL 86400
@ SOA accp.com. root.accp.com. (
2023020914
1H
15M
1W
1D
)
@
NS centos02.accp.com.
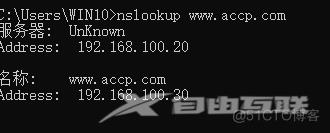
centos02 A 192.168.100.20
www A 192.168.100.30
4)检查区域配置文件是否错误
[root@centos02 ~]# named-checkzone benet.com /var/named/benet.com.zone
zone benet.com/IN: loaded serial 2023020914
OK
[root@centos02 ~]# named-checkzone accp.com /var/named/accp.com.zone
zone accp.com/IN: loaded serial 2023020914
OK
3、启动DNS服务
1)启动DNS服务
[root@centos02 ~]# systemctl start named
[root@centos02 ~]# systemctl enable named
2)监听服务有没有启动
[root@centos02 ~]# netstat -anptu | grep named
tcp
0      0 192.168.100.20:53       0.0.0.0:*               LISTEN      2097/named
4、配置验证DNS访问网站
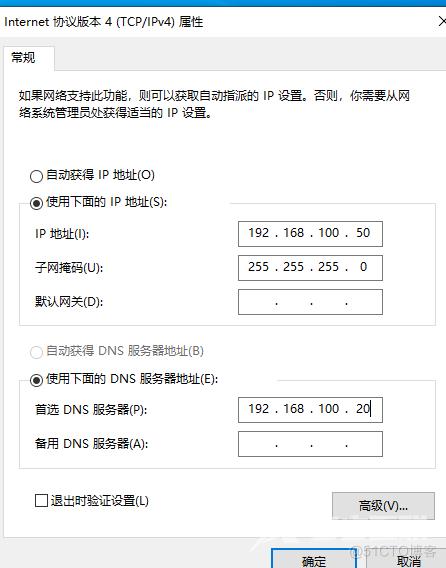
1)客户端配置IP地址
2)配置域名解析
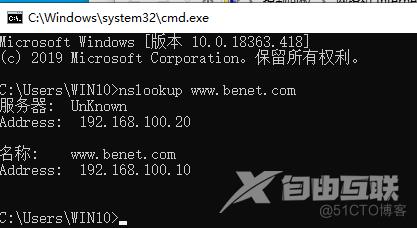
3)访问Centos01上的apache网站
三、在Centso03上使用yum安装apache,设置网站主页访问完整网站
1、挂载系统光盘配置yum仓库
1)挂载光盘
[root@centos03 ~]# mount /dev/cdrom /mnt/
mount: /dev/sr0 写保护,将以只读方式挂载
2)配置yum仓库
[root@centos03 ~]# rm -rf /etc/yum.repos.d/CentOS-*
2、使用yum安装apache设置主页
1)使用yum安装
[root@centos03 ~]# yum -y install httpd
2)设置apache主页
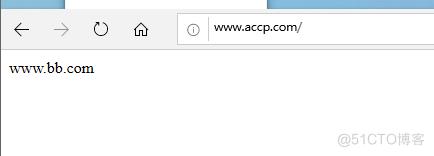
[root@centos03 ~]# echo "www.bb.com" > /var/www/html/index.html
3、启动apache服务设置开机自动其客户端访问apache
1)启动apache服务
[root@centos03 ~]# systemctl start httpd
[root@centos03 ~]# systemctl enable httpd
2)客户端解析
3)客户端访问
四、对www.benet.com域名的网站配置压缩、缓存和隐藏apache版本配置防盗链防止www.accp.com盗www.benet.com的链接
1、对www.benet.com域名配置压缩功能
1)切换光盘

2)挂载系统光盘配置yum仓库
[root@centos01 ~]# umount /mnt/
[root@centos01 ~]# mount /dev/cdrom /mnt
mount: /dev/sr0 写保护,将以只读方式挂载
[root@centos01 ~]# rm -rf /etc/yum.repos.d/CentOS-*
[root@centos01 ~]# cat /etc/yum.repos.d/local.repo
[local]
name=centos
baseurl=file:///mnt
enabled=1
gpgcheck=0
3)安装依赖程序
[root@centos01 ~]# yum -y install zlib zlib-devel
4)检查apache是否安装deflate_module模块
[root@centos01 ~]# apachectl -t -D DUMP_MODULES
5)配置apache加载deflate_module模块
[root@centos01 ~]# cd /usr/src/httpd-2.2.17/
[root@centos01 httpd-2.2.17]# ./configure
--prefix=/usr/local/httpd --enable-so --enable-rewrite --enable-charset-lite
--enable-cgi --enable-deflate
6)编译安装apache
[root@centos01 httpd-2.2.17]# make && make install
7)修改apache主配置文件末尾添加支持压缩功能
[root@centos01 ~]# vim /usr/local/httpd/conf/httpd.conf
362 AddOutputFilterByType DEFLATE text/html text/plain text/css text/xml txt/javascript
363 DeflateCompressionLevel 9
364 SetOutputFilter DEFLATE
8)重新启动apache服务
[root@centos01 ~]# systemctl start httpd
9)客户端访问验证

2、对www.Benet.com域名网页缓存
1)检查是否开启缓存模块
[root@centos01 ~]# apachectl -t -DDUMP_MODULES
2)配置apache开启缓存
[root@centos01 httpd-2.2.17]# ./configure
--prefix=/usr/local/httpd --enable-so --enable-rewrite --enable-charset-lite
--enable-cgi --enable-expires
3)编译安装apache
[root@centos01 httpd-2.2.17]# make && make install
4)修改apache主配置文件末尾添加支持缓存
<IfModule mod_expires.c>
ExpiresActive On
ExpiresDefault "access plus 120 seconds"
</IfModule>
5)检查主配置文件是否错误
[root@centos01 ~]# httpd -t
Syntax OK
6)客户端访问验证
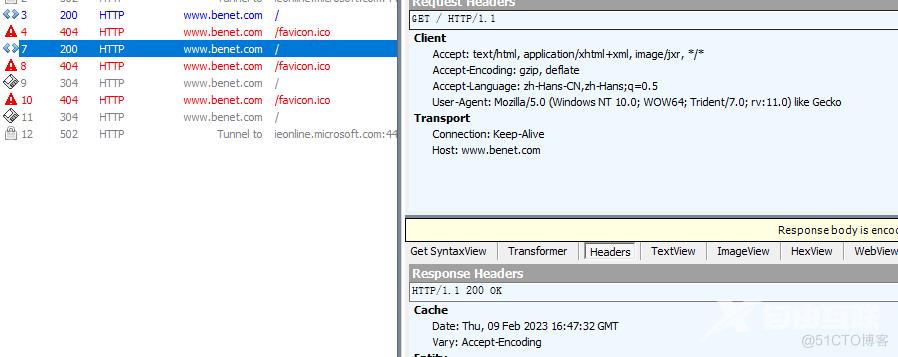
3、对www.benet.com域名隐藏apache版本和保持连接
1)修改apache主配置文件支持隐藏版本号
[root@centos01 ~]# vim /usr/local/httpd/conf/httpd.conf
lnclude conf/extra/httpd-default.conf
2)修改隐藏版本和保持连接
[root@centos01 ~]# vim /usr/local/httpd/conf/extra/httpd-default.conf
ServerSignature Off
ServerTokens Prod
KeepAliveTimeout 5
MaxKeepAliveRequests 1000
Timeout 3
KeepAlive On
3)重新启动apache服务
[root@centos01 ~]# systemctl stop httpd
[root@centos01 ~]# systemctl start httpd
4)客户端验证
2、配置www.benet.com域名网站添加图片,配置www.accp.com盗用www.benet.com的图片
1)www.benet.com的网站添加图片
[root@centos01 www]# rz
z waiting to receive.**B0100000023be50
[root@centos01 www]# ls
index.html  src.jpg
2)修改当前目录的index。Html
<html>
<head>
<tile>one</tile>
</head>
<body>
www.aa.com<br/>
<img src="./src.jpg"/>
<body>
</html>
3)客户端访问www.benet.com查看站点

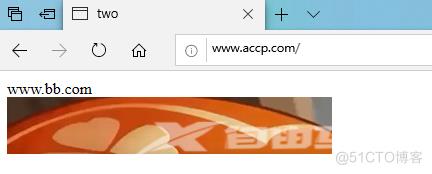
3、配置www.accp.com域名占用盗用www.benet.com图片
1)配置www.accp.com的网站盗用www.benet.com图片
<html>
<head>
<title>two</title>
</head>
<body>
www.bb.com<br>
<img src="http://www.benet.com/src.jpg"/>
</body>
</html>
2)访问www.accp.com网站
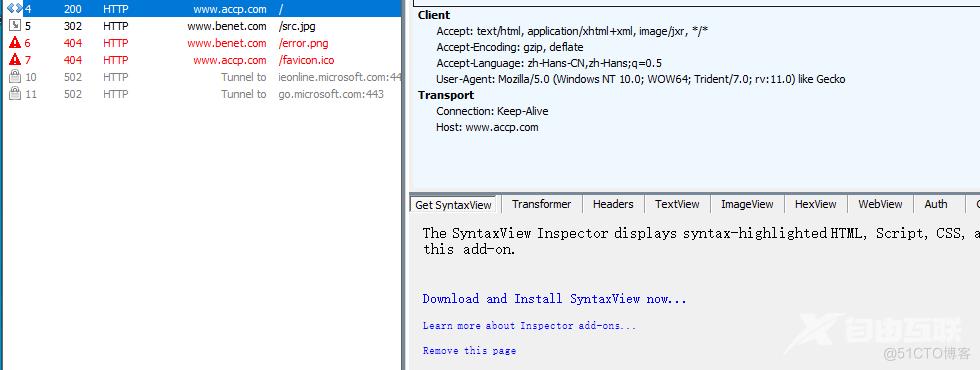
3、配置apache服务器设置放到链接
1)www.benet,com网站添加盗链接跳转图片,使用rz命令上传报错图片
[root@centos01 www]# ls
error.png index.html  src.jpg
2)修改apache主配置文件配置防盗链接
<Directory "/www">
Options Indexes FollowSymLinks
AllowOverride None
Order allow,deny
Allow from all
    RewriteEngine On
RewriteCond %{HTTP_REFERER} !^$
RewriteCond %{HTTP_REFERER} !^http://benet.com/.*$ [NC]
RewriteCond %{HTTP_REFERER} !127.0.0.1.*$ [NC]
RewriteCond %{HTTP_REFERER} !192.168.100.10.*$ [NC]
RewriteCond %{HTTP_REFERER} !^http://benet.com$ [NC]
RewriteCond %{HTTP_REFERER} !^http://www.benet.com/.*$ [NC]
RewriteCond %{HTTP_REFERER} !^http://www.benet.com/$ [NC]
RewriteRule .*\.(gif|jpg|swf)$ http://www.benet.com/error.png [R,NC,L]
</Directory>
3)重新启动服务
[root@centos01 www]# systemctl restart httpd
4)客户端www.accp.com跳转错误图片上
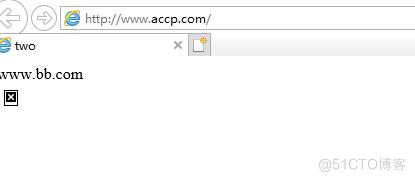
(这里图片已经显示不了了)