本地安装RabbitMQ参考:https://blog.csdn.net/qq_47588845/article/details/107986373
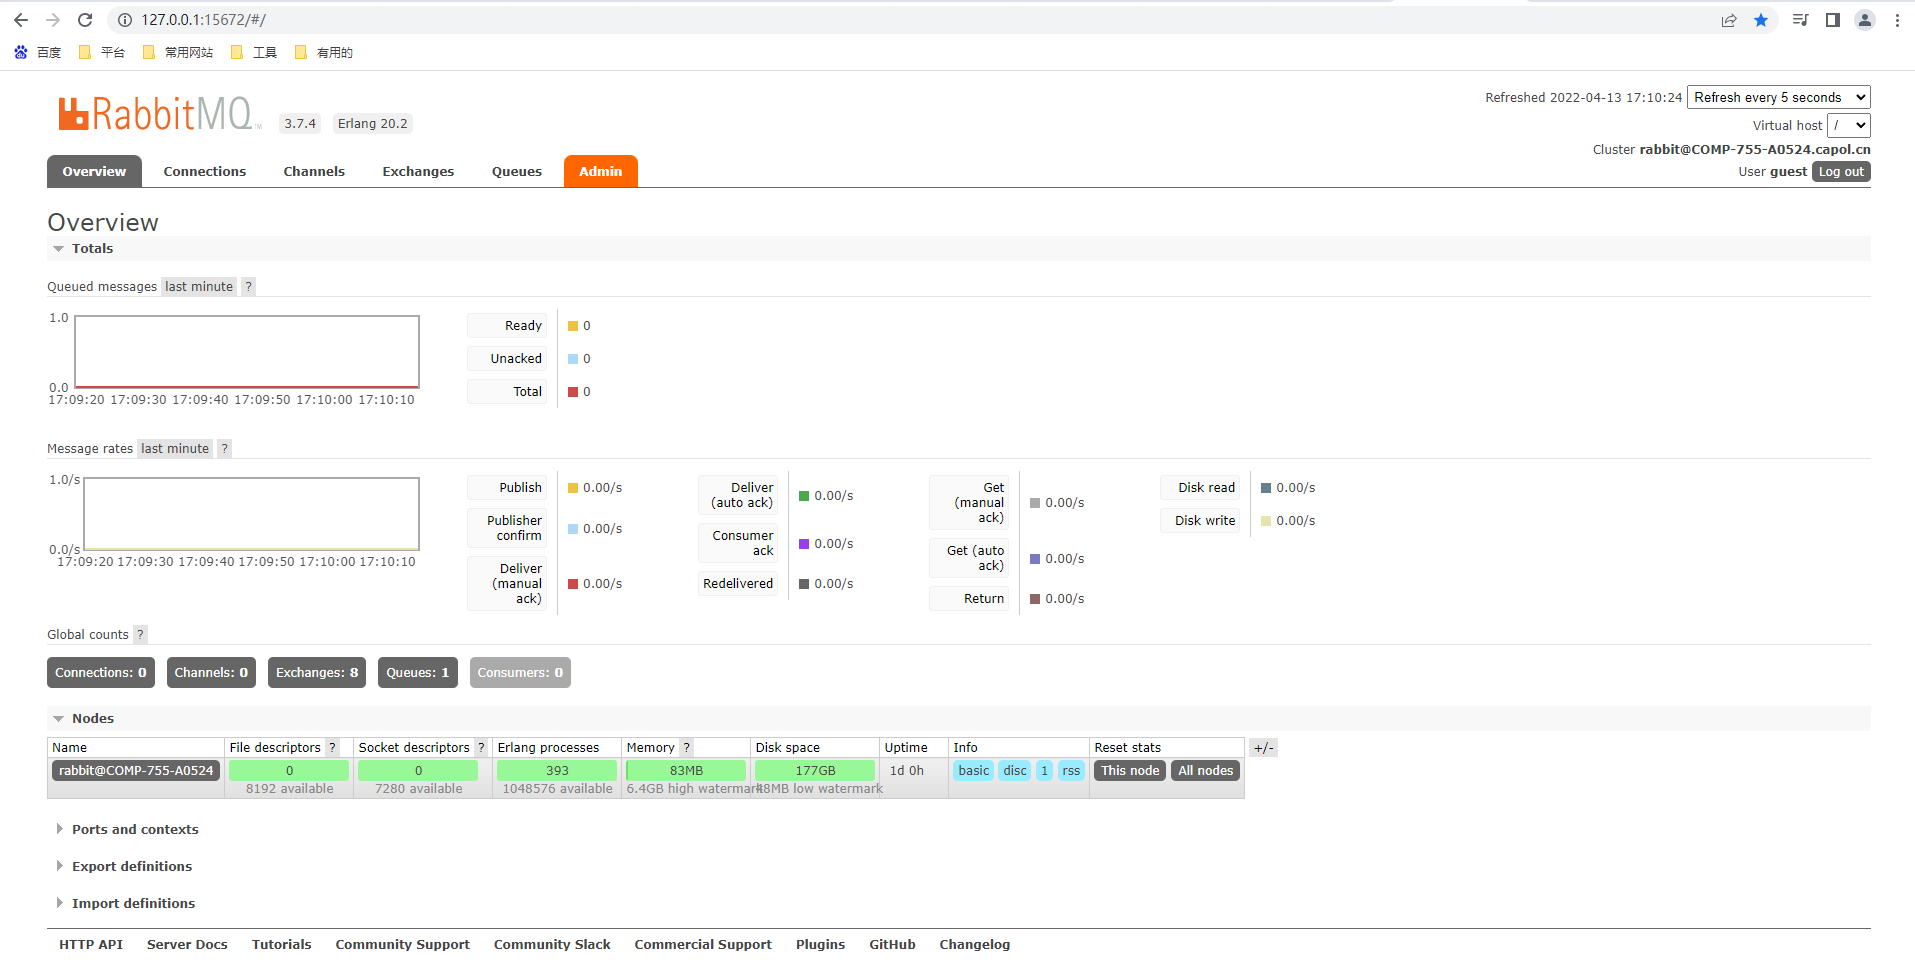
能进入这个页面后,就可以开始操作了:
pom文件:
        <dependency>
            <groupId>org.springframework.boot</groupId>
            <artifactId>spring-boot-starter-amqp</artifactId>
        </dependency>
配置:
rabbitmq:
  host: 127.0.0.1
  port: 5672
  username: guest
  password: guest
  #虚拟host 初始的就为/
  virtual-host: /
  listener:
    simple:
      acknowledge-mode: manual
      concurrency: 5
      max-concurrency: 5
  publisher-returns: true
  template:
    mandatory: true
  connection-timeout: 2000
host其实就是这个:

RabbitMQ模块结构:
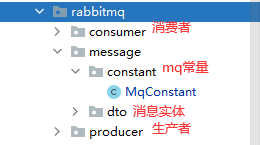
因为是在单个Demo中测试,所以生产者、消费者放在一个项目中
MqConstant:
public class MqConstant {// 队列:存储消息的容器,用来保存消息,直到消息发送给消费者
    public static final String THE_MESSAGE_QUEUE = "theMessageQueue";
    // 交换机:提供Producer到Queue之间的匹配,接收生产者发送的消息并将这些消息按照路由规则转发到消息队列,
    // 不会存储消息 ,如果没有 Queue绑定到 Exchange 的话,它会直接丢弃掉 Producer 发送过来的消息
    public static final String THE_MESSAGE_EXCHANGE = "theMessageExchange";
    // 路由键:消息头的一个属性,用于标记消息的路由规则,决定了交换机的转发路径
    public static final String THE_MESSAGE_KEY = "theMessageKey";
}
用于存放所有发送、消费消息必要的3个参数:队列(Queue)、交换机(Exchange)、路由键(Routing Key)
TheMessageDTO(消息实体,一定要序列化):
@Data
public class TheMessageDTO implements Serializable {
    private Long id;
    private String messageInfo;
}
Producer(生产者):
@Component
public class TheMessageProducer {

    @Autowired
    private RabbitTemplate rabbitTemplate;

    public void sendMessage(TheMessageDTO theMessageDTO) {
        System.out.println("发送了一条消息");
        try {
            rabbitTemplate.convertAndSend(MqConstant.THE_MESSAGE_EXCHANGE, MqConstant.THE_MESSAGE_KEY, theMessageDTO);
            System.out.println("消息发送成功");
        } catch (Exception e) {
            System.out.println("消息发送失败");
            e.printStackTrace();
        }
    }

}
现在先不写消费者,先通过启动一下项目,然后跑一下测试类看看是否可以发送消息
测试类:
@SpringBootTest
@RunWith(SpringRunner.class)
public class RabbitMqTest {

    @Autowired
    private TheMessageProducer theMessageProducer;

    @Test
    public void sendMessage() {
        TheMessageDTO theMessageDTO = new TheMessageDTO();
        theMessageDTO.setId(123L);
        theMessageDTO.setMessageInfo("这是一条消息");
        theMessageProducer.sendMessage(theMessageDTO);
    }

}
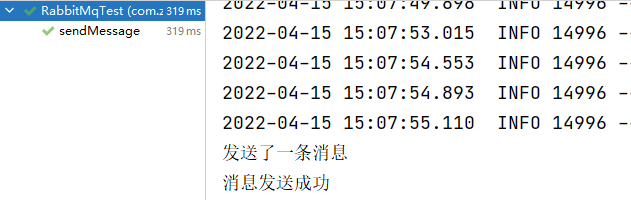
看看控制台运行结果:

虽然显示发送成功,但是控制台却打印了一条error日志,粘贴出来看看:
ERROR 10564 --- [ 127.0.0.1:5672] o.s.a.r.c.CachingConnectionFactory :
Channel shutdown: channel error; protocol method: #method<channel.close>(reply-code=404, reply-text=NOT_FOUND - no exchange 'theMessageExchange' in vhost '/', class-id=60, method-id=40)
意思就是没有找到对应的交换机,去RabbitMQ页面上查看:

可以发现并没有刚才定义的交换机,theMessageExchange
再查看队列:
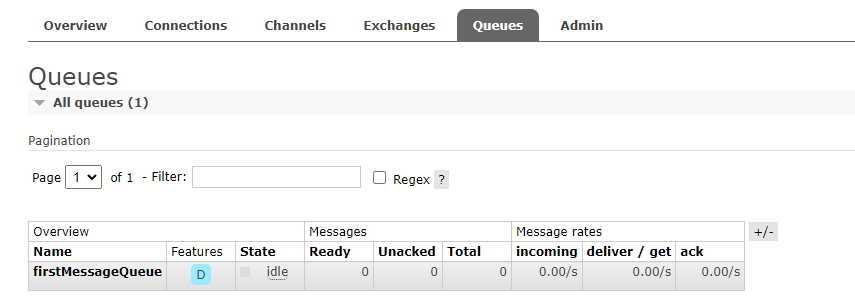
同样没有对应的队列:theMessageQueue
(注:first前缀的是之前笔者个人测试用的)
其实在SpringBoot启动时,会自动创建Exchange、Queue以及他们之间的Key,但是需要在有对应消费者时才会自动创建,因此只有生产者的情况下,需要自行创建他们
Consumer(消费者):
import com.rabbitmq.client.Channel;
import com.zyuan.boot.rabbitmq.message.constant.MqConstant;
import com.zyuan.boot.rabbitmq.message.dto.TheMessageDTO;
import org.springframework.amqp.core.Message;
import org.springframework.amqp.rabbit.annotation.Exchange;
import org.springframework.amqp.rabbit.annotation.Queue;
import org.springframework.amqp.rabbit.annotation.QueueBinding;
import org.springframework.amqp.rabbit.annotation.RabbitListener;
import org.springframework.messaging.handler.annotation.Payload;
import org.springframework.stereotype.Component;

import java.io.IOException;

@Component
public class TheMessageConsumer {

    @RabbitListener(
            bindings = {
                    @QueueBinding(
                            value = @Queue(value = MqConstant.THE_MESSAGE_QUEUE),
                            exchange = @Exchange(value = MqConstant.THE_MESSAGE_EXCHANGE),
                            key = MqConstant.THE_MESSAGE_KEY
                    )
            }
    )
    public void consumeFirstMessage(@Payload TheMessageDTO theMessageDTO, Channel channel, Message message) {
        System.out.println("消费到了信息:" + theMessageDTO.toString());
        try {
            channel.basicAck(message.getMessageProperties().getDeliveryTag(), false);
        } catch (IOException e) {
            e.printStackTrace();
        }
    }

}
然后重启项目,查看RabbitMQ页面:
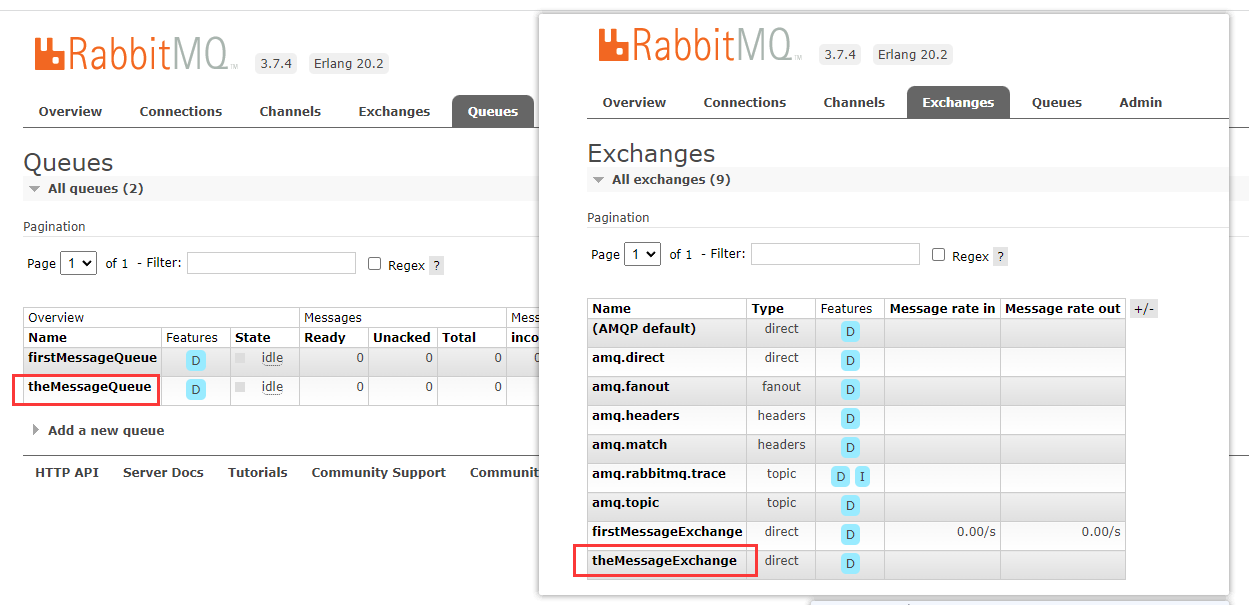
可以发现Exchange,Queue都有了,点击theMessageExchange
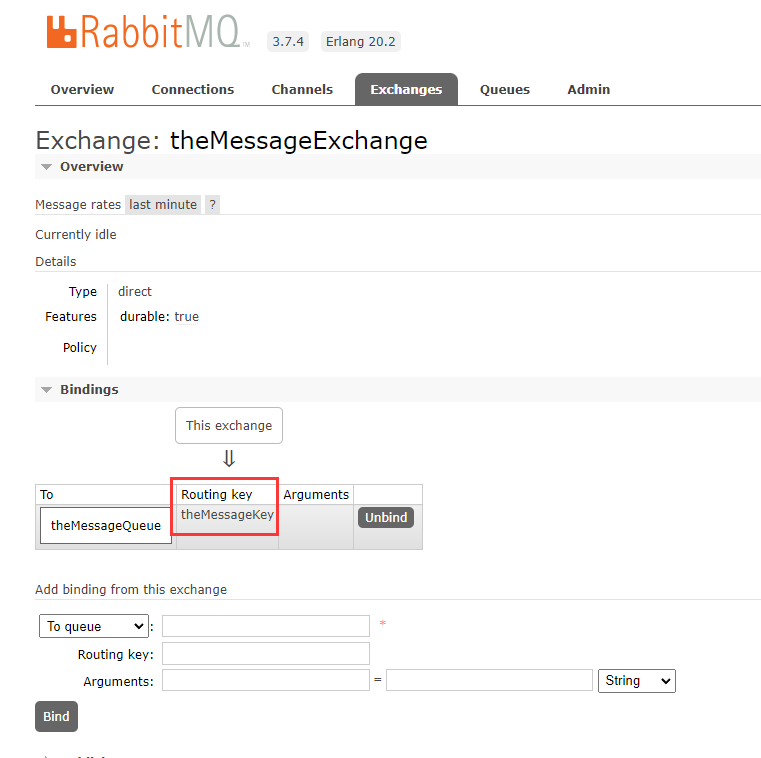
Routing key也在其中了
这时候再跑一下测试类:
再查看Application的控制台:
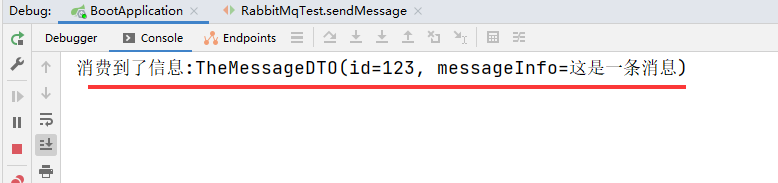
消息已经成功发送并且成功消费了