最近想做一个物联网农业监控系统,第一步就是能够学会使用相关的外设,比如温湿度检测,光照强度检测,还有CO2检测等。 这次讲一下光电传感器的使用和代码实现。 1.知识储备:串
最近想做一个物联网农业监控系统,第一步就是能够学会使用相关的外设,比如温湿度检测,光照强度检测,还有CO2检测等。
这次讲一下光电传感器的使用和代码实现。
1.知识储备:串口使用,ADC采集(此处用的ADC3)。
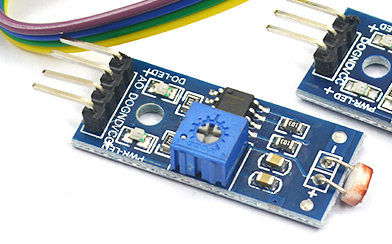
2.硬件:stm32f103ve开发板+4pin光电传感器+4pin_oled

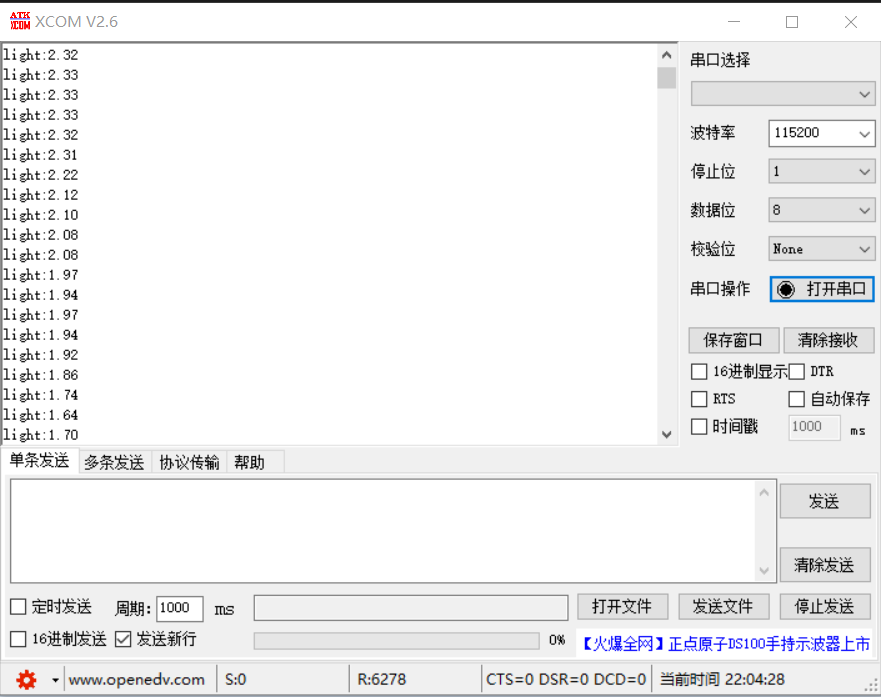
3.使用串口讲解:
main.c
uint8_t receivedata[1];
uint16_t ADC_Value = 0;
float ADC_Volt = 0;
uint8_t str_buff[64] = {0};

void Show_date()
{
	printf("%.2f",ADC_Volt);
}

void Get_ADC_Value()
{
	HAL_ADC_Start(&hadc3);
	if(HAL_ADC_PollForConversion(&hadc3,10) == HAL_OK)
	{
		ADC_Value = HAL_ADC_GetValue(&hadc3);
		ADC_Volt = (ADC_Value * 3.3)/4096;//单位为10mv
		Show_date();
	}
}

int main(void)
{
  /* USER CODE BEGIN 1 */

  /* USER CODE END 1 */

  /* MCU Configuration--------------------------------------------------------*/

  /* Reset of all peripherals, Initializes the Flash interface and the Systick. */
  HAL_Init();

  /* USER CODE BEGIN Init */

  /* USER CODE END Init */

  /* Configure the system clock */
  SystemClock_Config();

  /* USER CODE BEGIN SysInit */

  /* USER CODE END SysInit */

  /* Initialize all configured peripherals */
  MX_GPIO_Init();
  MX_ADC3_Init();
  MX_DMA_Init();
  MX_USART1_UART_Init();
  /* USER CODE BEGIN 2 */
HAL_UART_Receive_IT(&huart1,(uint8_t *)receivedata,1);//开启串口
  /* USER CODE END 2 */

  /* Infinite loop */
  /* USER CODE BEGIN WHILE */
  while (1)
  {
    /* USER CODE END WHILE */

    /* USER CODE BEGIN 3 */
	  printf("light:");
	  Get_ADC_Value();
	  printf("\r\n");
	  HAL_Delay(100);
  }
  /* USER CODE END 3 */
}


/* USER CODE BEGIN 4 */
void HAL_UART_RxCpltCallback(UART_HandleTypeDef *huart)//接收回调函数
{
	if(huart ->Instance == USART1 )
	{
		HAL_UART_Receive_IT (&huart1 ,(uint8_t *)receivedata ,1);


	}
}
/* USER CODE END 4 */
usart.c
int fputc(int ch, FILE *f)
{
  HAL_UART_Transmit(&huart1, (uint8_t *)&ch, 1, 0xffff);
  return ch;
}
int fgetc(FILE * f)
{
  uint8_t ch = 0;
  HAL_UART_Receive(&huart1,&ch, 1, 0xffff);
  return ch;
}
结果:

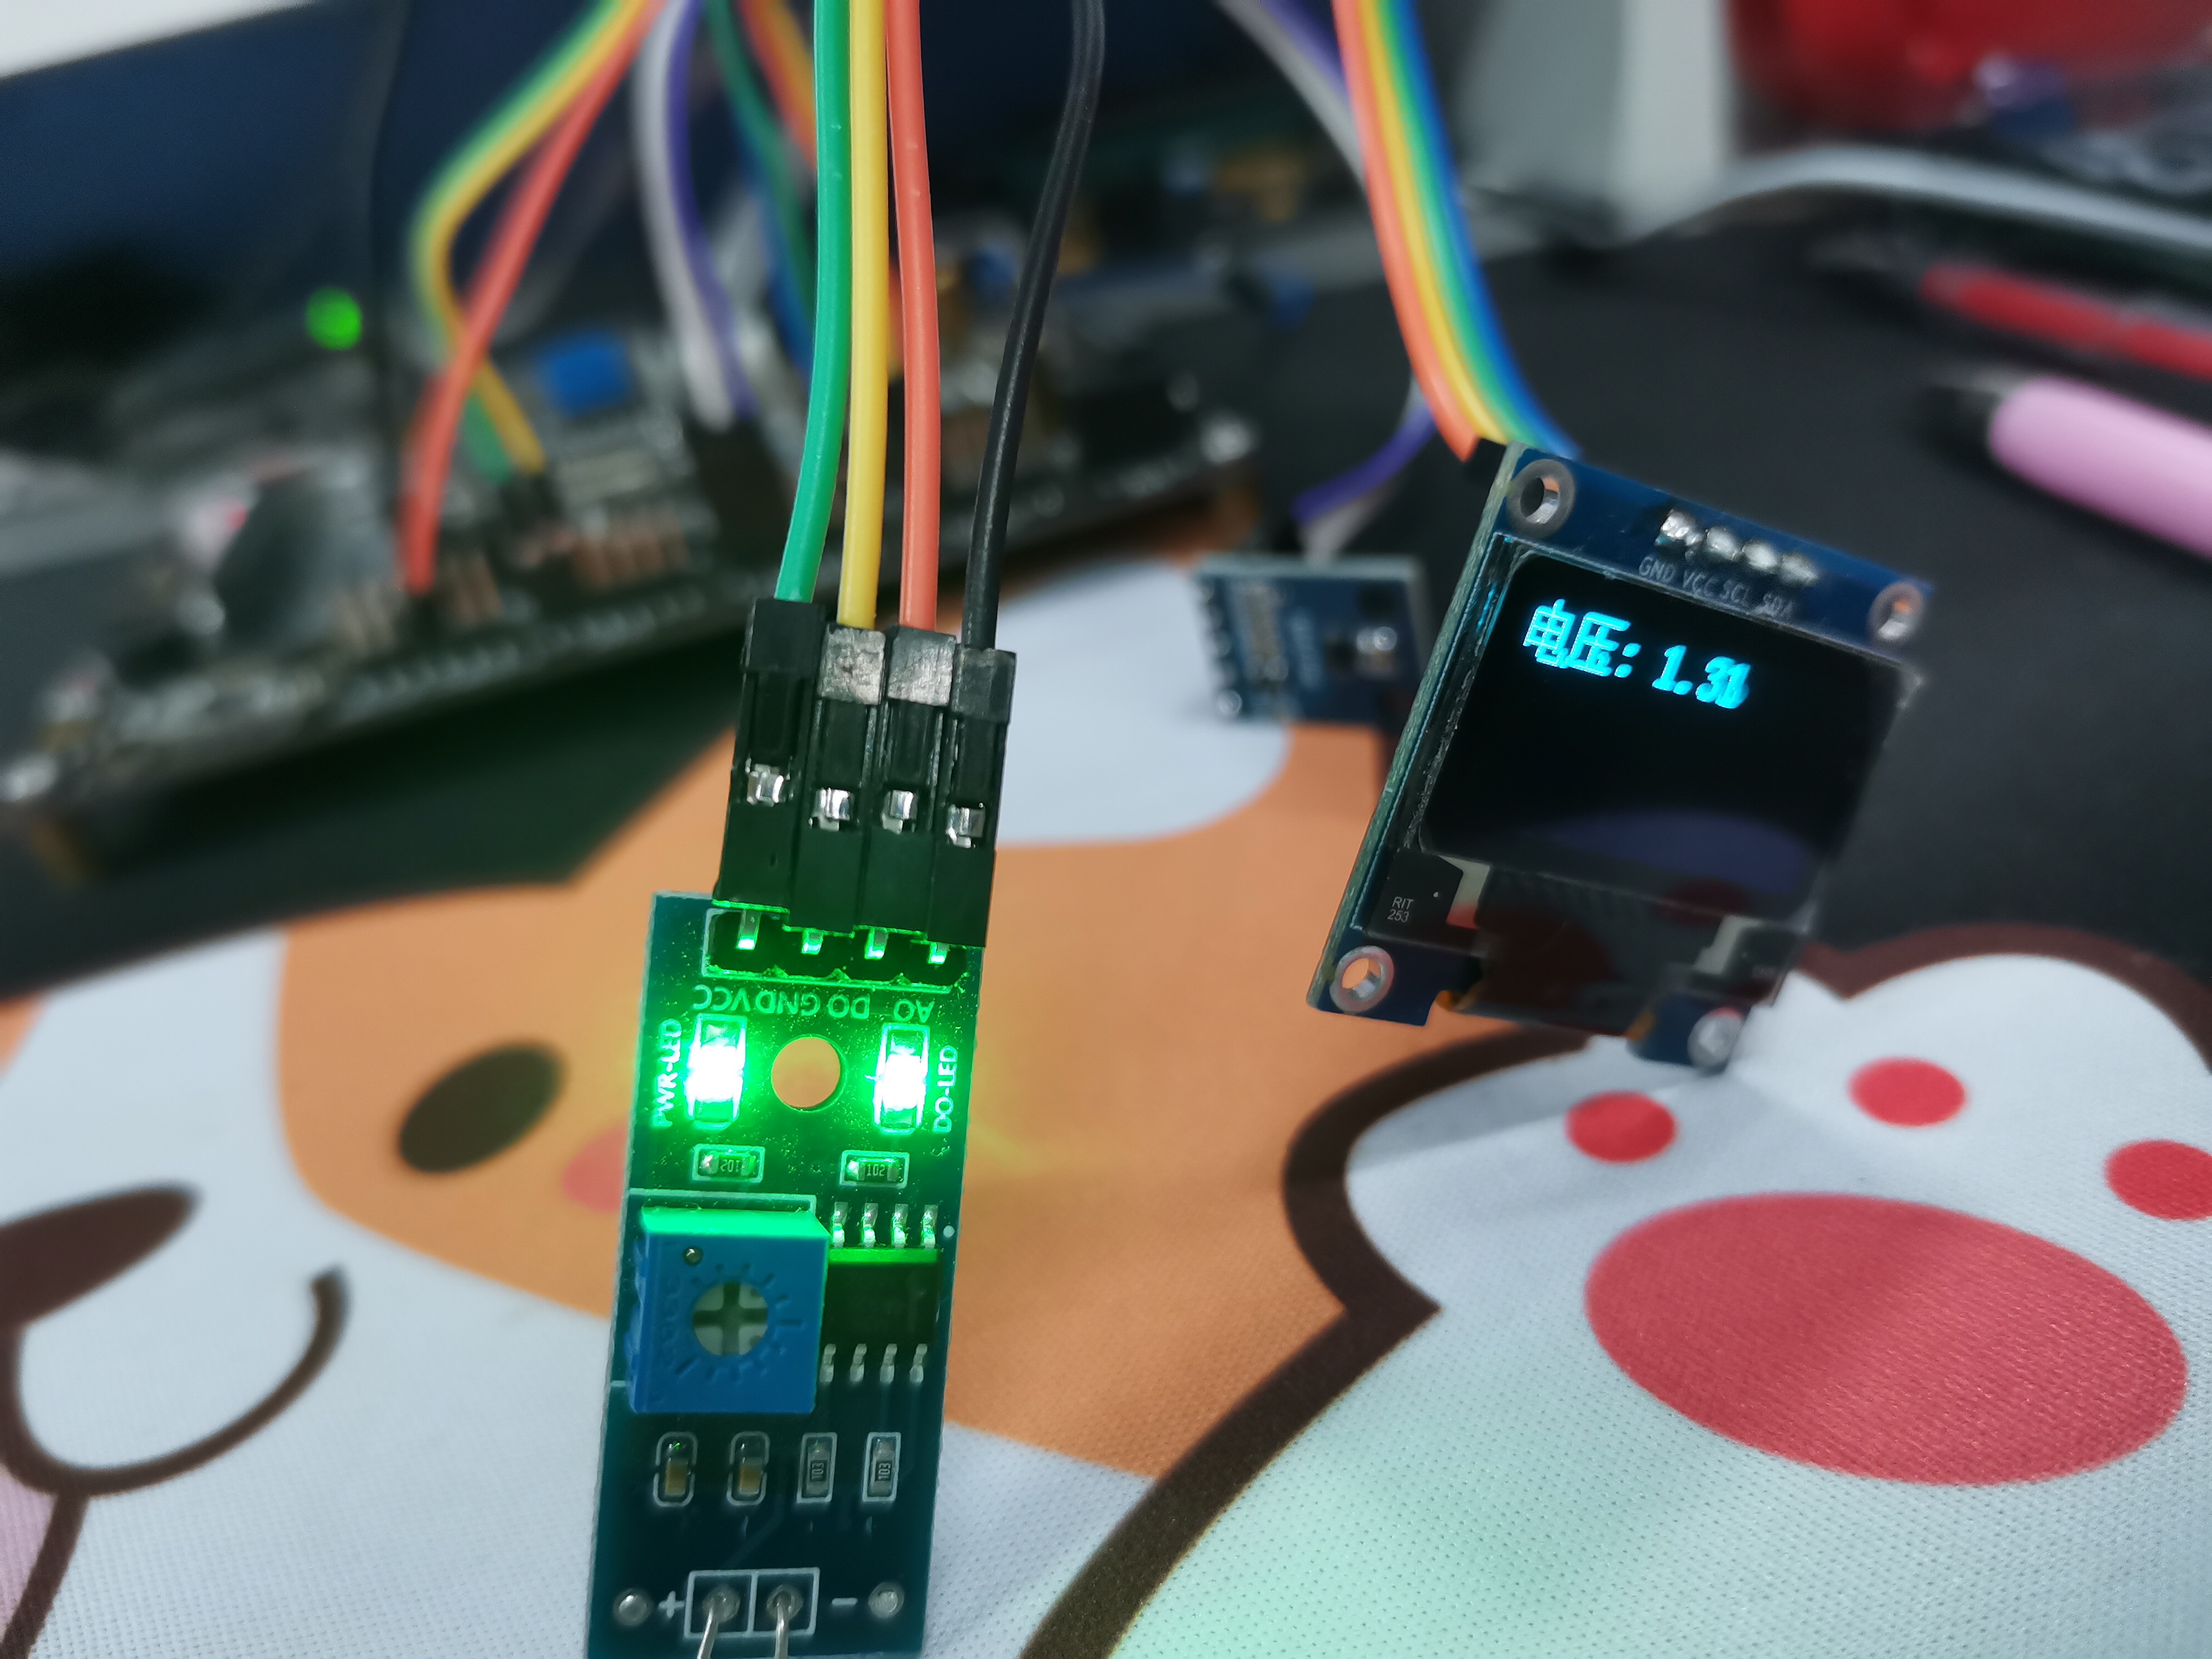
4.使用OLED 屏幕显示:
四脚的oled,SCLK和SDA在CUBEMX找两个脚置成输出模式即可。
oled的使用网上有教程,请自行移植。
代码:
mian.c
#include "main.h"
#include "adc.h"
#include "dma.h"
#include "gpio.h"

/* Private includes ----------------------------------------------------------*/
/* USER CODE BEGIN Includes */
#include "oled.h"
#include "stdio.h"

uint16_t ADC_Value = 0;
uint16_t ADC_Volt = 0;
uint8_t str_buff[64] = {0};

void Show_start();
void OLED_show_data();
void OLED_disp_data();
void Get_ADC_Value();

void SystemClock_Config(void);
/* USER CODE BEGIN PFP */

/* USER CODE END PFP */

/* Private user code ---------------------------------------------------------*/
/* USER CODE BEGIN 0 */

/* USER CODE END 0 */

/**
  * @brief  The application entry point.
  * @retval int
  */
int main(void)
{
  /* USER CODE BEGIN 1 */

  /* USER CODE END 1 */

  /* MCU Configuration--------------------------------------------------------*/

  /* Reset of all peripherals, Initializes the Flash interface and the Systick. */
  HAL_Init();

  /* USER CODE BEGIN Init */

  /* USER CODE END Init */

  /* Configure the system clock */
  SystemClock_Config();

  /* USER CODE BEGIN SysInit */

  /* USER CODE END SysInit */

  /* Initialize all configured peripherals */
  MX_GPIO_Init();
  MX_DMA_Init();
  MX_ADC3_Init();
  /* USER CODE BEGIN 2 */
  OLED_Init();
  Show_start();
  HAL_Delay(1000);
  OLED_Clear();

//  OLED_show_data();

  /* USER CODE END 2 */

  /* Infinite loop */
  /* USER CODE BEGIN WHILE */
  while (1)
  {
    /* USER CODE END WHILE */

    /* USER CODE BEGIN 3 */
	OLED_show_data();
	Get_ADC_Value();
  }
  /* USER CODE END 3 */
}


/* USER CODE BEGIN 4 */
void Show_start()
{
	OLED_Clear();
	OLED_ShowChinese(0,0,0,16);
	OLED_ShowChinese(16,0,1,16);
	OLED_Refresh();
}

void OLED_show_data()
{

	OLED_ShowChinese(0,0,2,16);
	OLED_ShowChinese(16,0,3,16);
	OLED_ShowString(32,0,":",16);
	OLED_Refresh();
}

void OLED_disp_data()
{
	sprintf((char *)str_buff,"%d.%d%d",ADC_Volt/100,(ADC_Volt%100)/10,ADC_Volt%10);
	OLED_ShowString(48,0,str_buff,16);
}

void Get_ADC_Value()
{
	HAL_ADC_Start(&hadc3);
	if(HAL_ADC_PollForConversion(&hadc3,10) == HAL_OK)
	{
		ADC_Value = HAL_ADC_GetValue(&hadc3);
		ADC_Volt = ADC_Value * 330/4096;//单位为10mv
		OLED_disp_data();
	}
}

/* USER CODE END 4 */
结果显示:

想要完整工程
链接:https://pan.baidu.com/s/1OP7wtyOTdvw8_M2gYLfXYw提取码:22kh
链接:https://pan.baidu.com/s/1bl3cA8-8uHEv5rSId5UCxg提取码:abdc
本人能力有限,如有不足请指正。
