Photoshop使用过程中,用户可以利用软件给图片添加各种特效和创意效果,那么怎么绘制屏幕高光呢?下面小编给大家整理了相关步骤介绍,感兴趣的小伙伴不要错过哦! Photoshop怎么绘制屏
Photoshop使用过程中,用户可以利用软件给图片添加各种特效和创意效果,那么怎么绘制屏幕高光呢?下面小编给大家整理了相关步骤介绍,感兴趣的小伙伴不要错过哦!
Photoshop怎么绘制屏幕高光?Photoshop绘制屏幕高光教程

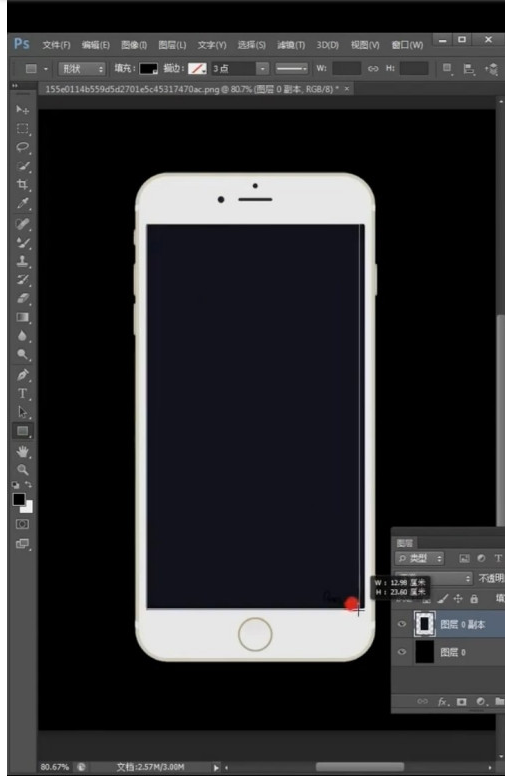
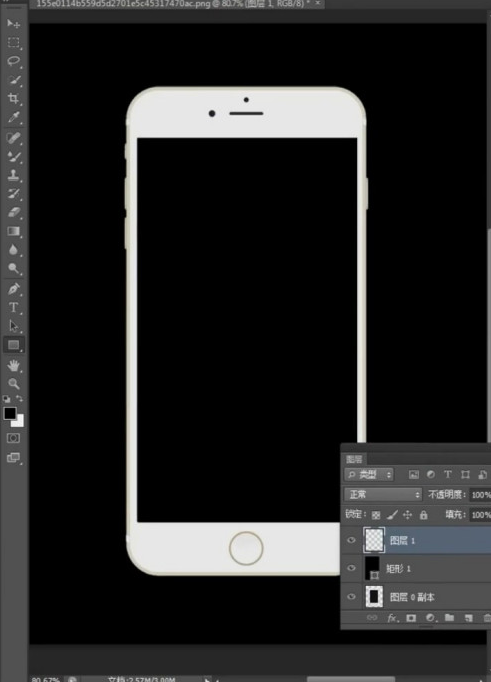
1、首先打开图片选择矩形工具,将图片的屏幕绘制出来。然后新建一个图层。
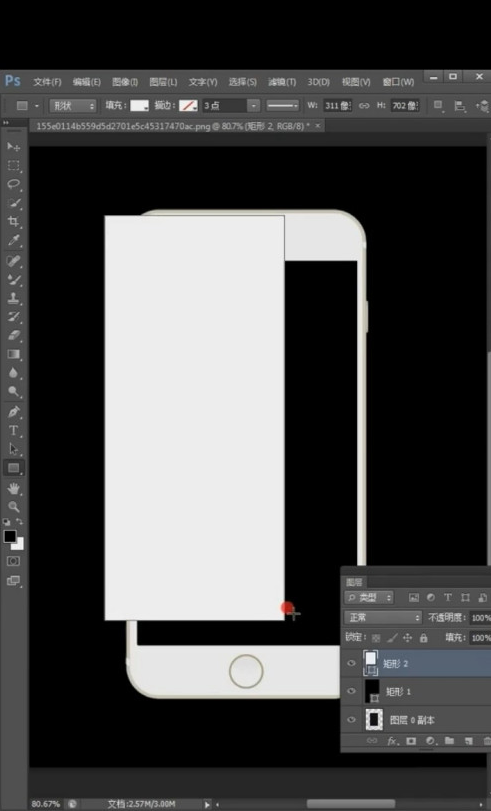
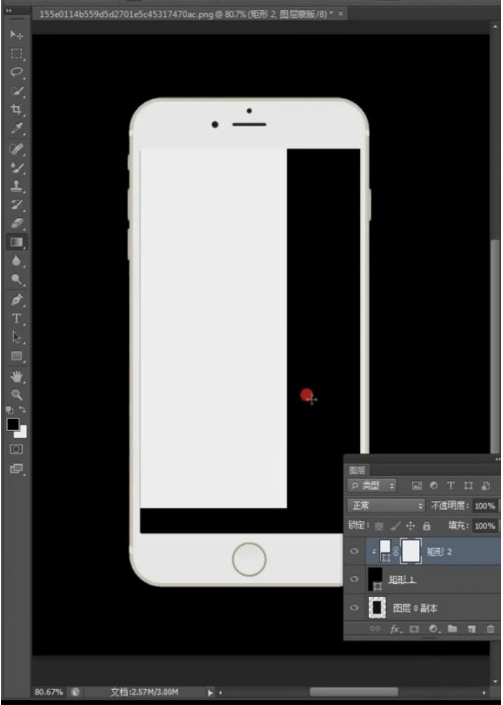
2、再次选择矩形工具,绘制一个图形,填充白色。

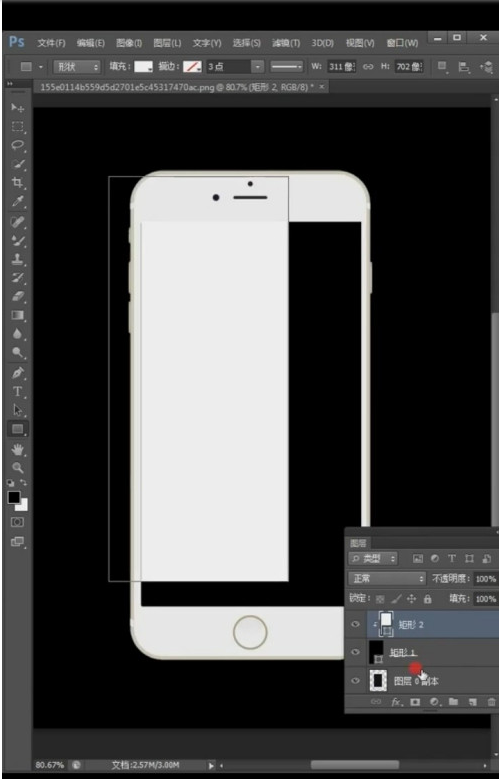
3、接着按Alt键,点击鼠标左键剪切到矩形当中,添加蒙版。
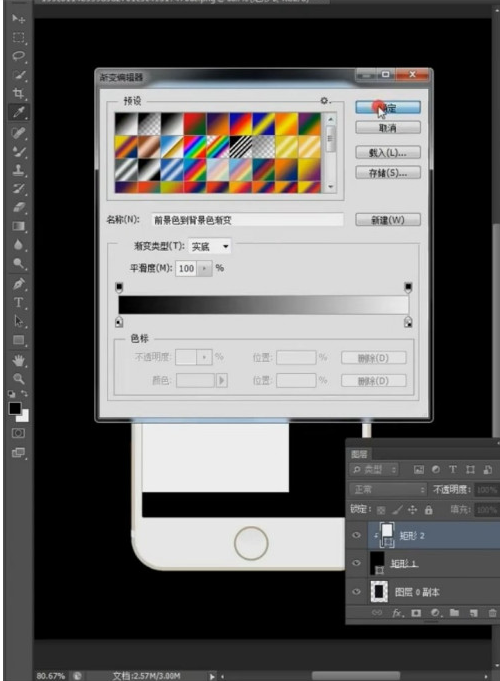
4、然后点击渐变工具,选择黑白渐变,点击确定。
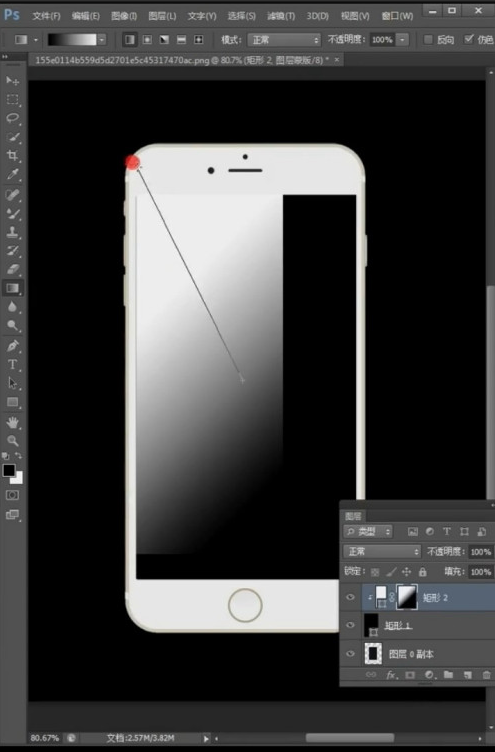
5、然后新建一个蒙版,往上拉。拉动完成后,按ctrl+T旋转、放大。即可完成。
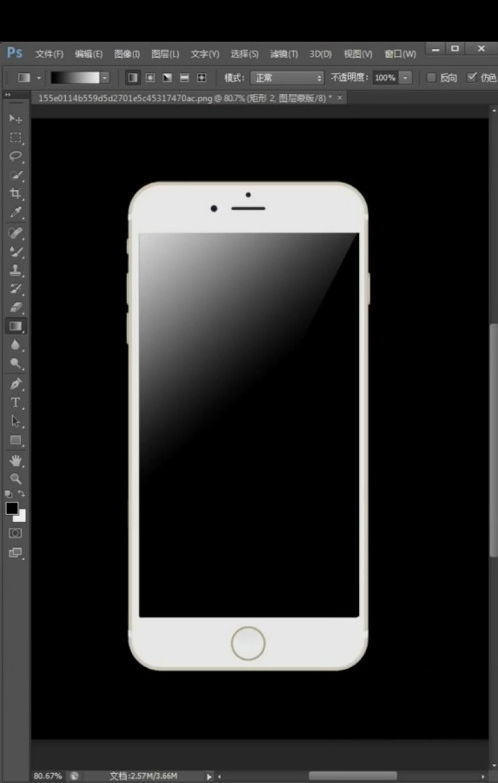
以上这篇文章就是Photoshop绘制屏幕高光教程,有需要的小伙伴快来学习一下吧!