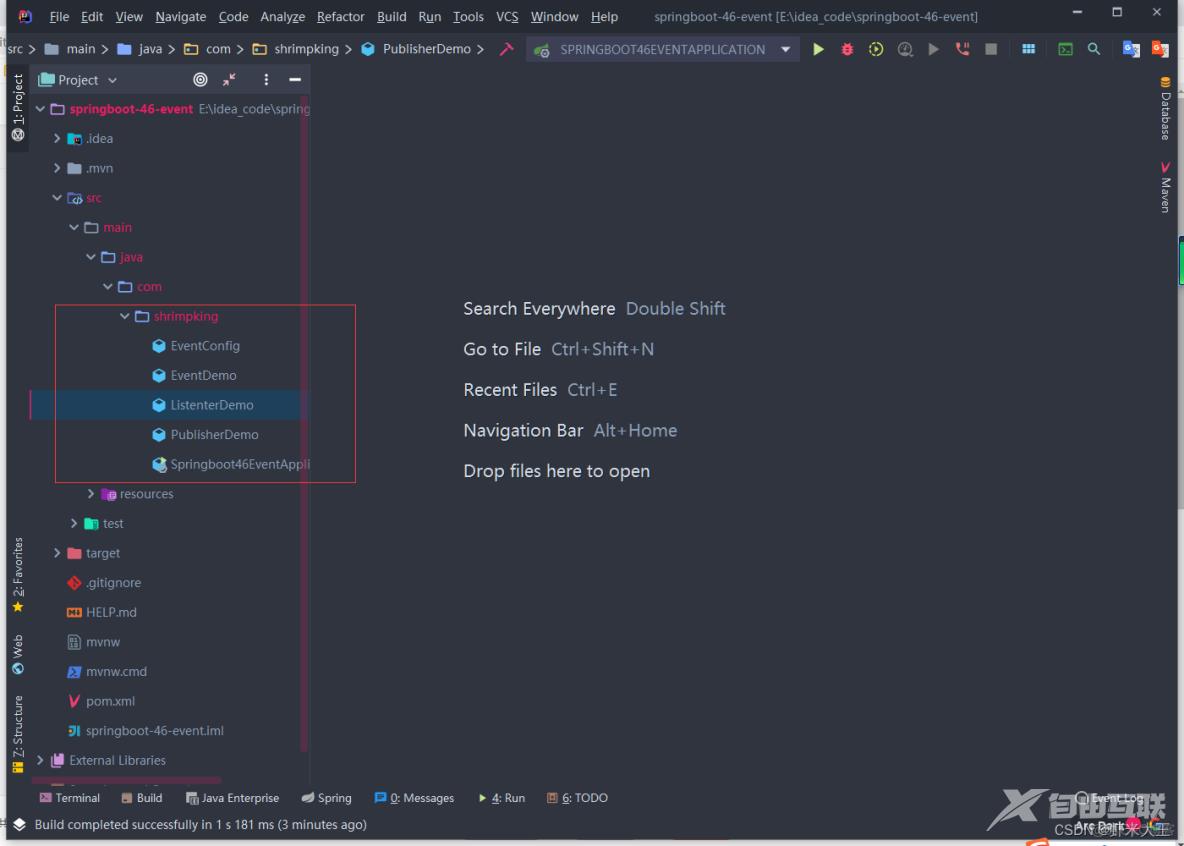
Spring的事件(Application Event)为Bean与Bean之间的消息通信提供了支持。 当一个Bean处理完一个任务之后,希望另外一个Bean知道并能做相应的处理,这时我们就需要让另外一个Bean监听当前
Spring的事件(Application Event)为Bean与Bean之间的消息通信提供了支持。
当一个Bean处理完一个任务之后,希望另外一个Bean知道并能做相应的处理,这时我们就需要让另外一个Bean监听当前Bean所发送的事件。
Spring的事件需要遵循如下流程:
(1)自定义事件,集成ApplicationEvent。
(2)定义事件监听器,实现ApplicationListener。
(3)使用容器发布事件。

自定义事件
EventDemo.java
package com.shrimpking;

import org.springframework.context.ApplicationEvent;

/**
 * Created by IntelliJ IDEA.
 *
 * @Author : Shrimpking
 * @create 2023/6/8 11:05
 * 自定义事件类
 */
public class EventDemo extends ApplicationEvent
{
    private static final long serialVersionUID = 1L;

    private String msg;
    /**
     * 来源
     */
    private Object source;

    public EventDemo(Object source,String msg)
    {
        super(source);
        this.source = source;
        this.msg = msg;
    }

    public String getMsg()
    {
        return msg;
    }

    public void setMsg(String msg)
    {
        this.msg = msg;
    }

    @Override
    public Object getSource()
    {
        return source;
    }

    public void setSource(Object source)
    {
        this.source = source;
    }
}
事件监听器
ListenerDemo.java
package com.shrimpking;

import org.springframework.context.ApplicationListener;
import org.springframework.stereotype.Component;

/**
 * Created by IntelliJ IDEA.
 *
 * @Author : Shrimpking
 * @create 2023/6/8 11:10
 * 自定义监听类
 */
@Component
public class ListenterDemo implements ApplicationListener<EventDemo>
{

    /**
     * 使用onApplicationEvent方法对消息进行接受处理。
     * @param event
     */
    @Override
    public void onApplicationEvent(EventDemo event)
    {
        String msg = event.getMsg();
        Object obj = event.getSource();
        System.out.println("ListenerDemo接收了"+ obj.getClass().getSimpleName() +"发布的消息:" + msg);
    }
}
代码解释
①实现ApplicationListener接口,并指定监听的事件类型。
②使用onApplicationEvent方法对消息进行接受处理。
事件发布类
PublisherDemo.java
package com.shrimpking;

import org.springframework.beans.factory.annotation.Autowired;
import org.springframework.context.ApplicationContext;
import org.springframework.stereotype.Component;

/**
 * Created by IntelliJ IDEA.
 *
 * @Author : Shrimpking
 * @create 2023/6/8 11:12
 * 自定义事件发布类
 */
@Component
public class PublisherDemo
{
    @Autowired
    private ApplicationContext applicationContext;

    /**
     * 使用ApplicationContext的publishEvent方法来发布。
     * @param msg
     */
    public void publish(String msg)
    {
        applicationContext.publishEvent(new EventDemo(this,msg));
    }
}
代码解释
①注入ApplicationContext用来发布事件。
②使用ApplicationContext的publishEvent方法来发布。
配置类
EventConfig.java
package com.shrimpking;

import org.springframework.context.annotation.ComponentScan;
import org.springframework.context.annotation.Configuration;

/**
 * Created by IntelliJ IDEA.
 *
 * @Author : Shrimpking
 * @create 2023/6/8 11:19
 */
@Configuration
@ComponentScan("com.shrimpking")
public class EventConfig
{
}
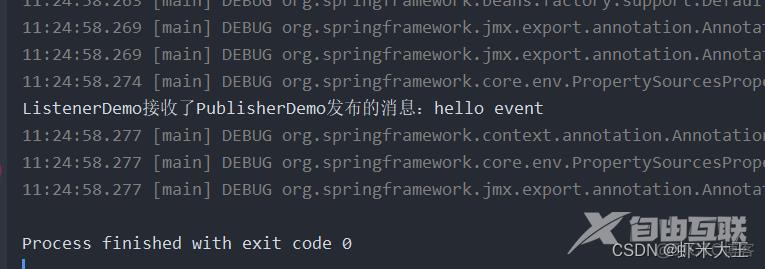
运行
package com.shrimpking;

import org.springframework.boot.autoconfigure.SpringBootApplication;
import org.springframework.context.annotation.AnnotationConfigApplicationContext;

@SpringBootApplication
public class Springboot46EventApplication
{

    public static void main(String[] args)
    {
        //SpringApplication.run(Springboot46EventApplication.class, args);
        AnnotationConfigApplicationContext context
                = new AnnotationConfigApplicationContext(EventConfig.class);

        PublisherDemo publisherDemo = context.getBean(PublisherDemo.class);
        publisherDemo.publish("hello event");

        context.close();
    }

}
