from matplotlib . ticker import AutoMinorLocator , MultipleLocator , \ FuncFormatter , FormatStrFormatter from calendar import month_name , day_name import matplotlib as mpl from matplotlib . sankey import Sankey import matplotlib . pyplot
FuncFormatter, FormatStrFormatter
from calendar import month_name, day_name
import matplotlib as mpl
from matplotlib.sankey import Sankey
import matplotlib.pyplot as plt
import numpy as np
"""
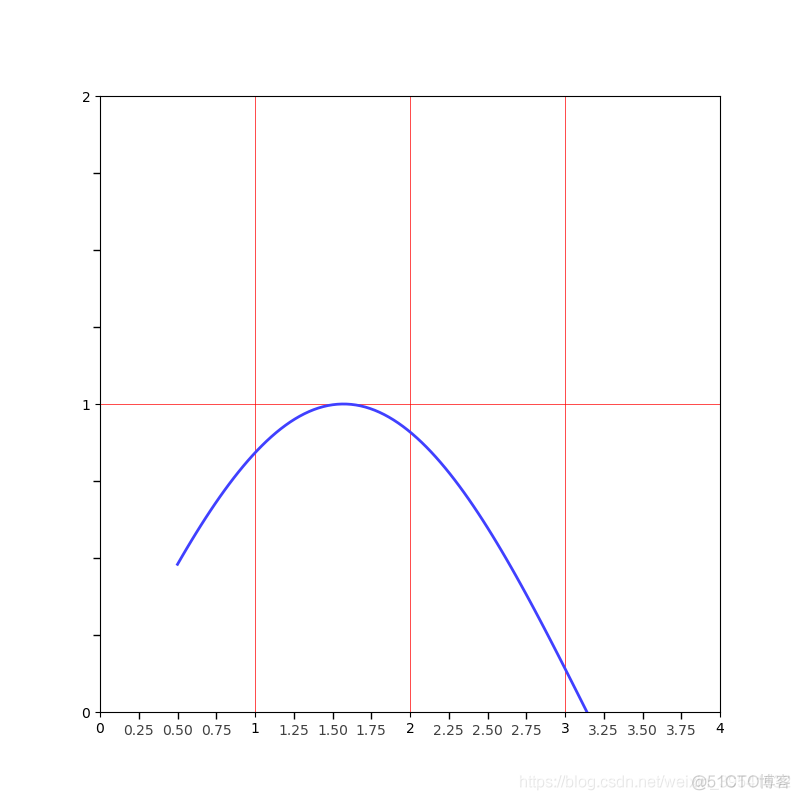
设置坐标轴的刻度样式
:return:
"""
x = np.linspace(0.5, 3.5, 100)
y = np.sin(x)
# 创建画布对象
fig = plt.figure(figsize=(8, 8))
# 向画布中添加一个1行1列的子区
ax = fig.add_subplot(111)
# ax.xaxis:获得x轴实例
ax.xaxis.set_major_locator(MultipleLocator(1.0)) # 在x轴的1倍处分别设置主刻度线
ax.yaxis.set_major_locator(MultipleLocator(1.0))
ax.xaxis.set_minor_locator(AutoMinorLocator(4))
# 设置次要刻度线显示位置,将每一份主刻度线划分为4等分
ax.yaxis.set_minor_locator(AutoMinorLocator(4))
def minor_tick(x, pos):
if not x % 1.0:
return ""
return "%.2f" % x
ax.xaxis.set_minor_formatter(FuncFormatter(minor_tick)) # 设置好刻度线显示位置的精度
# 刻度样式的设置
ax.tick_params(which='minor', length=5, width=1.0, labelsize=10,
labelcolor='0.25')
ax.set_xlim(0, 4)
ax.set_ylim(0, 2)
ax.plot(x, y, c=(0.25, 0.25, 1.00), lw=2, zorder=10)
ax.grid(linestyle='-', linewidth=0.5, color='r', zorder=0)
plt.savefig(r"E:\Programmer\PYTHON\Matplotlib实践\figure\Figure(Unit "
r"5)\no1.png")
plt.show()
"""
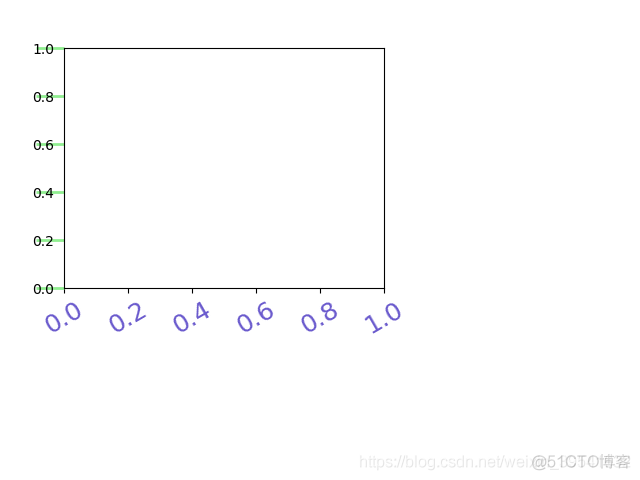
刻度标签和刻度线样式的定制化
:return:
"""
fig = plt.figure(facecolor=(1.0, 1.0, 0.9412))
ax = fig.add_axes([0.1, 0.4, 0.5, 0.5])
for ticklabel in ax.xaxis.get_ticklabels():
ticklabel.set_color("slateblue")
ticklabel.set_fontsize(18)
ticklabel.set_rotation(30)
for tickline in ax.yaxis.get_ticklines():
tickline.set_color("lightgreen")
tickline.set_markersize(20)
tickline.set_markeredgewidth(2)
plt.savefig(r"E:\Programmer\PYTHON\Matplotlib实践\figure\Figure(Unit "
r"5)\no2.png")
plt.show()
"""
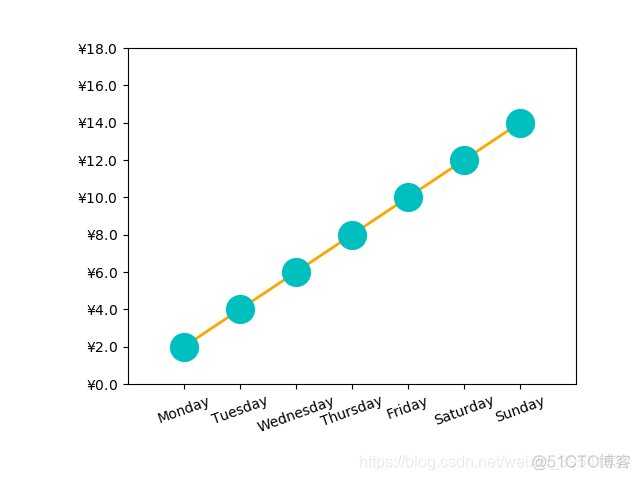
货币和时间序列样式的刻度标签
:return:
"""
fig = plt.figure()
ax = fig.add_axes([0.2, 0.2, 0.7, 0.7])
x = np.arange(1, 8, 1)
y = 2 * x
ax.plot(
x,
y,
ls='-',
lw=2,
color='orange',
marker='o',
ms=20,
mfc='c',
mec='c')
ax.yaxis.set_major_formatter(FormatStrFormatter(r"$\yen%1.1f$"))
plt.xticks(x, day_name[0:7], rotation=20)
ax.set_xlim(0, 8)
ax.set_ylim(0, 18)
plt.savefig(r"E:\Programmer\PYTHON\Matplotlib实践\figure\Figure(Unit "
r"5)\no3.png")
plt.show()
"""
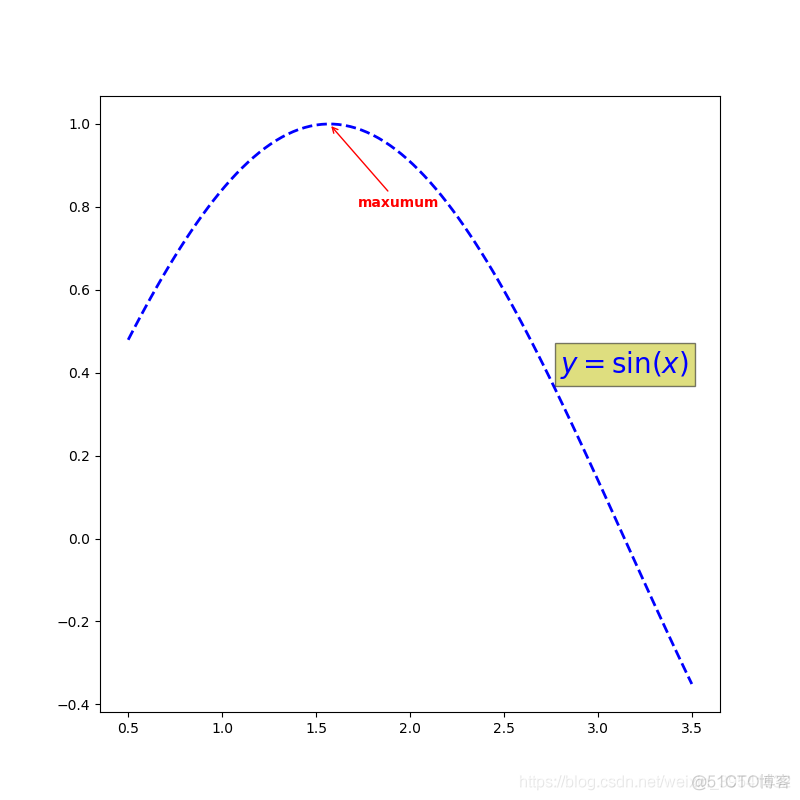
添加有指示注解和无指示注解
:return:
"""
x = np.linspace(0.5, 3.5, 100)
y = np.sin(x)
fig = plt.figure(figsize=(8, 8))
ax = fig.add_subplot(111)
ax.plot(x, y, c='b', ls='--', lw=2)
ax.annotate("maxumum",
xy=(np.pi / 2,
1.0),
xycoords='data',
xytext=((np.pi / 2) + 0.15,
0.8),
textcoords="data",
weight="bold",
color='r',
arrowprops=dict(arrowstyle='->',
connectionstyle="arc3",
color='r'))
ax.text(2.8, 0.4, "$y=\sin(x)$", fontsize=20, color='b', bbox=dict(
facecolor='y', alpha=0.5))
plt.savefig(r"E:\Programmer\PYTHON\Matplotlib实践\figure\Figure(Unit "
r"5)\no4.png")
plt.show()
"""
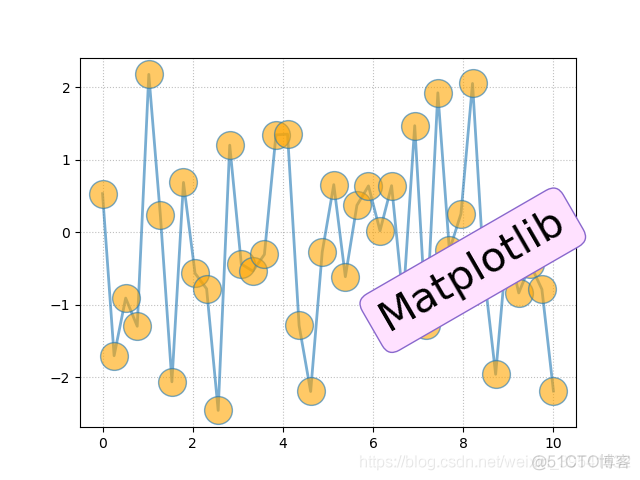
圆角文本框的设置
:return:
"""
x = np.linspace(0.0, 10, 40)
y = np.random.randn(40)
plt.plot(x, y, ls='-', lw=2, marker='o', ms=20, mfc='orange', alpha=0.6)
plt.grid(ls=':', color='gray', alpha=0.5)
plt.text(6, 0, "Matplotlib", size=30, rotation=30., bbox=dict(
boxstyle="round", ec="#8968CD", fc='#FFE1FF'))
plt.savefig(r"E:\Programmer\PYTHON\Matplotlib实践\figure\Figure(Unit "
r"5)\no5.png")
plt.show()
"""
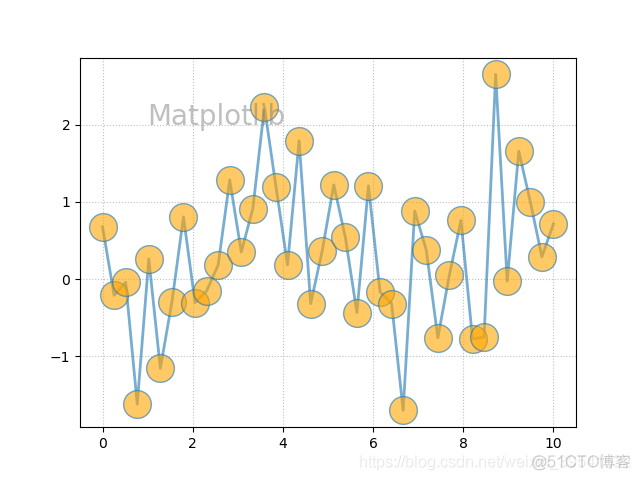
文本的水印效果
:return:
"""
x = np.linspace(0.0, 10, 40)
y = np.random.randn(40)
plt.plot(x, y, ls='-', lw=2, marker='o', ms=20, mfc='orange', alpha=0.6)
plt.grid(ls=':', color='gray', alpha=0.5)
plt.text(1, 2, "Matplotlib", fontsize=20., color="gray", alpha=0.5)
plt.savefig(r"E:\Programmer\PYTHON\Matplotlib实践\figure\Figure(Unit "
r"5)\no6.png")
plt.show()
"""
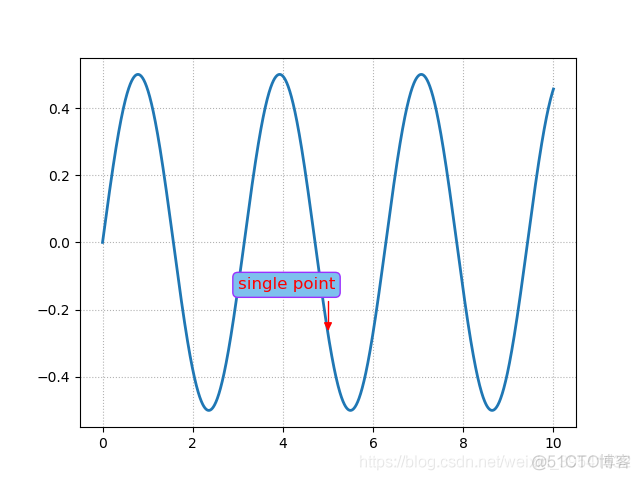
圆角线框的有弧度的注解
:return:
"""
x = np.linspace(0, 10, 2000)
y = np.sin(x) * np.cos(x)
fig = plt.figure()
ax = fig.add_subplot(111)
ax.plot(x, y, ls='-', lw=2)
bbox = dict(boxstyle='round', fc='#7EC0EE', ec='#9B30FF')
arrowprops = dict(arrowstyle='-|>', connectionstyle="angle, angleA=0,"
"angleB=90,rad=10", color='r')
ax.annotate(
"single point",
(5,
np.sin(5) *
np.cos(5)),
xytext=(
3,
np.sin(3) *
np.cos(3)),
fontsize=12,
color='r',
bbox=bbox,
arrowprops=arrowprops)
ax.grid(ls=':', color='gray', alpha=0.6)
plt.savefig(r"E:\Programmer\PYTHON\Matplotlib实践\figure\Figure(Unit "
r"5)\no7.png")
plt.show()
"""
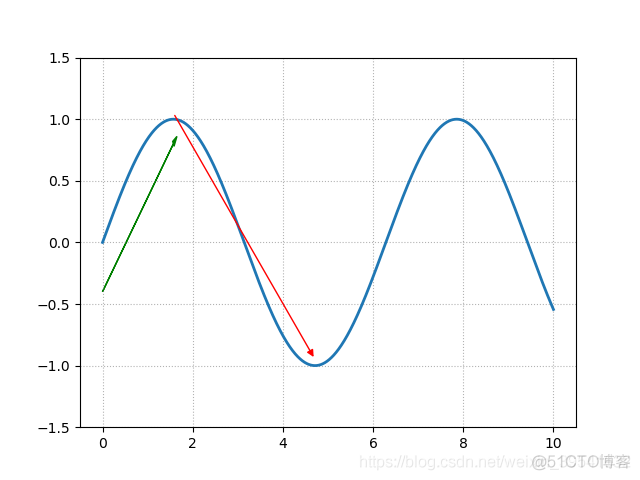
有箭头指示的趋势线
:return:
"""
x = np.linspace(0, 10, 2000)
y = np.sin(x)
# 创建画布对象
fig = plt.figure()
# 向画布中添加一个1行1列的子区
ax = fig.add_subplot(111)
ax.plot(x, y, ls='-', lw=2)
ax.set_ylim(-1.5, 1.5)
arrowprops = dict(arrowstyle='-|>', color='r')
ax.annotate("",
(3 * np.pi / 2, np.sin(3 * np.pi / 2) + 0.05),
xytext=(np.pi / 2, np.sin(np.pi / 2) + 0.05),
color='r', arrowprops=arrowprops
)
ax.arrow(0.0, -0.4, np.pi / 2, 1.2,
head_width=0.05, head_length=0.1,
fc='g', ec='g')
ax.grid(ls=':', color='gray', alpha=0.6)
plt.savefig(r"E:\Programmer\PYTHON\Matplotlib实践\figure\Figure(Unit "
r"5)\no8.png")
plt.show()
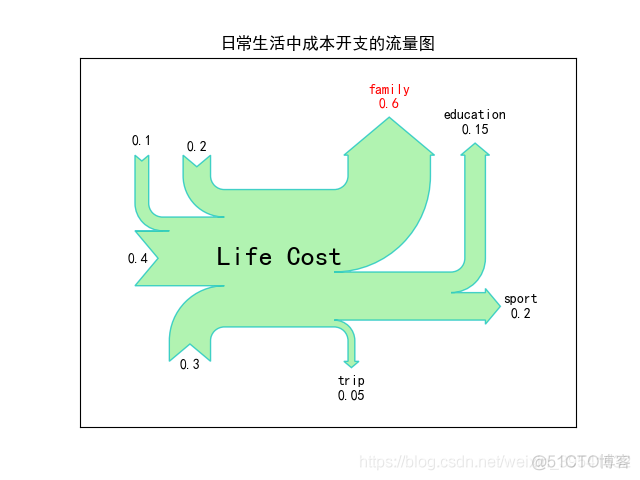
"""
桑基图
:return:
"""
mpl.rcParams["font.sans-serif"] = ["SimHei"]
mpl.rcParams["axes.unicode_minus"] = False
flows = [0.2, 0.1, 0.4, 0.3, -0.6, -0.05, -0.15, -0.2]
labels = ["", "", "", "", "family", "trip", "education", "sport"]
orientations = [1, 1, 0, -1, 1, -1, 1, 0]
sankey = Sankey()
sankey.add(flows=flows, labels=labels, orientations=orientations,
color='c', fc="lightgreen", patchlabel="Life Cost", alpha=0.7)
diagrams = sankey.finish()
diagrams[0].texts[4].set_color("r")
diagrams[0].texts[4].set_weight("bold")
diagrams[0].text.set_fontsize(20)
diagrams[0].text.set_fontweight("bold")
plt.title("日常生活中成本开支的流量图")
plt.savefig(r"E:\Programmer\PYTHON\Matplotlib实践\figure\Figure(Unit "
r"5)\no9.png")
plt.show()
- 本篇博文特别感谢刘大成的《Python数据可视化之matplotlib实践》
